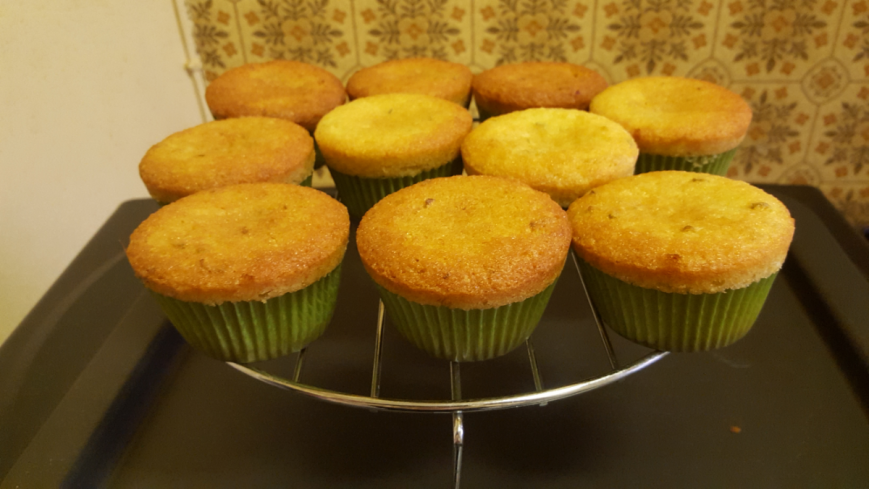
Lime Cupcakes

image

Cupcakes are so cute! Perfect portion size, different colours, flavors and pretty decoration. I really like cupcakes!
My tropical cake was not enough. Still want to try something… exotic.
Nowadays we can find limes everywhere any time of the year. But when I was a child I didn’t even knew they exist. The only citrus fruits that we had were bananas and oranges for Christmas.
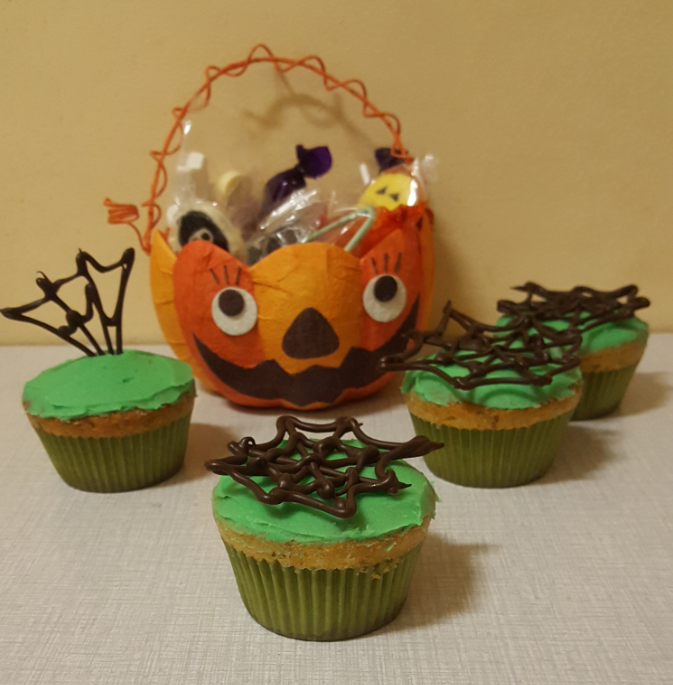
Today I will bake some Lime cupcakes filled with lime slime, green butter cream and chocolate spider web… Well it’s Halloween so… 😊
Now let’s first make the cupcake batter. You will need:
125g self-raising flour
125g powdered sugar
1/4 teaspoon baking soda
130g unsalted butter at room t°
2 eggs
zest of 2 limes
1 tablespoon juice of lime
1/2 tablespoon milk
Preheat the oven at 180°C. Prepare your cupcake pan with the cupcake paper liners.
Sift together flour, baking soda and sugar in a big bowl. Zest the 2 limes in there. Add the butter and the lime juice. And the eggs goes there too. Mix it well. With the hand mixer around 2-3 minutes. Now and the milk and give it another mix till incorporated.
Now just take a spoon and separate the batter in the cupcake pan. Fill around 2/3 of each paper liner.
Bake 20 to 25 minutes. Then leave it cool completely on a kitchen rack.

image

While cupcakes are cooling you have enough time to prepare all the rest.
I melted 100g of dark chocolate. Covered a baking sheet with wax paper and piped some chocolate spider webs there. You can do spiders or anything you like.
I always leave my chocolate to set at room temperature. It takes much longer but the chocolate keeps its shine I think. But you could always put it in the freezer. It will be ready in not even 5 minutes.
Let’s prepare that lime slime. We are going to fill the cupcakes with it. And it’s sooo delicious.
Now you will need:
110g of powdered sugar
110ml lime juice
zest of 1 lime
2 eggs
5 egg yolks
a bit of green gel colour
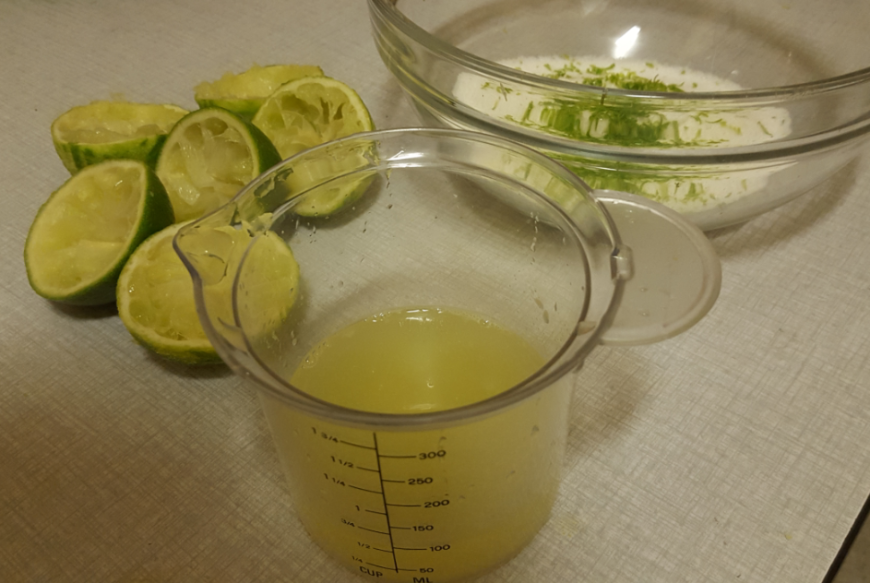
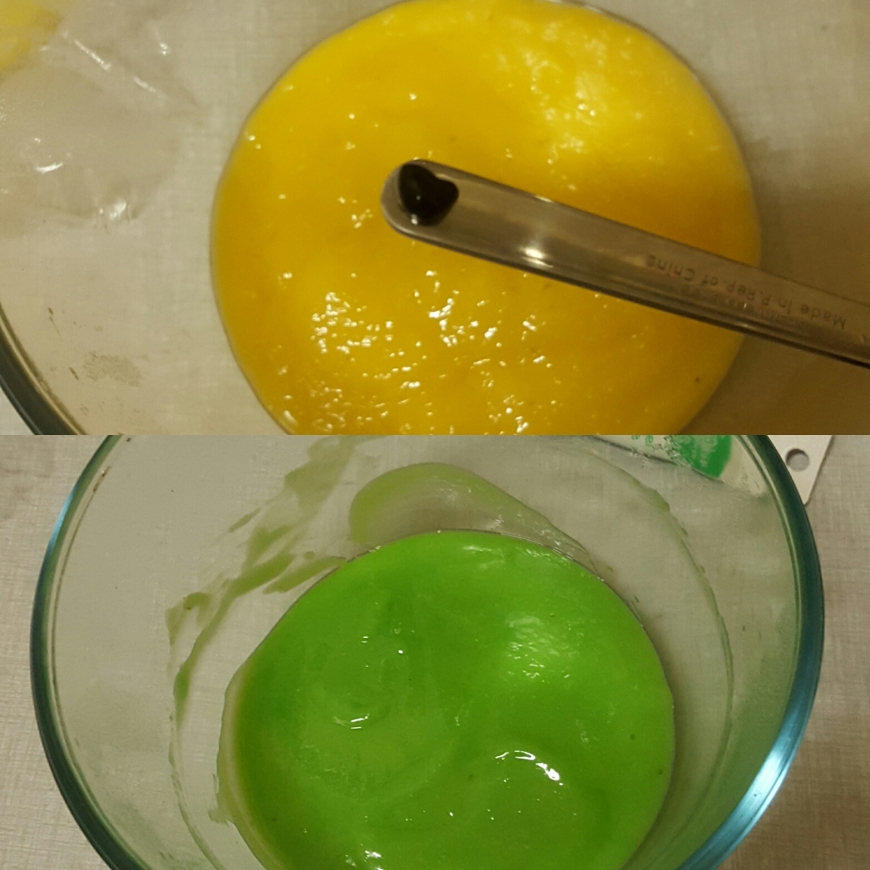
Prepare a bain marie. The sugar goes in a glass bowl. Zest the lime. Juice 110ml of lime juice. I used 3 limes.

image

Juice also goes in the bowl.
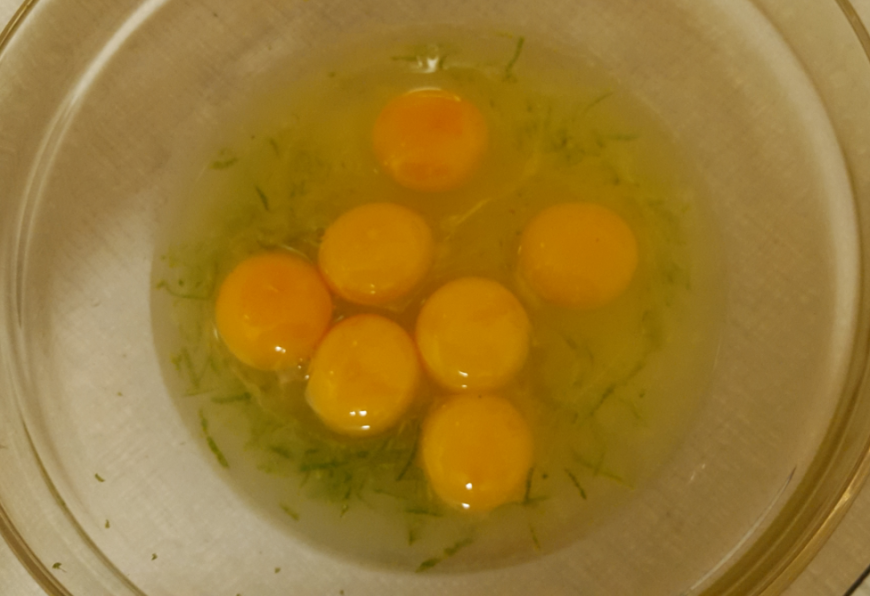
Now add the eggs and the egg yolks.

image

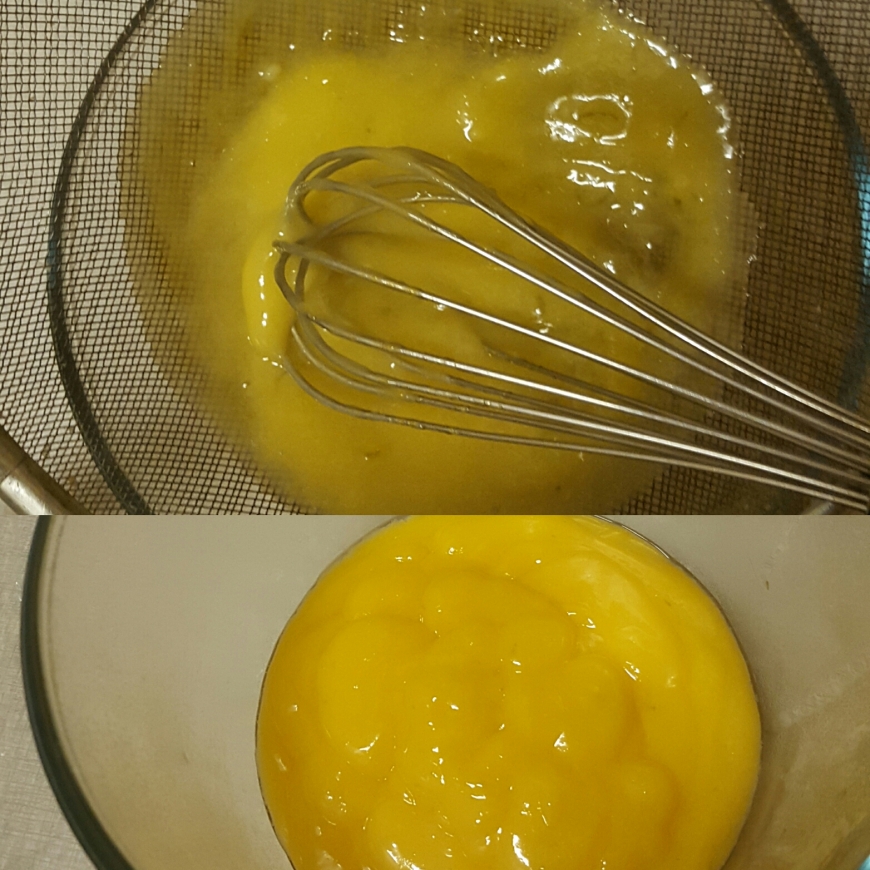
That goes on the bain marie. Mix it quickly with a whisk till it thickens. It will take around 5-7 minutes. So whisk hard and think about all the calories you’re burning 😀
When the lime slime is thick enough we’ll get rid of the lime zest.

image

Put it in your sifter and it goes back it the bowl. As you see it’s pretty yellow. And we want it green. So add some green gel colour. Mix well.

image

Now that is lime slime! Cover and leave it aside to cool.
Butter cream time! I will mix simple vanilla butter cream and colour it in green to make it more like Helloween 😀
For the butter cream you will need:
400g powdered sugar
250g unsalted butter at room t°
1 teaspoon vanilla extract
3 tablespoons whipping cream
Well that’s easy! Mix the butter and sugar till light and fluffy. Add the vanilla extract and give it a mix. Finally add the whipping cream and mix again till homogenous.
As I said in one of my latest posts using whipping cream or heavy cream doesn’t make a big difference. Actually I always use whipping cream and never had a problem.
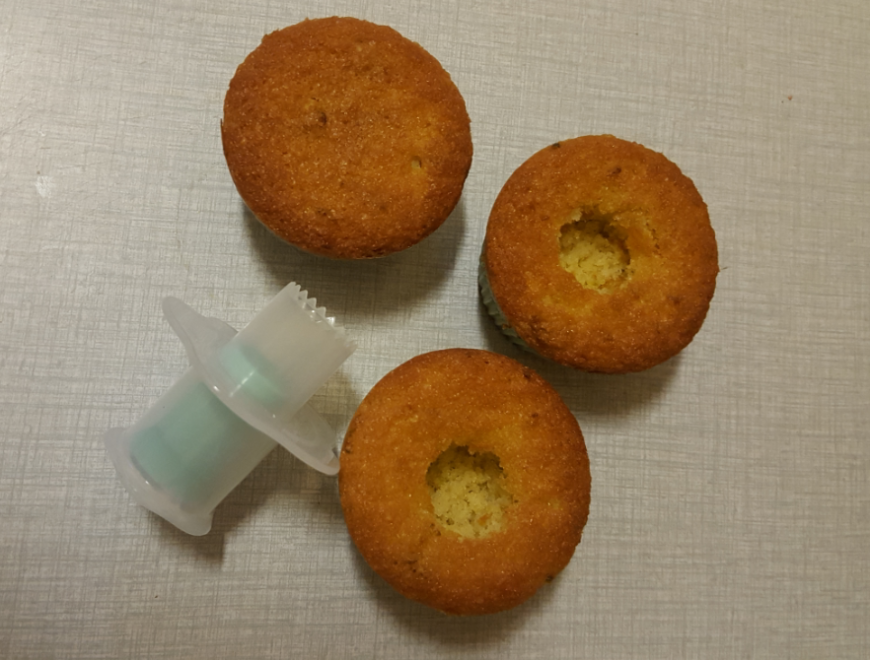
Now go back to your cupcakes. We need a small well in each cupcake.

image

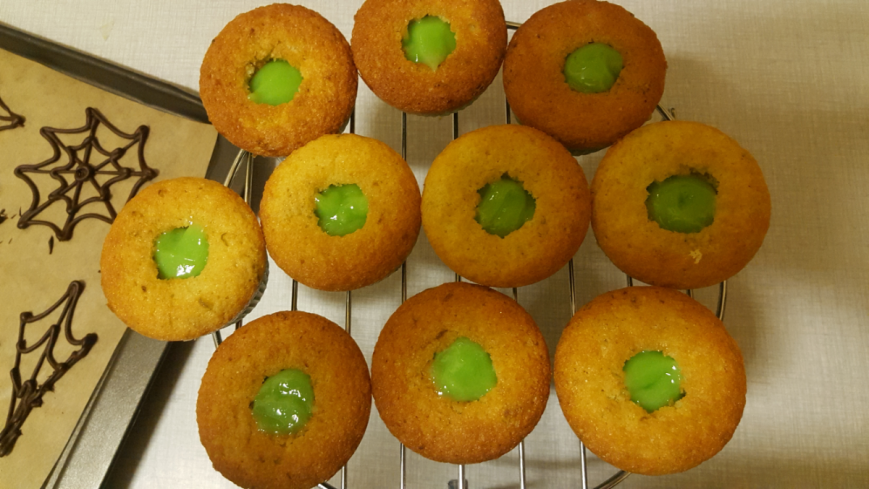
There you will pipe the lime slime. And after it will be the small limy surprise when you start eating your dessert.

image

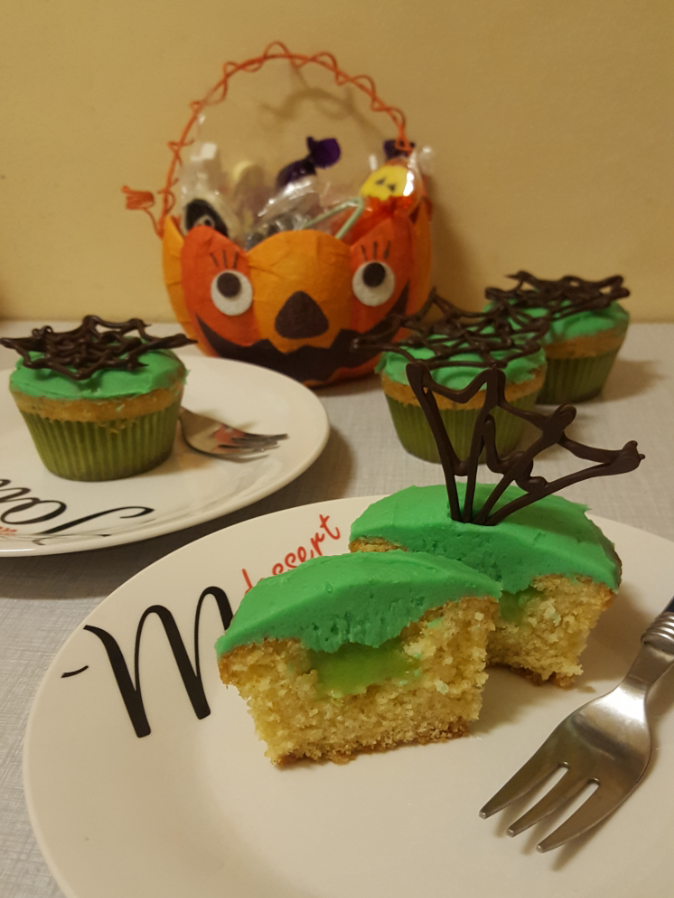
And of course finally the frosting and decoration.
And here we go! Dessert time is always best!
Hope you like them!

image

See you soon!

Bon Appétit!
Christina
Chocolate Bombe Cakes

image

I really like it simple and with a lot of chocolate. Probably I am lucky to live in Belgium where chocolate is tradition. You can find incredible combinations and flavors.
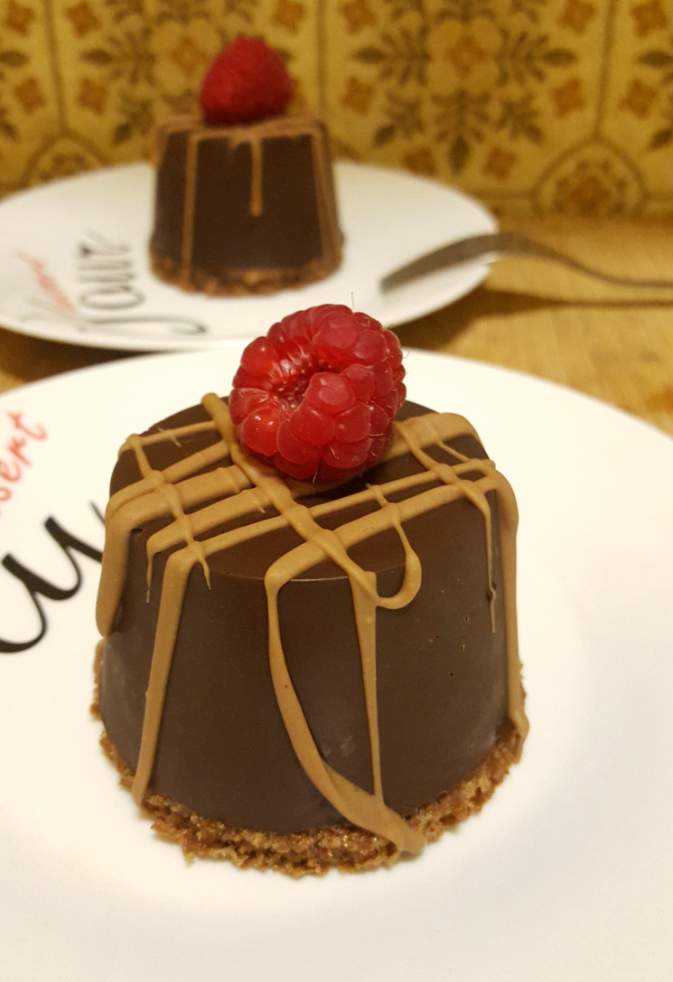
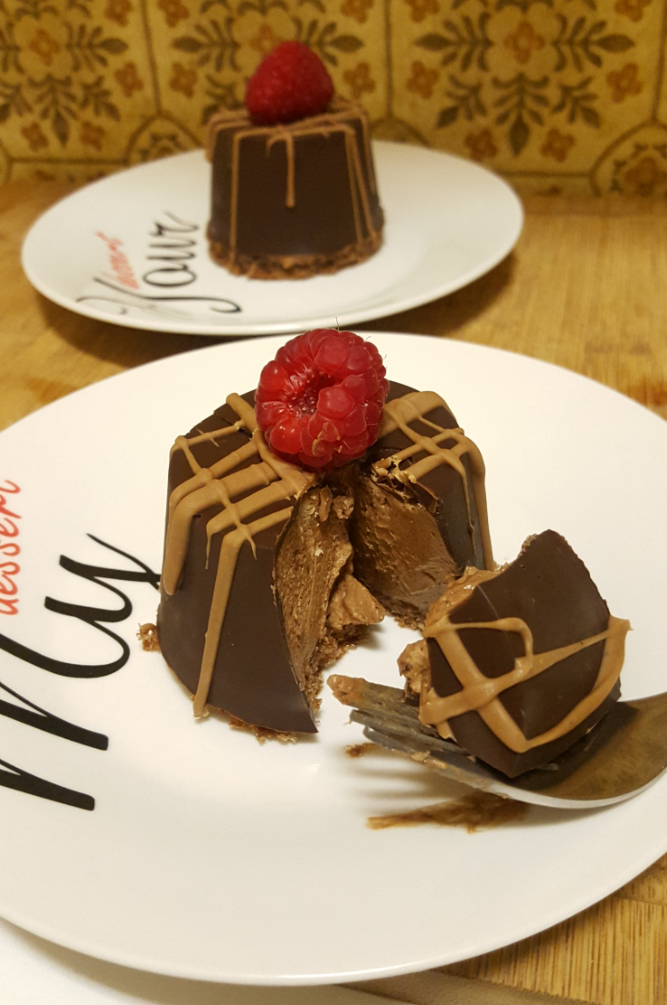
Today I tried an easy chocolate bombe cake with yummy Nutella mousse inside. It is really delicious. And if you want to impress that’s the recipe. There’s no way to fail.
So let’s start.
First we’ll do the chocolate shell. You can use dark, milk or white chocolate. I did it with dark chocolate because I wanted the taste of the shell to contrast with the light taste of the mousse.
For 6 bombe cakes you will need around 250g of chocolate.
I did them in a silicone muffin mould.
So melt your chocolate in the microwave and using a pastry brush cover the bottom and the sides with thin layer of chocolate. Then put in the freezer for 5 minutes. Repeat. I did 3 layers of chocolate.
Then start the sponge you will need for the bottom of your bombe cake.
For it you should prepare:
3 eggs + 1 egg white at room t°
3/4 cup of sugar
1/2 teaspoon salt
1 teaspoon vanilla extract
2/3 cup of flour
1/3 cup of cocoa powder
1 1/4 teaspoon baking powder
1/4 cup of vegetable oil
100ml of butter milk
After learning how to make my own butter milk today I’ve learned a new lesson. What we do when we’re out of baking powder. Just mix together one part baking soda with two parts of cream of tartar. And it works great. I really find it genius… And really helpful!
So… go back to sponge.
Preheat the oven at 180°C. Cover a baking sheet with baking paper.
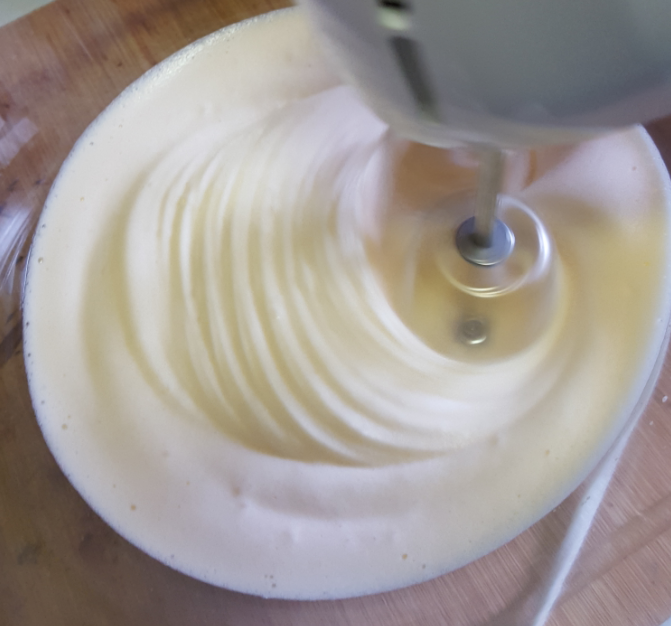
Eggs and egg white + salt goes in a big glass bowl. Take the hand mixer and mix till soft peaks start forming.

image

Now add sugar and vanilla extract and mix again.
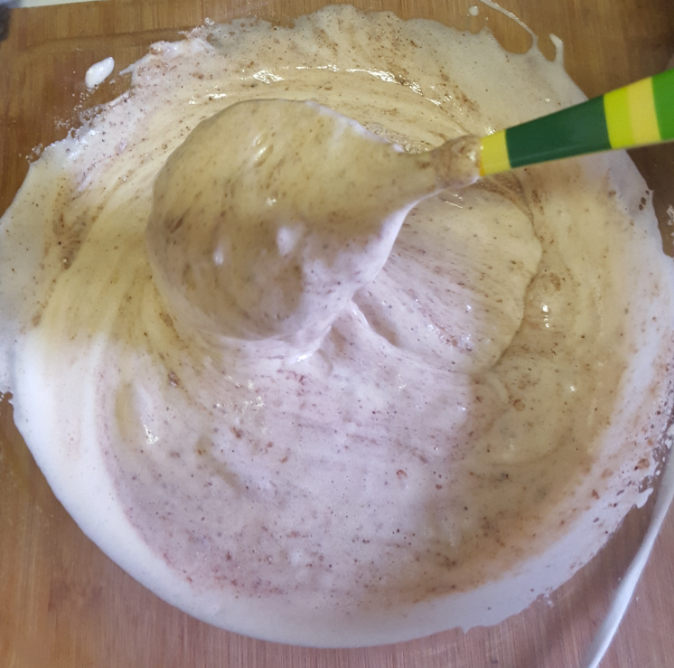
In another bowl sift together flour, baking powder and cocoa powder. Add it to the egg mixture and incorporate carefully with a spoon.

image

Finally add vegetable oil and buttermilk. Mix again. Try to keep it as fluffy as possible.
Bake around 10-15 minutes.
While it’s in the oven move to the Nutella mousse.
Here you will need:
240ml of whipping cream
200g of Nutella
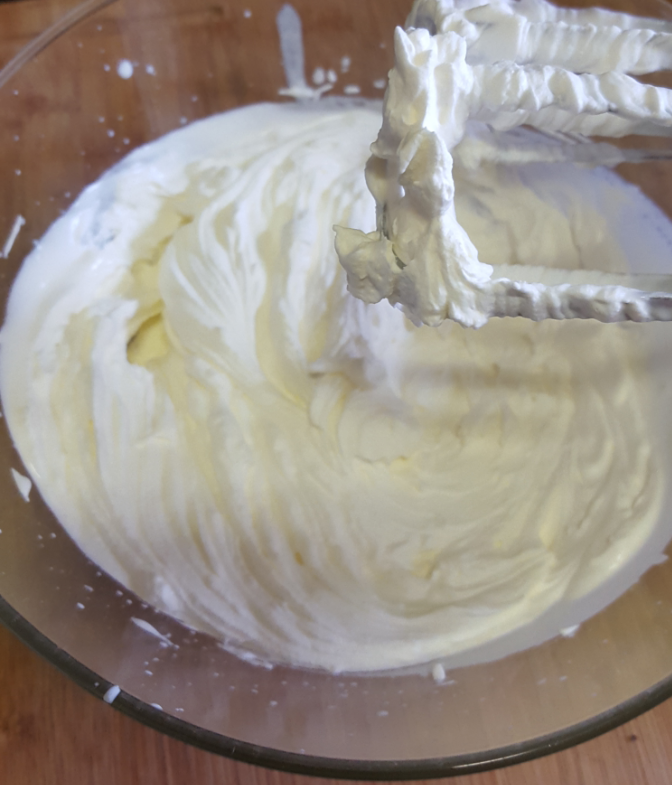
Again the mixer. Mix the whipping cream till soft peaks form.

image

Put your Nutella in the microwave for around 10 to 15 seconds. It will be easier to mix it with the whipping cream if it’s a little bit runny. Add 2-3 teaspoons at a time and mix carefully with a spoon. You want the whipping cream to keep its volume.
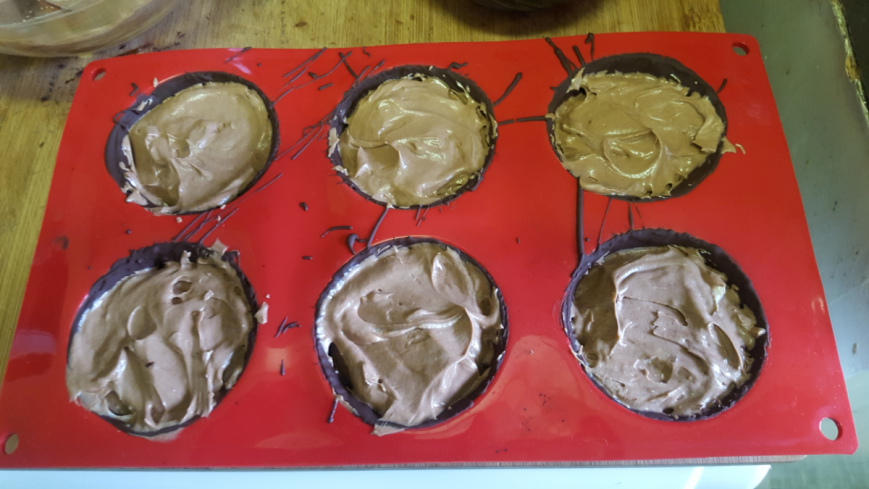
When ready put the muffin mould out of the fridge and fill the chocolate shells with the Nutella mousse.

image

Now leave it back in the fridge.
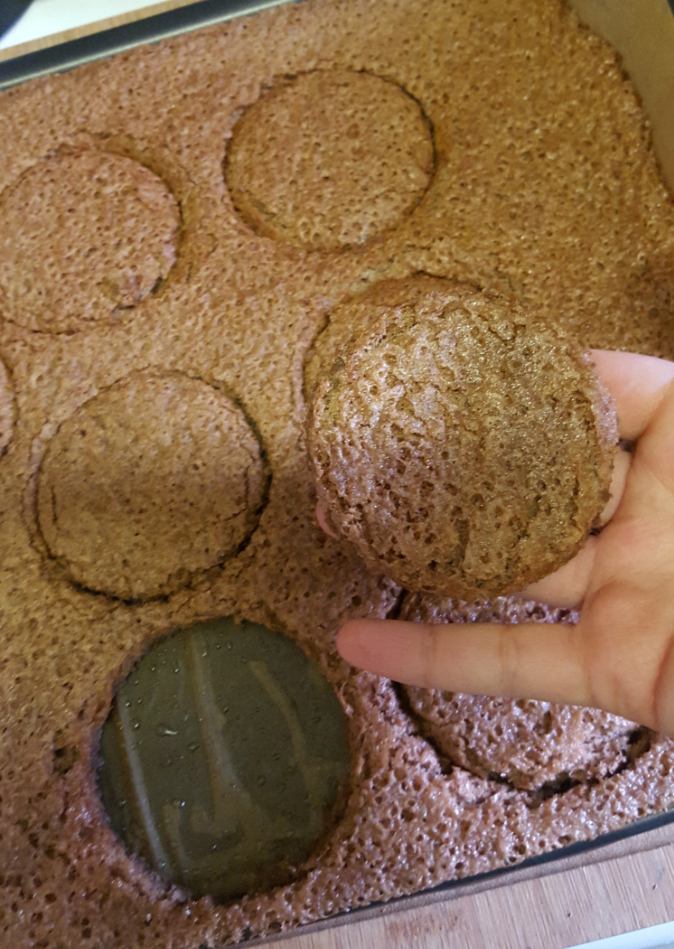
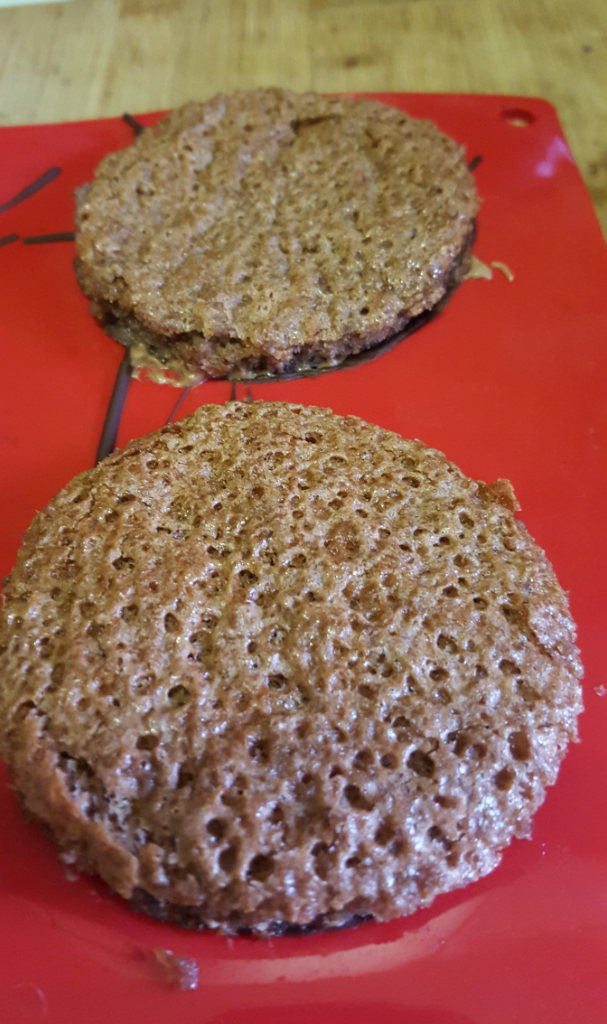
Let your sponge cool. Take a glass or a circle shaped cutter with the right size and cut 6 circles from the sponge.

image

Put each of the on the top (that’s going to be the bottom later) of a chocolate shell. Press lightly and put back in fridge.

image

Let it set for several hours.
It is really fun to put them out of the silicone mould. But be careful. You don’t want to brake the chocolate shell. Even though it’s thick enough.
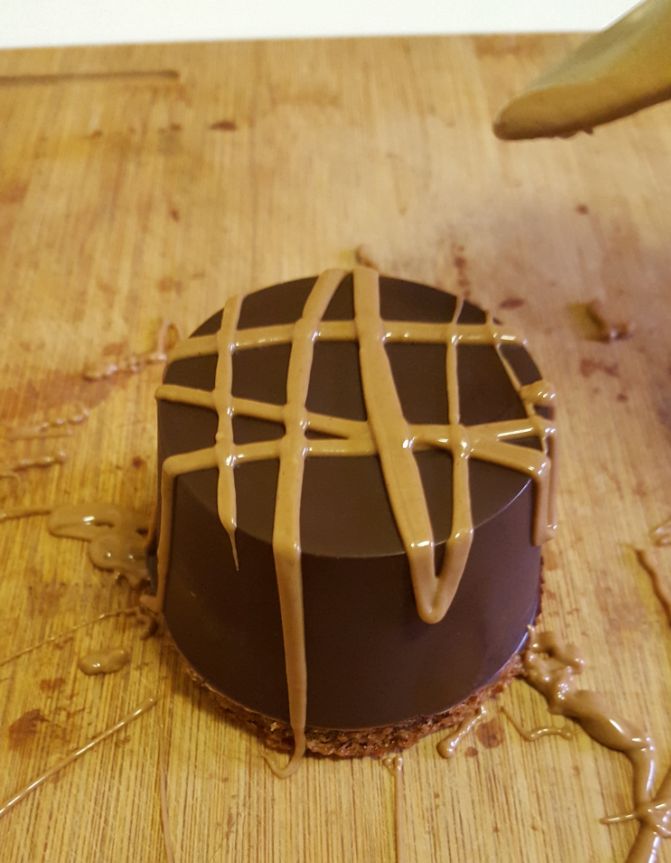
To decorate I melted some white chocolate with almond praliné inside. Then simply with a teaspoon poured it over every bombe cake.

image

Before the chocolate hardens finished with a raspberry on the top.
I am sure you will love it. It is just delicious!
Well… if you eat it directly from the frige (as I did because I couldn’t wait to try it) it will be funny eating it because the chocolate shell is too hard. But it tastes wonderful any way!
Hope you enjoy your bombe cake as I did! See you later!

image

Bon Appétit!
Christina
Chocolate Cupcakes

image

Someone could believe I am obsessed of chocolate. But really- it’s my favourite. From time to time I bake for friends or have an order. But most of the time I bake just for pleasure and practice of course. And when I ask by fiance what kind of cake he would like and the answer is – You decide! Yeees! I go for chocolate.
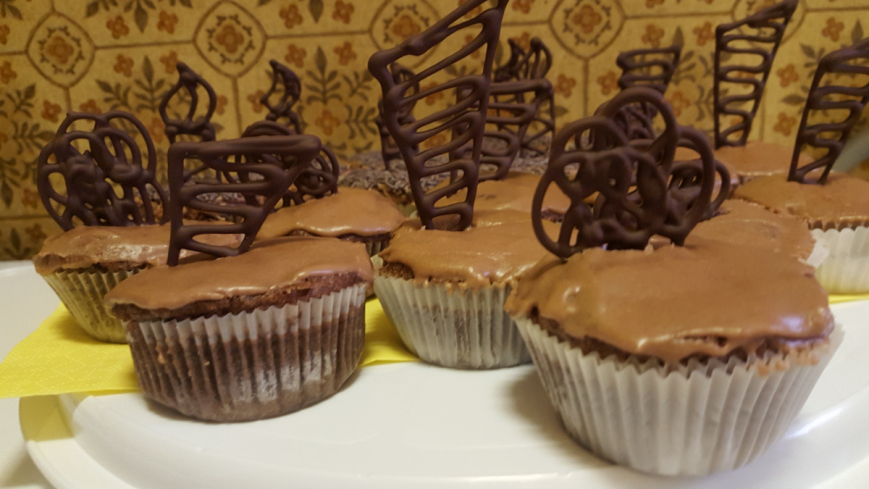
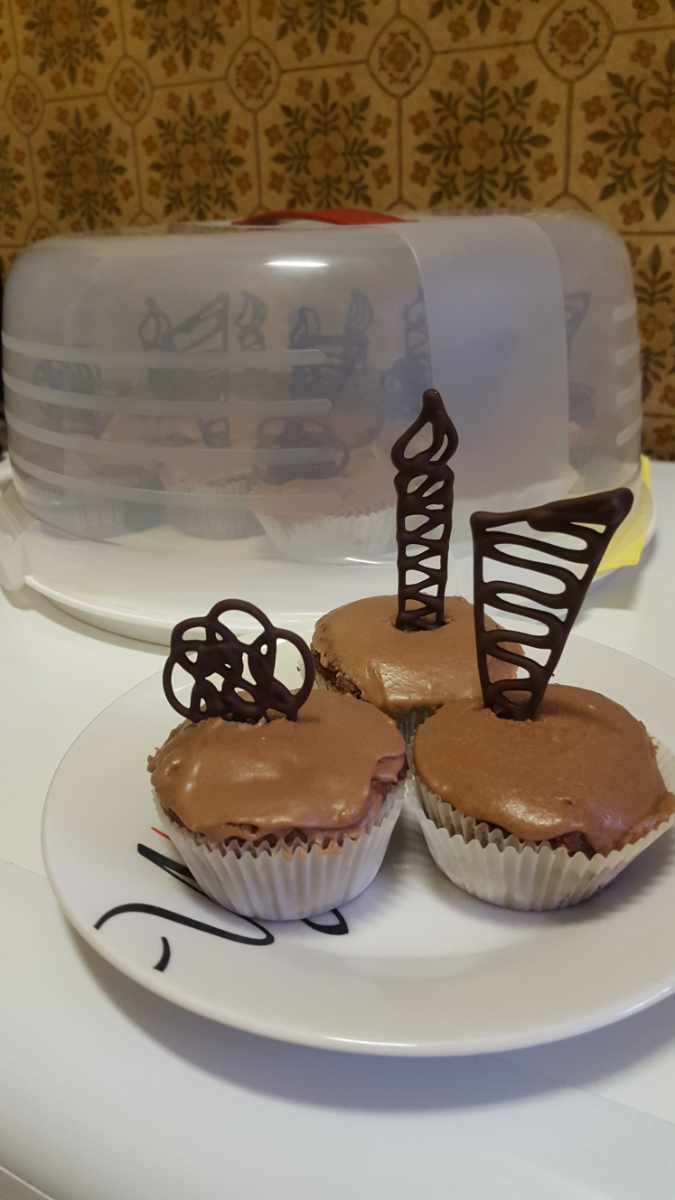
So this is an easy chocolate cupcake recipe. The chocolate frosting I used you can find in my previous post “French Meringue Cookie Sandwiches”. I also added some chocolate decoration. Just melted some chocolate and piped it in different shapes. Left it set (better out of the fridge. It takes longer but the chocolate keeps its shine) and put it on the top.
So for around 20 cupcakes you will need:
160g of all-purpose flour
1/2 teaspoon baking powder
100g of cocoa powder
45g of unsalted butter at room t°
360g of sugar
2 eggs
230ml milk
Preheat the oven at 180°C. Prepare your cupcake paper liners in the cupcake pan.
Now mix the dry ingredients in a big bowl. After the wet ingredients in another one till well combined. Add the wet ingredients to the dry and mix till everything is incorporated.
To fill the cupcake liners better use an ice-cream spoon. Fill only 2/3 of the because they will rise and you want them to look nice.
Bake around 20 minutes. Or of course till a toothpick goes out clean. Then leave them cool for around 10 minutes in the pan and after put them out. Now leave them cool completely.
Put the frosting in a piping bag and make your cupcakes look even better now. As I’m adding some chocolate decoration I just spread the frosting. About the taste- I garantie they taste great!

image

I hope you enjoyed it.
See you later.

Bon Appétit!
Christina
French Meringue Cookie Sandwiches

image

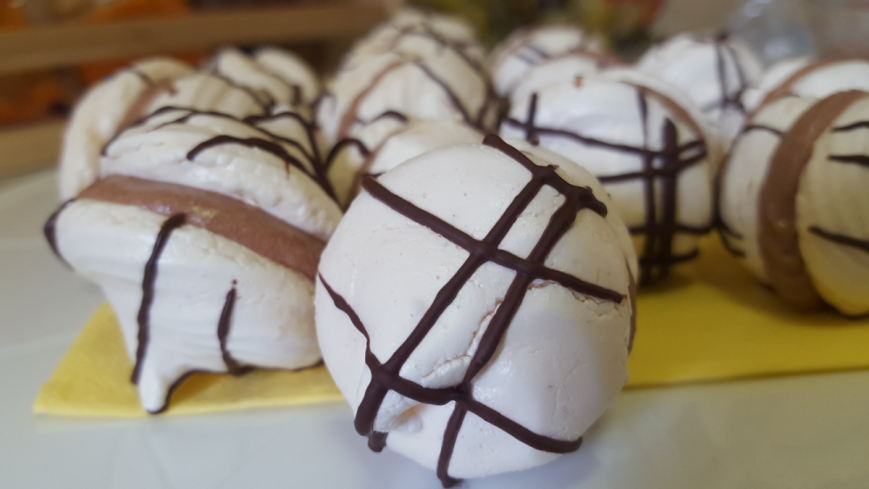
Here it is something different. Not a cake this time. Last weeks I have a lot more free time and as I have so much things to learn I’ve decided to bake something different from cake. And French meringue is a classic.
When I was a child I loved all the petit fours my mother used to bake. And meringue was definitely not my favourite. But you know… sometimes we change our mind. When I think now of a crispy meringue… mmmm… So yes- going to bake my very first meringue today.
I will use the classic recipe  (because I love classics) for French meringue. And yes… I love adding chocolate to everything so I will make a really nice chocolate frosting and as a final result- meringue cookie sandwiches.
And here is what we need:
For the meringue :
3 large egg whites
175g of icing sugar
a pinch of salt
For the chocolate frosting :
400g of icing sugar
60g of unsalted butter
60ml milk
3 tablespoons of cocoa powder
1/2 teaspoon vanilla extract
For the decoration :
50g of cooking chocolate
So first let’s prepare the frosting. I really like the taste and the texture of it. The amount of icing sugar of course changes its consistency. So it depends for what you’re going to use it. In this case it’s for piping so we need it pretty thick.
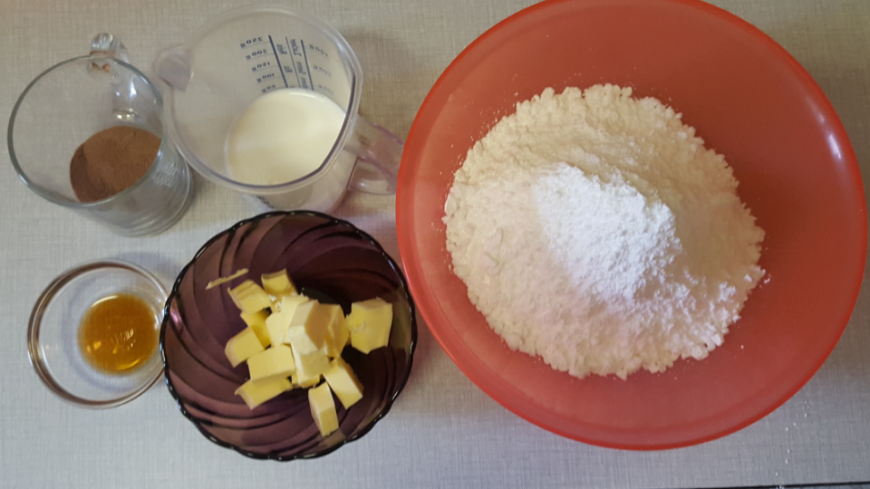
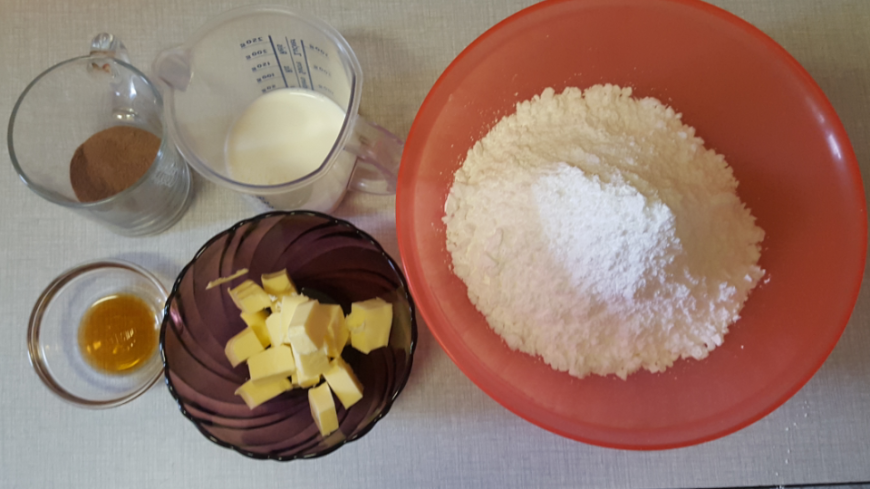
Prepare your ingredients.

image

For the first stage of the frosting preparing you need a bain marie. First let the butter melt in it. Then add milk and mix. After vanilla and cocoa powder. Mix well and now leave the cocoa powder cooks for about 5 minutes. You need it to thicken just a little bit. When ready put the bowl away from the fire and take your hand mixer. Start adding the icing sugar. Don’t over mix. Just till all your icing sugar is completely incorporated. Now cover it with some plastic foil because it hardens really quickly.
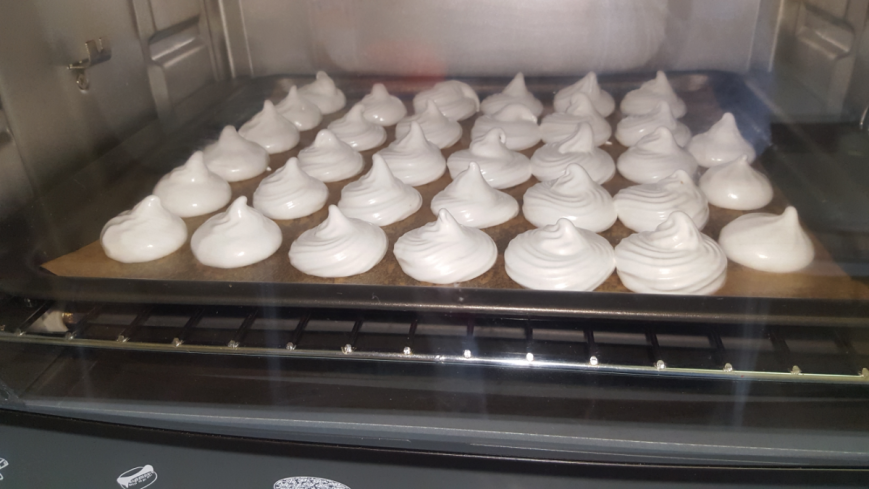
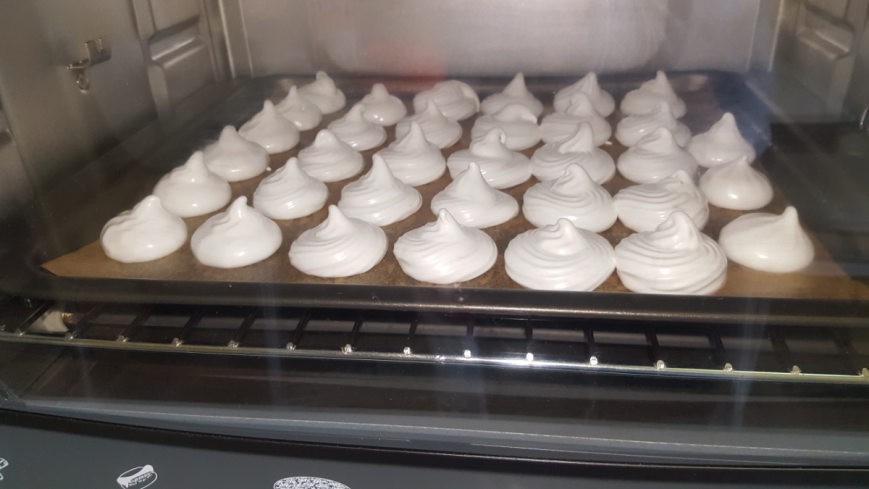
Now the meringue. Preheat the oven at 100°C. Put your egg whites in a glass bowl and start beating them. Not too much but till they start forming peaks on the top. When you turn around your bowl it should stay there. Now start adding the icing sugar a spoon at a time. When incorporated add another one and like this all your sugar. As a final result you should have that silky white mixture. Now put it quickly in your piping bag and pipe your cookies on a non stick baking sheet. Put them in the oven for around 1h30-1h45.

image

Yes… you should try to pipe them all the same. But as I was so excited that my mixture was perfect I didn’t pay attention to that. And later when making the cookie sandwiches I was obliged to take a biscuit and look for another one that can goes with it 😀
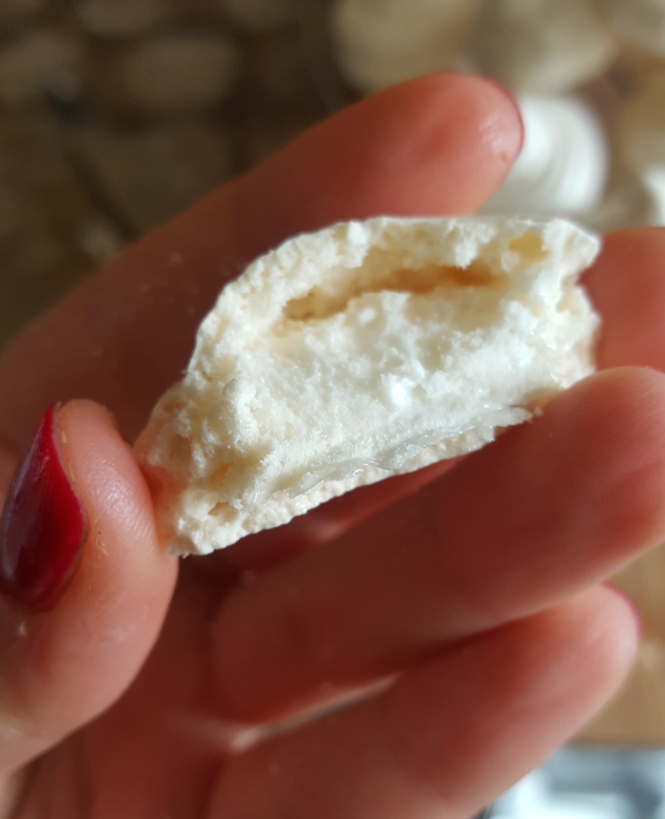
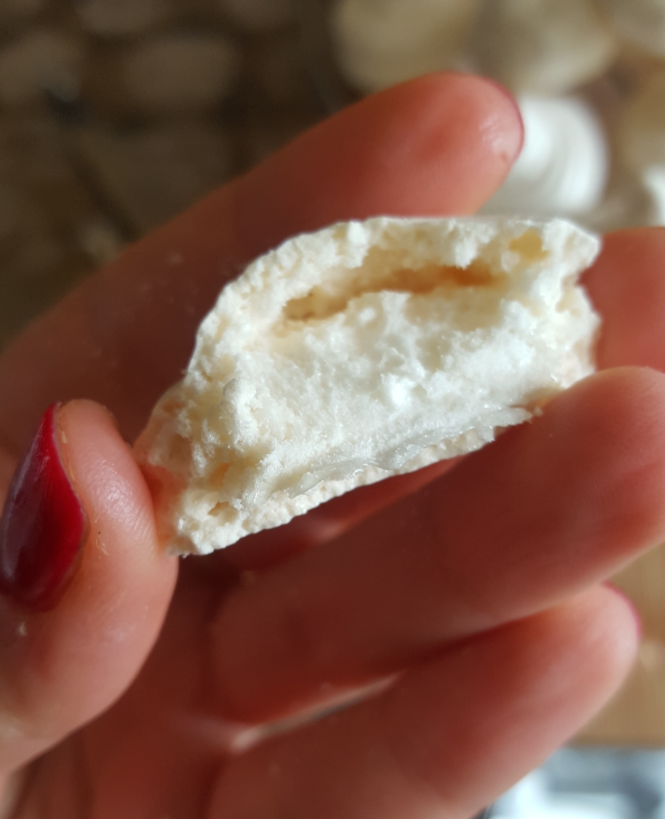
Well… your meringue should be really crispy to the outside and chewy to the inside.

image

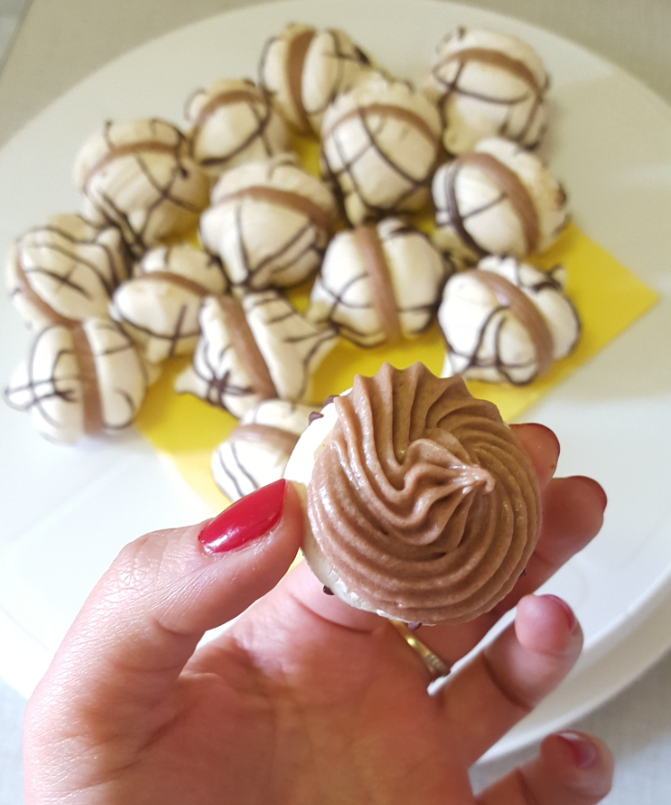
Now leave them cool completely. I piped one biscuit extra so I can try them now. And they’re reaaaaly delicious!
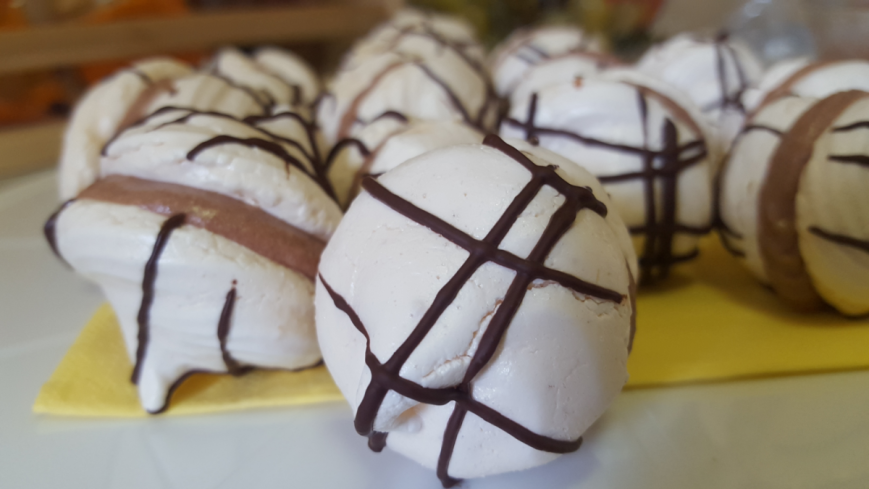
When cooled melt the chocolate and decorate them. If you like of course.
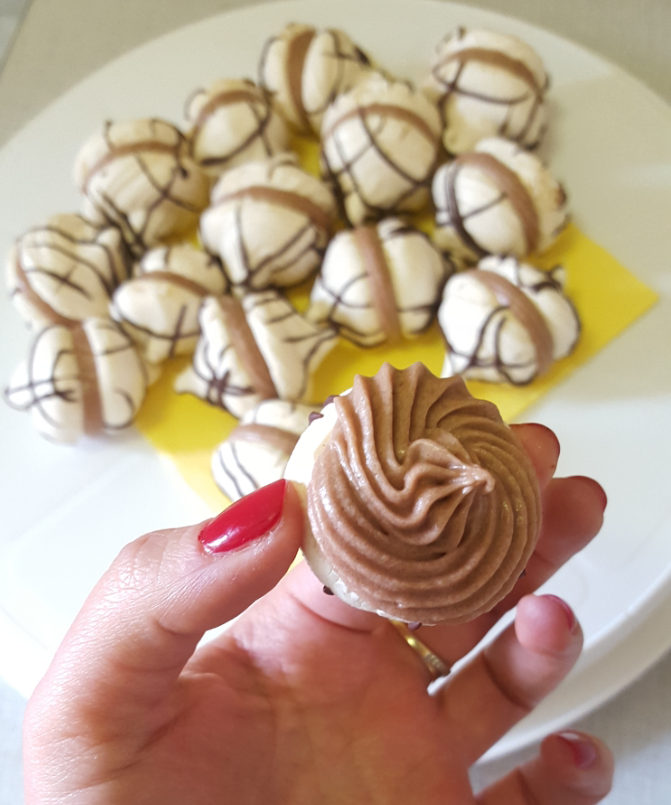
If not go back to the chocolate frosting. Put it in the piping bag. Cover the bottom of a biscuit with frosting and add the second one to make a sandwich.

image

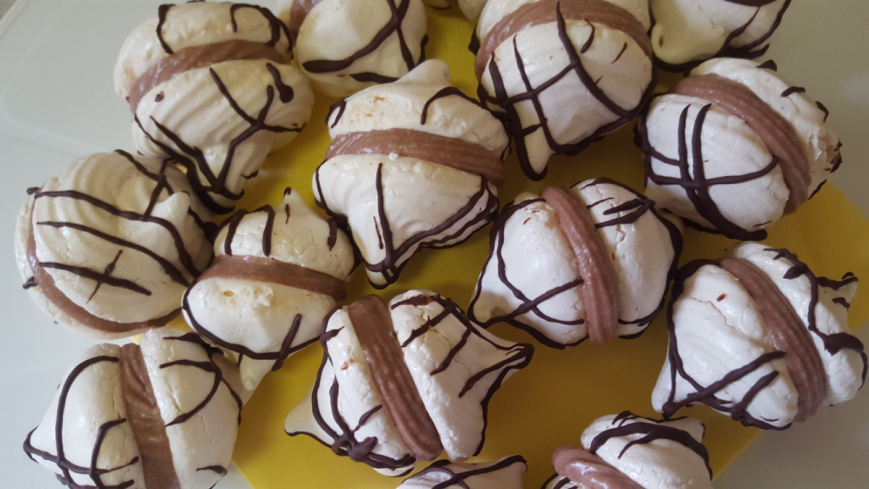
Leave them set. It’s better when the frosting hardens a bit so the sandwiches stay together.
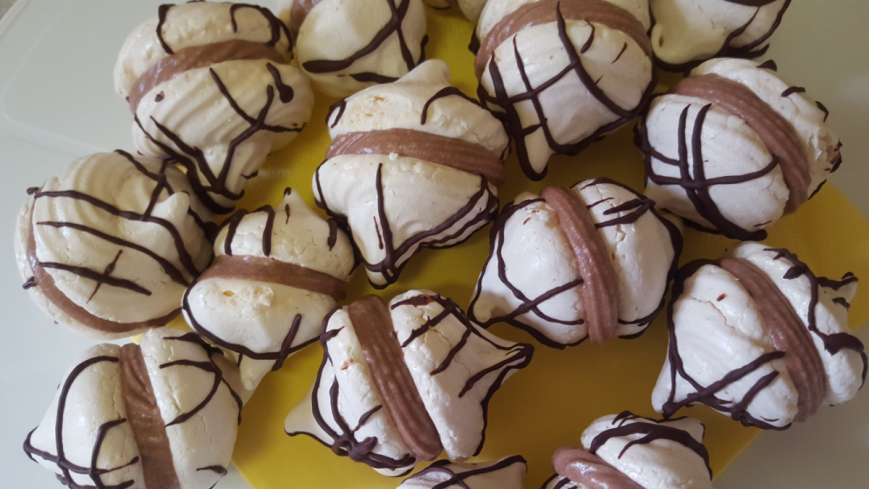
And enjoy! I hope you had fun as I did! It’s always nice spending time in the kitchen, isn’t it?

image

Bon Appétit!
Christina
French Meringue Cookie Sandwiche

image

Here it is something different. Not a cake this time. Last weeks I have a lot more free time and as I have so much things to learn I’ve decided to bake something different from cake. And French meringue is a classic.
When I was a child I loved all the petit fours my mother used to bake. And meringue was definitely not my favourite. But you know… sometimes we change our mind. When I think now of a crispy meringue… mmmm… So yes- going to bake my very first meringue today.
I will use the classic recipe  (because I love classics) for French meringue. And yes… I love adding chocolate to everything so I will make a really nice chocolate frosting and as a final result- meringue cookie sandwiches.
And here is what we need:
For the meringue :
3 large egg whites
175g of icing sugar
a pinch of salt
For the chocolate frosting :
400g of icing sugar
60g of unsalted butter
60ml milk
3 tablespoons of cocoa powder
1/2 teaspoon vanilla extract
For the decoration :
50g of cooking chocolate
So first let’s prepare the frosting. I really like the taste and the texture of it. The amount of icing sugar of course changes its consistency. So it depends for what you’re going to use it. In this case it’s for piping so we need it pretty thick.
Prepare your ingredients.

image

For the first stage of the frosting preparing you need a bain marie. First let the butter melt in it. Then add milk and mix. After vanilla and cocoa powder. Mix well and now leave the cocoa powder cooks for about 5 minutes. You need it to thicken just a little bit. When ready put the bowl away from the fire and take your hand mixer. Start adding the icing sugar. Don’t over mix. Just till all your icing sugar is completely incorporated. Now cover it with some plastic foil because it hardens really quickly.
Now the meringue. Preheat the oven at 100°C. Put your egg whites in a glass bowl and start beating them. Not too much but till they start forming peaks on the top. When you turn around your bowl it should stay there. Now start adding the icing sugar a spoon at a time. When incorporated add another one and like this all your sugar. As a final result you should have that silky white mixture. Now put it quickly in your piping bag and pipe your cookies on a non stick baking sheet. Put them in the oven for around 1h30-1h45.

image

Yes… you should try to pipe them all the same. But as I was so excited that my mixture was perfect I didn’t pay attention to that. And later when making the cookie sandwiches I was obliged to take a biscuit and look for another one that can goes with it 😀
Well… your meringue should be really crispy to the outside and chewy to the inside.

image

Now leave them cool completely. I piped one biscuit extra so I can try them now. And they’re reaaaaly delicious!
When cooled melt the chocolate and decorate them. If you like of course.
If not go back to the chocolate frosting. Put it in the piping bag. Cover the bottom of a biscuit with frosting and add the second one to make a sandwich.

image

Leave them set. It’s better when the frosting hardens a bit so the sandwiches stay together.
And enjoy! I hope you had fun as I did! It’s always nice spending time in the kitchen, isn’t it?

image

Bon Appétit!
Christina
Leftovers Biscuits

image

I was planing a peanut butter and chocolate cake for this weekend. Those are just my favourite ones. I wanted so much to combine them in a cake. It would be the cake from my dreams. But… it’s holiday today… here in Belgium that means- all shops closed. And that means no ingredients for my dream peanut butter cake. Well it must wait then.
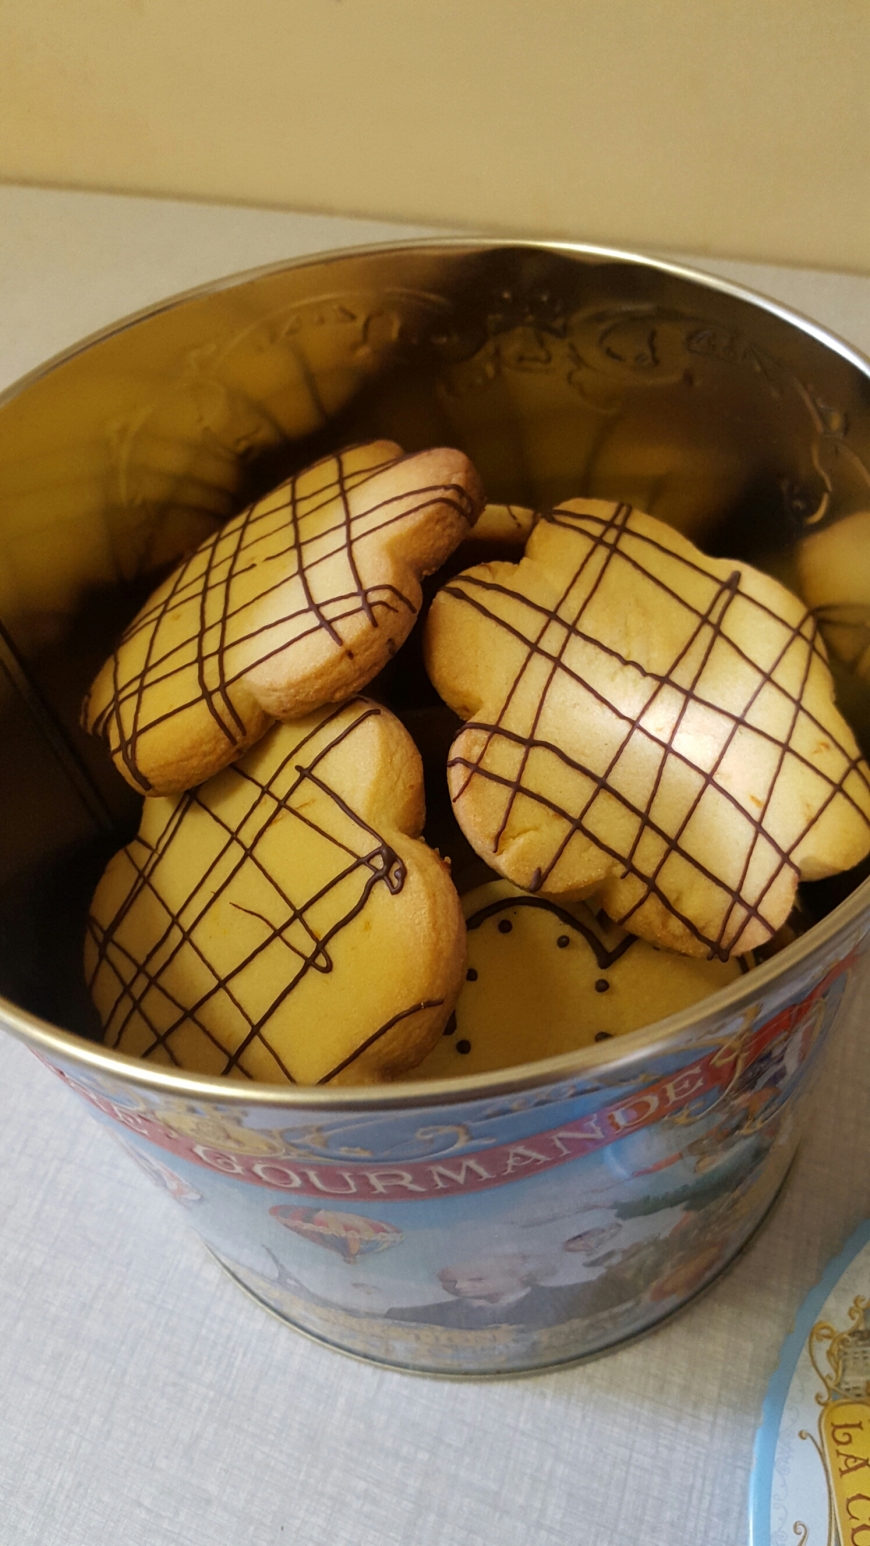
But I have all day free, nothing to do, nowhere to go. I really want to bake something. Then I should try to do something with the products I have at home. And what I found in the kitchen was just enough to bake biscuits. And I know it’s a good thing to be modest but… those biscuits are the best I have have ever tried! Really!
Check out what I used for them:
350g of all-purpose flour
1 egg yolk
140g of powdered sugar
2 teaspoons of vanilla extract
250g of unsalted butter at room t°
the zest of an orange
For the decoration I used some abricot marmalade and some cooking chocolate leftovers I found.
It is for around 12 big biscuits or 25 smaller.
Now… Preheat the oven at 160°C. Prepare your non stick pan. I put baking paper on the bottom just to be sure it won’t stick.
Take a big bowl and start mixing the butter and sugar. I did it with a spoon. When nice and creamy add the egg yolk and the vanilla extract. Mix again. Now add the orange zest. And finally start adding the flour. I add around 50g at a time and mix it. That way I’m sure the dough will be smooth. When finely mixed you should have a pretty sticky dough.
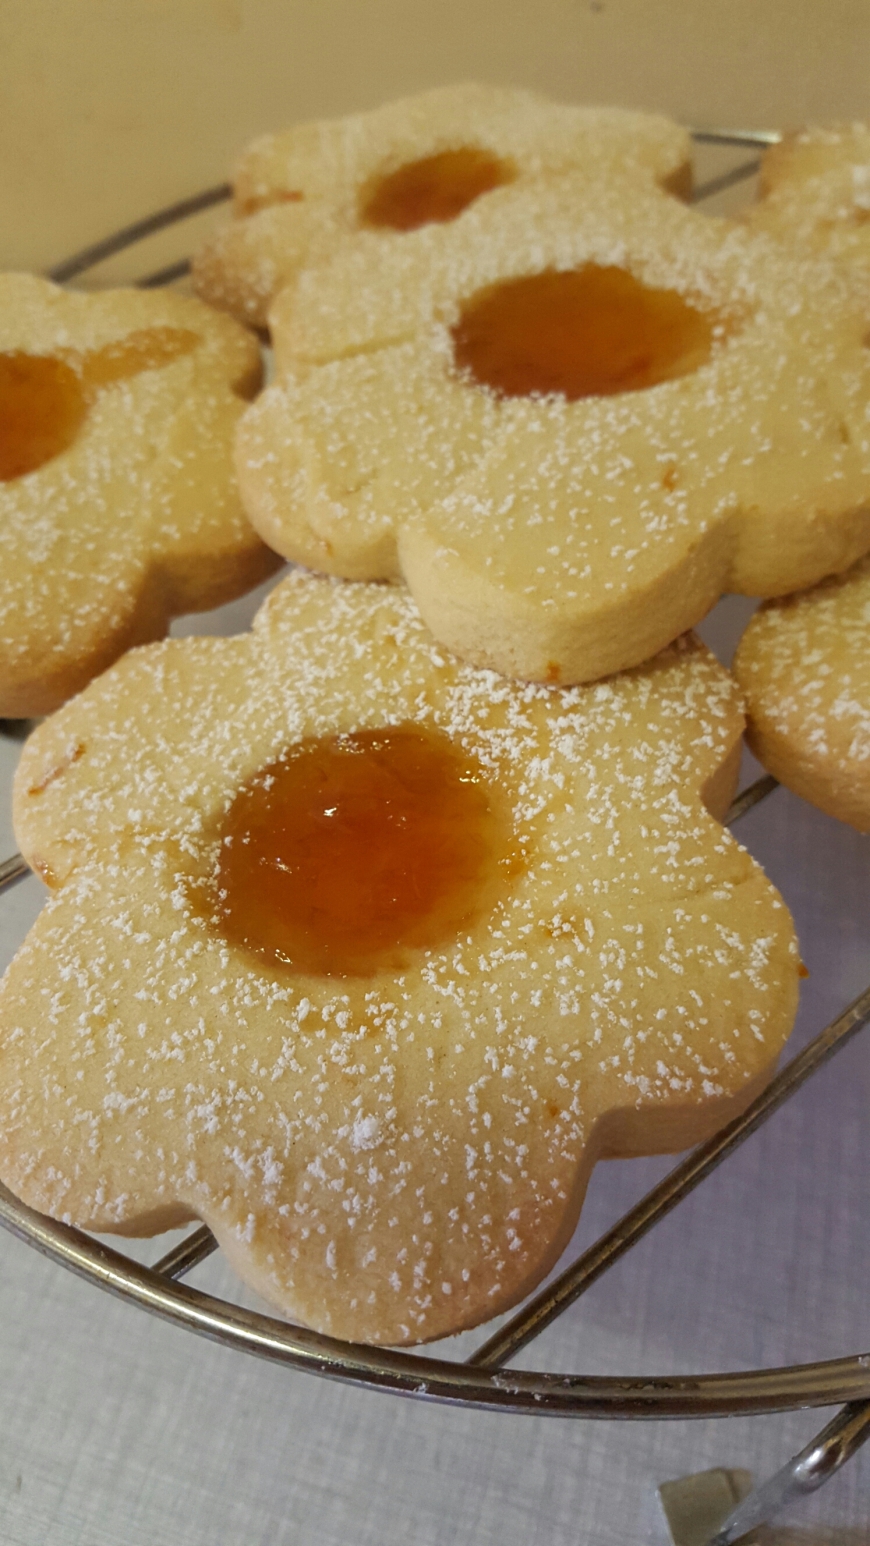
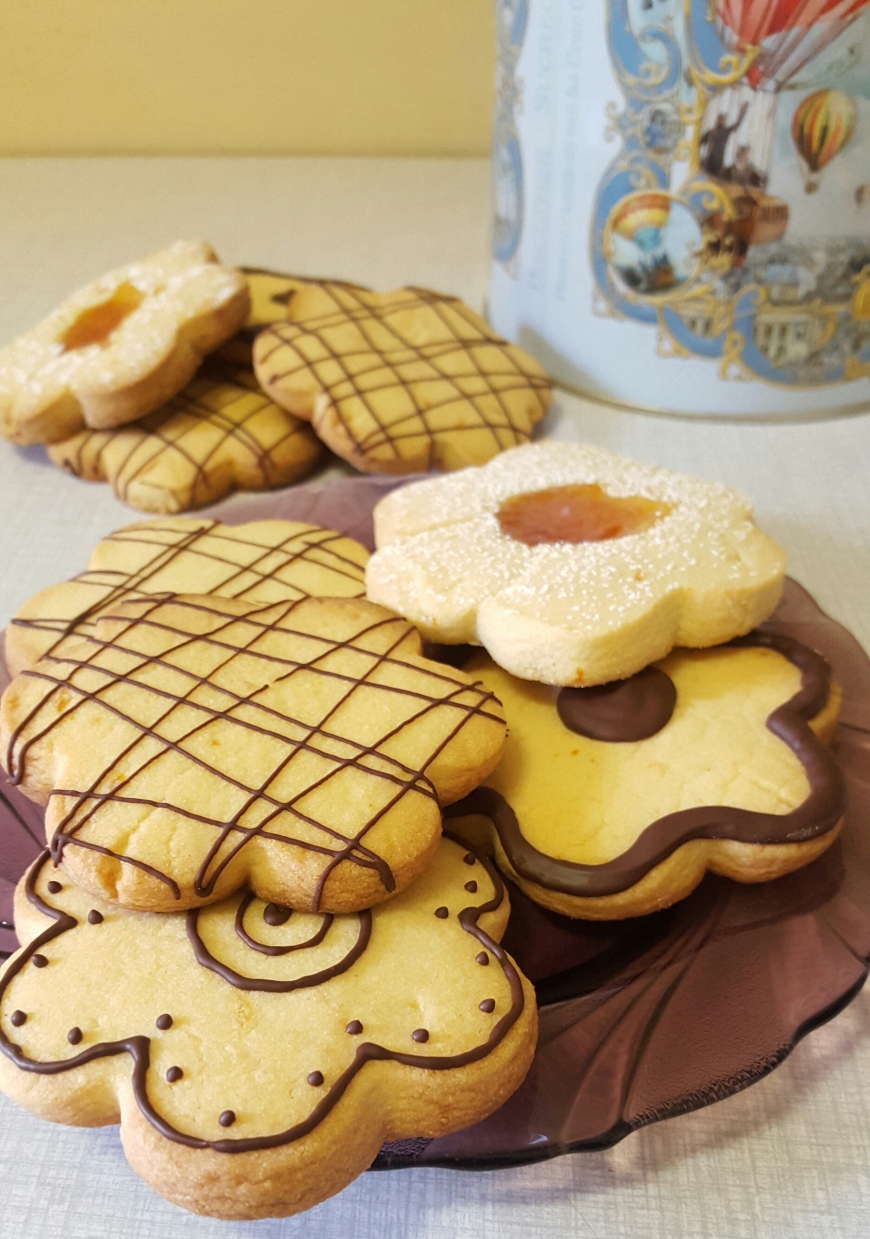
Now I decided to bake 2 different types of biscuits. Of course you can do them as you like. I separated my dough into two equal parts. Take the first one. Prepare your rolling pin, some flour for the working surface to prevent sticking and your marmalade. Oh yeah… also the form for cutting your biscuits. If you don’t have one you can use a glass. I remember doing it that way with my mother when I was a child. Roll out your dough around 1cm thick and cut. Now press every biscuit in the middle with your thumb and put there a little bit of the marmalade. Bake around 12 minutes, or till really light golden. After leave them to cool. But be careful when moving them because when marmalade is hot it’s too runny and you don’t want it to go all over your biscuit. You can also add some powdered sugar on top to make them even prettier.

image

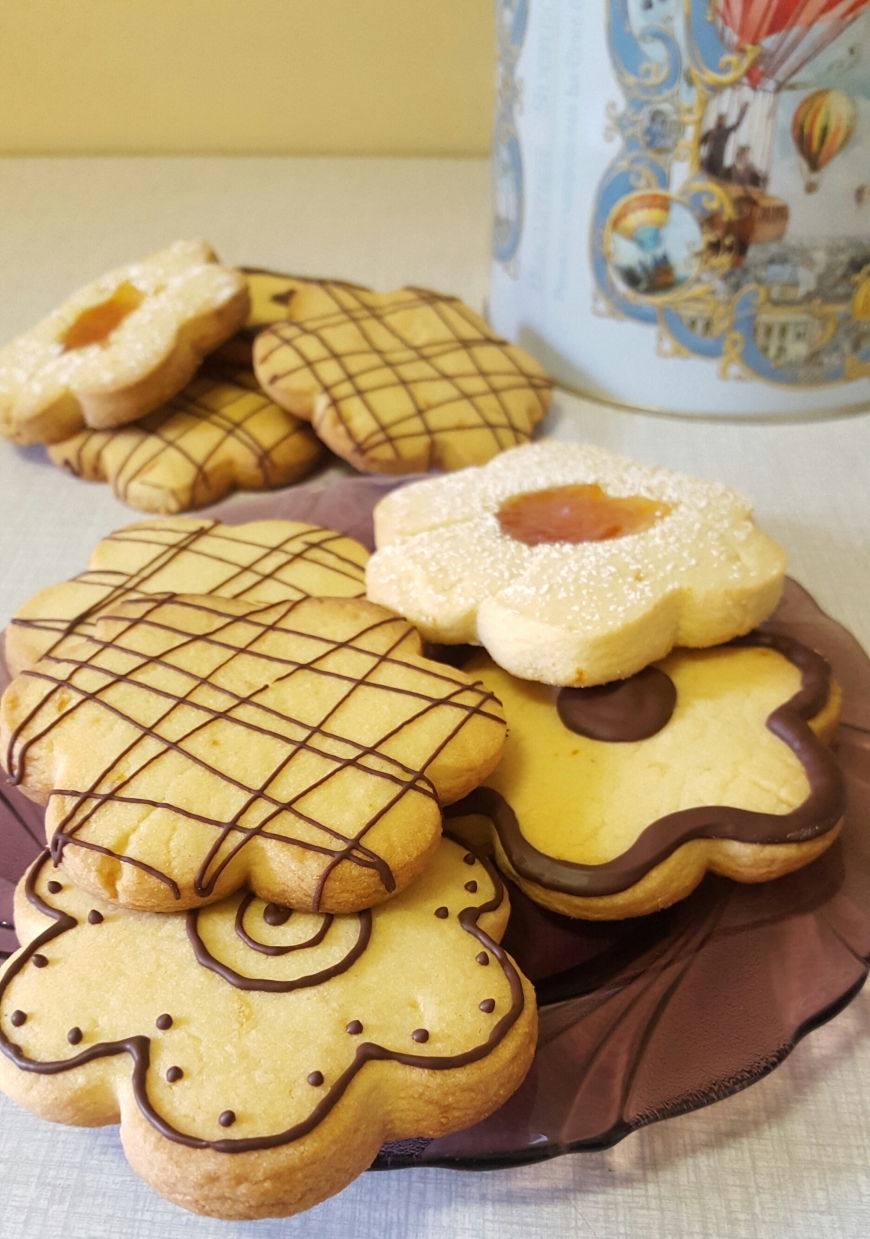
Now put in the oven the second part of the dough. I left them simple, without marmalade. I prefer decorating them later with chocolate that I melted in the microwave for 1 minute.

image

And here we go… now let all your biscuits cool, prepare a cup of coffee or tea and enjoy!

image

Bon Appétit!
Christina
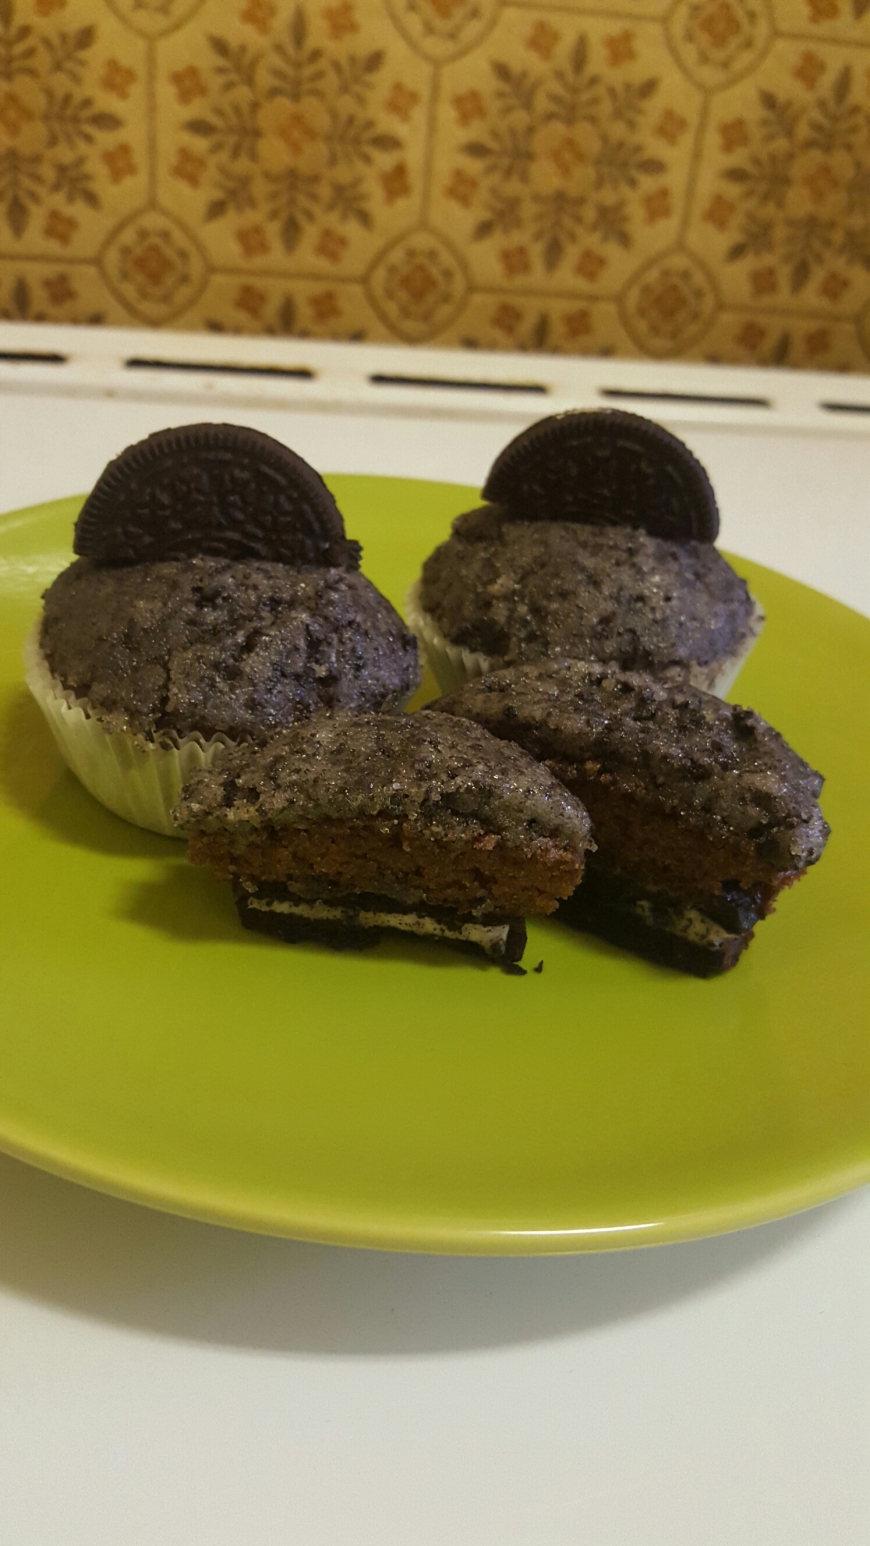
Devil Oreo Cupcakes

image

WARNING: If you are trying to lose weight close that page immediately!
Really! These ones come from hell!
I’m trying to lose some weight but my fiance is not so… he’s trying everything I prepare. Actually he tried these cupcakes several times.
So here they are the ingredients :
For 12 cupcakes:
2 medium eggs
1 cup of all-purpose flour
1/4 teaspoon salt
1/2 teaspoon baking soda
4 tablespoons unsalted butter
4 tablespoons of cocoa powder
1/2 cup of sugar
1 teaspoon vanilla extract
1/2 cup of milk
12 Oreo biscuits
For the frosting:
4 tablespoons unsalted butter
1 cup of sugar
4 or 5 Oreos
Preheat the oven at 180°C. And prepare your cupcake paper liners in the cupcake pan.
So take 2 big bowls. In the first one mix the flour, baking powder, salt and cocoa powder. In the second mix first the butter and the sugar. When it’s fluffy add vanilla, eggs and milk. And finaly mix the ingredients from the two bowls together.
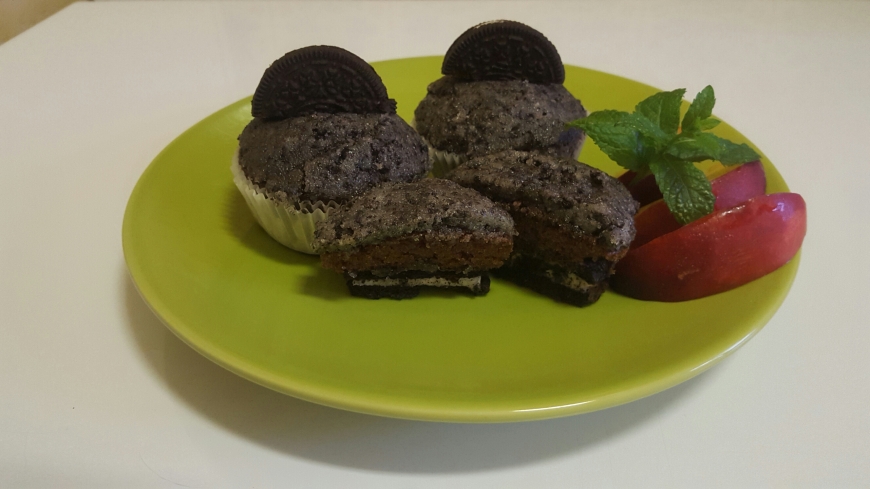
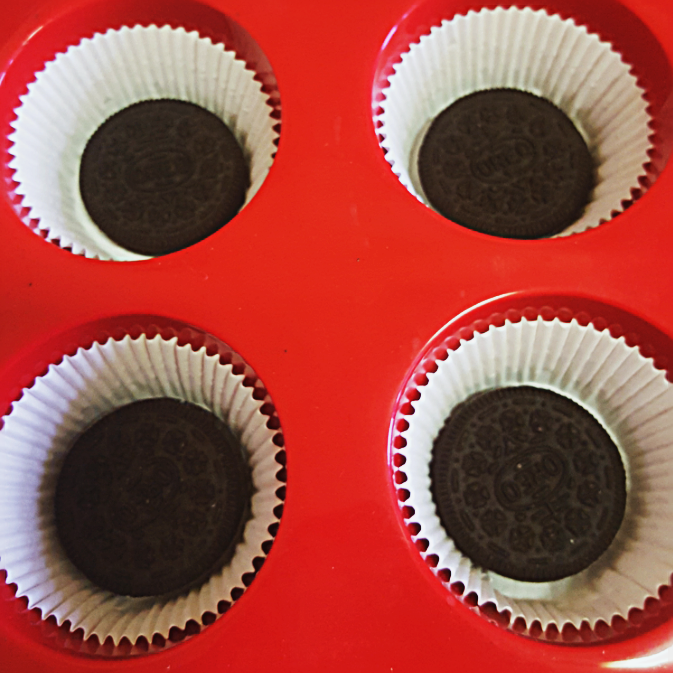
Now going back to the cupcake pan. Put an Oreo on the bottom of every paper liner.

image

Add from the batter so that you fill 3/4 of the liner.
Put in the oven for 15-20 minutes.
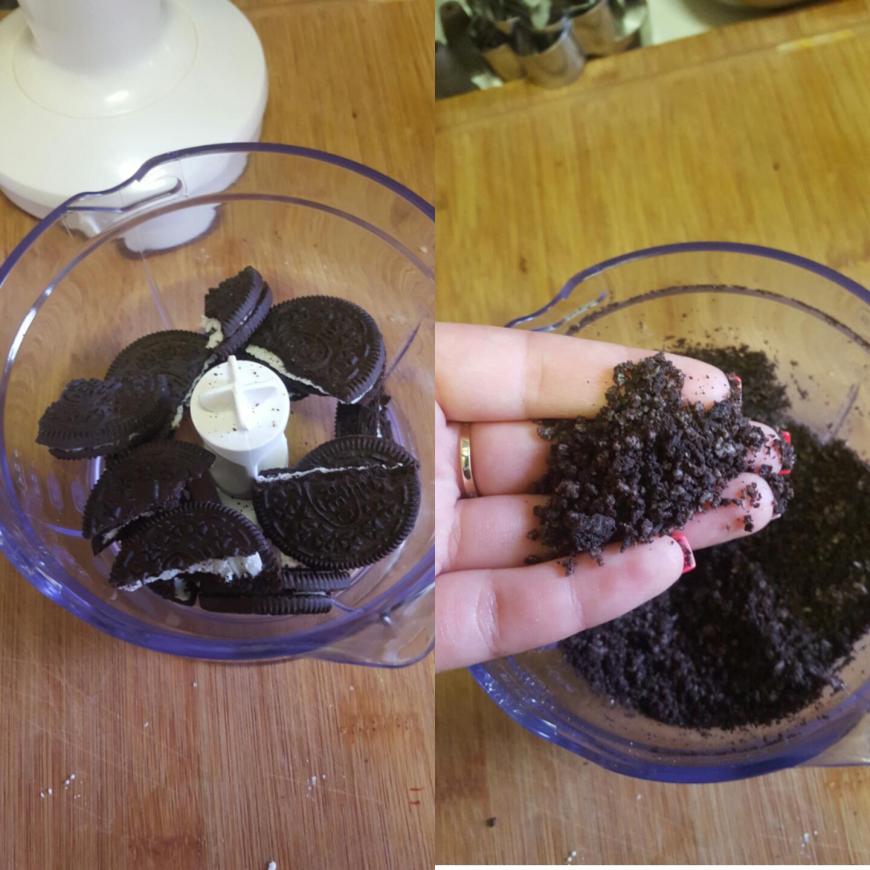
Meanwhile you should prepare your frosting. Mix well the sugar and the butter. After take the Oreos and put them in the blender. Mix everything together.

image

When cupcakes are ready just put the frosting and decorate with half of Oreo biscuit.
When you eat one hide the rest somewhere  😊

image

I hope you will like them. Waiting for your ideas and opinions for the recipe.

Bon Appétit!
Christina