Persian Cumin Bread Sticks

image

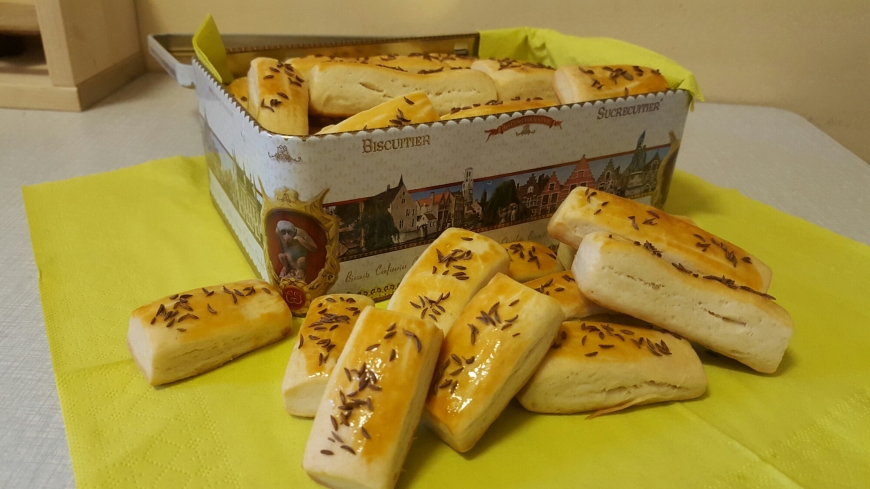
Yum yum! Who doesn’t like freshly baked bread sticks. And it’s great because you can add them any spice you like, cheese, bacon, even sugar or chocolate. I think you just need a nice recipe for the dough and after you let your imagination works. You can make them crispy or not, squared, round, long, thin, any shape you like.
But I remember breadsticks from my childhood. They are covered with some Persian cumin. To be honest I never use this spice in my kitchen. I think its strong aroma is pretty specific but it goes wonderfully with bread sticks.
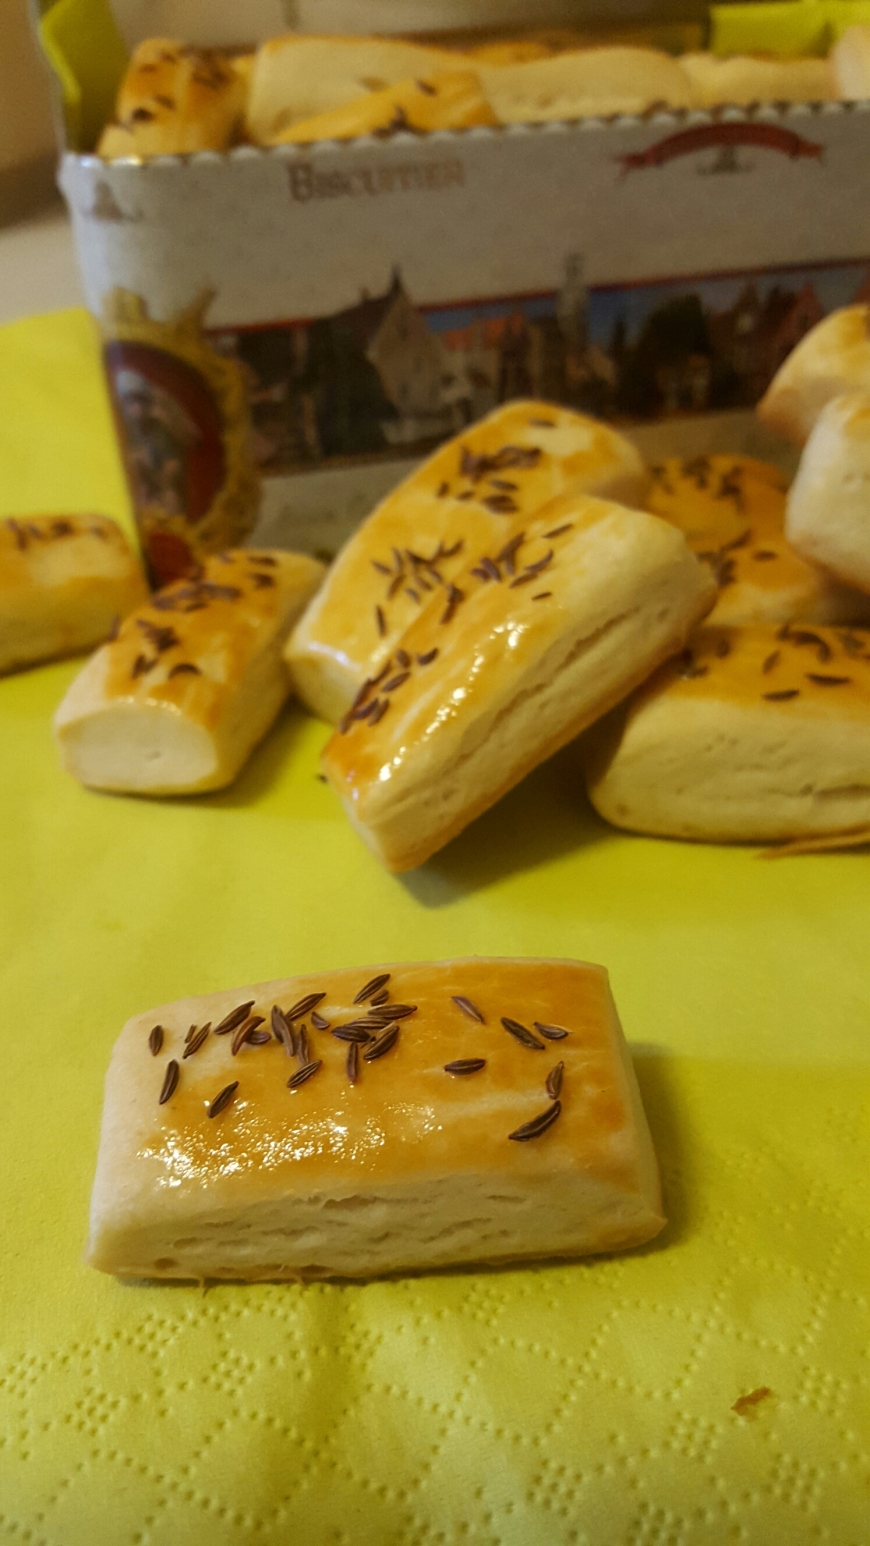
These on the photo are only Persian Cumin flavored. Some weeks after baking them I tried the recipe again but this time made them pretty thinner and added some cheddar on the top. They were just delicious! So if you like you can add some cheese to the recipe.
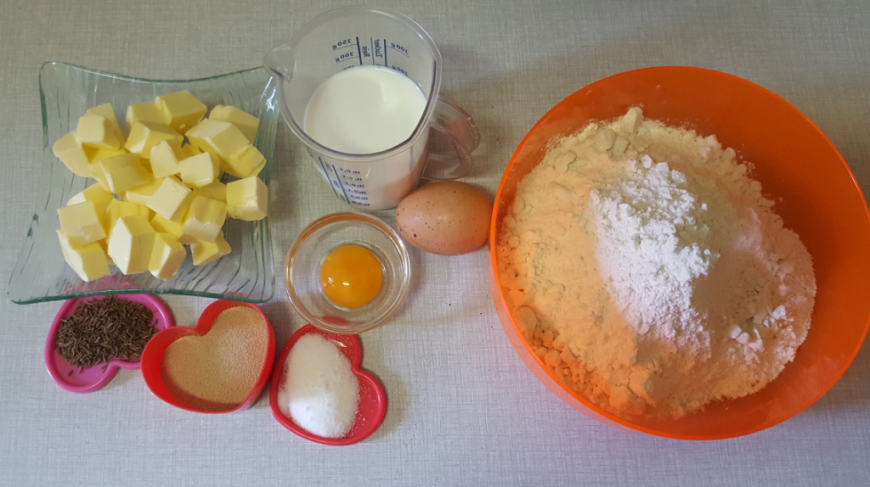
And here’s what you need:
200g of butter (I always use unsalted)
200 ml of milk
1 egg
1 egg yolk
20g of yeast
1 tablespoon of salt
400g of flour
1 tablespoon of Persian Cumin

image

Preheat the oven at 170°C. Prepare a baking sheet covered with baking paper.
Now mix flour, salt and yeast. Make like a well in the middle of it. Mix there milk and egg. Finally add the melted butter. Now start incorporating slowly the dry ingredients.
This time you use yeast but you’re not going to let it prove before. Directly roll out the dough on a greased surface. If you like your bread sticks to be thin roll it out as thin as possible. Keep in mind they are going to rise in the oven. So roll out and cut them the shape you like.

image

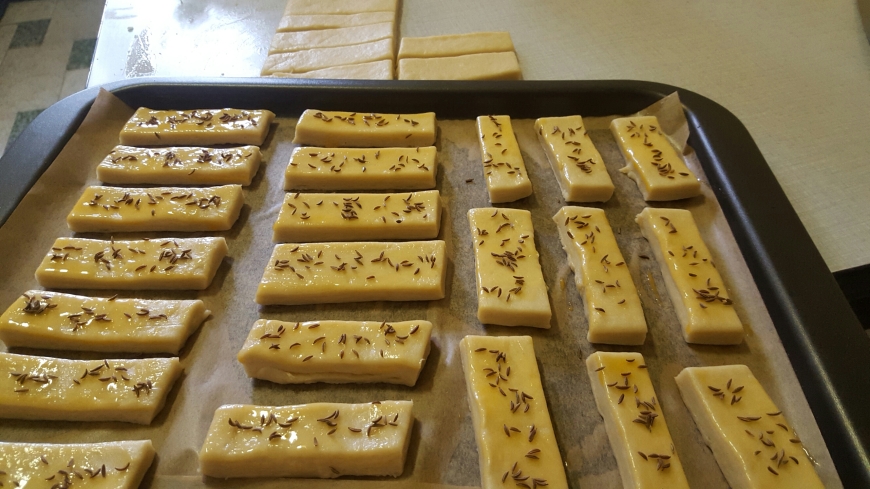
Put them on the baking sheet. Use the egg yolk to egg wash and after sprinkle with the Persian cumin.

image

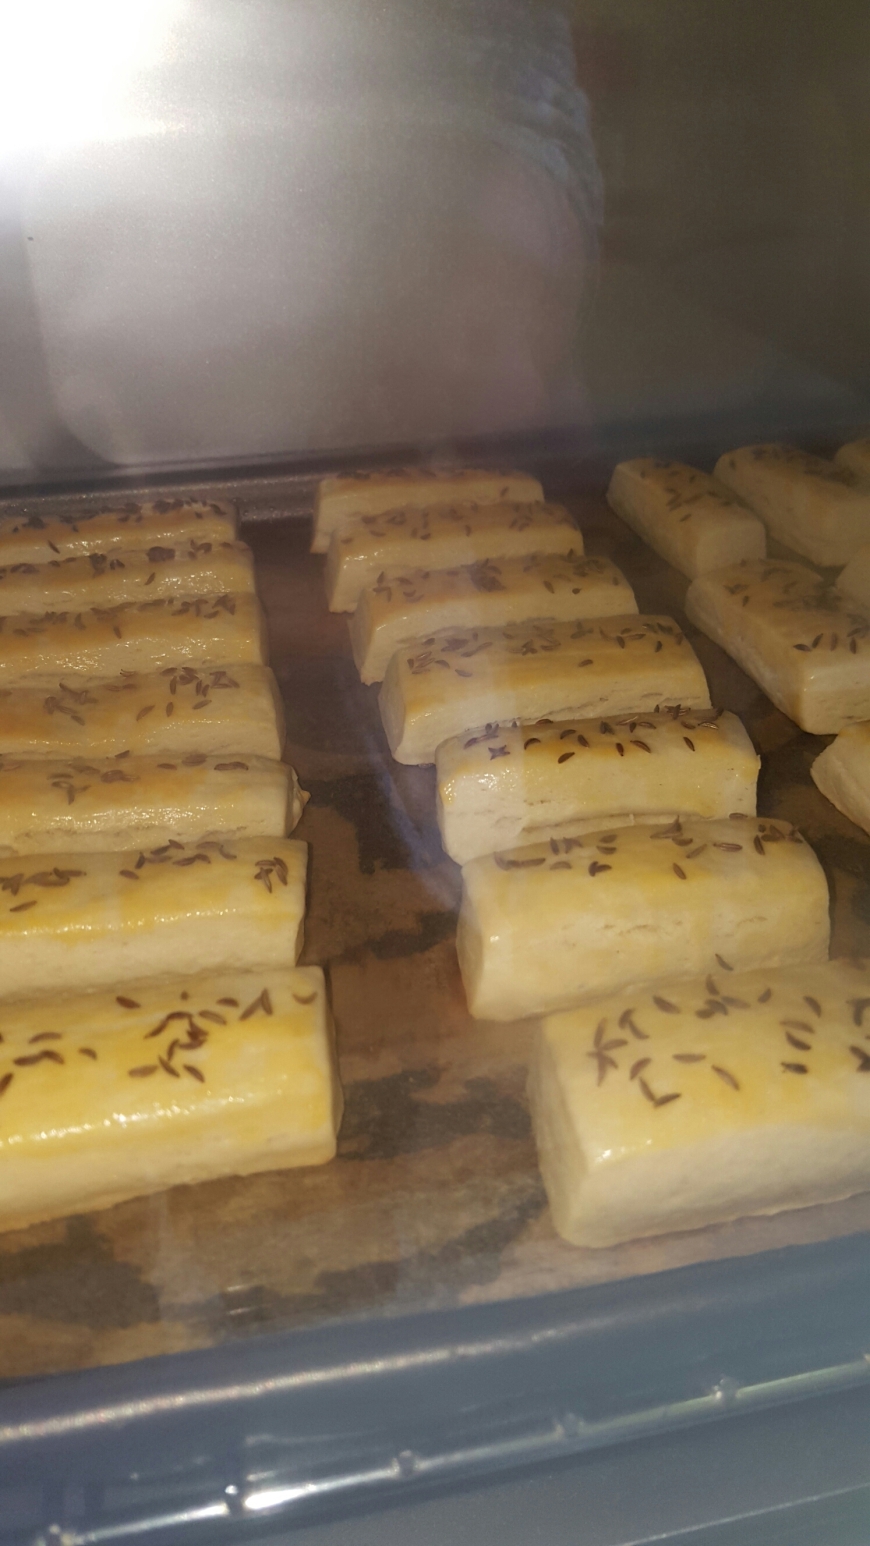
Bake around 15 minutes. It depends on how thick they are. Let them become golden brown.

image

Hope you’ll like them! Well… they were gone pretty quickly at home so… My family did 😊
Coming later with White and Dark chocolate cake.

Bon Appétit!
Christina

My Very First Bread Loaf

image

I grew up with homemade bread. Even now when you enter my mother’s house in a holiday or before some special family dinner you can always smell that fairy odor of fresh baked bread. She does them in different shapes, flavors. Hers really special one looks like sun. And aaah… What is best that a fresh baked bread with some butter on it. Yes… we all love bread, don’t we?
I have never baked a bread. And for me it was always a bit scary with all that racing moment. Is it going to prove as it should… Always found it easier to go to the local bakery and buy it.
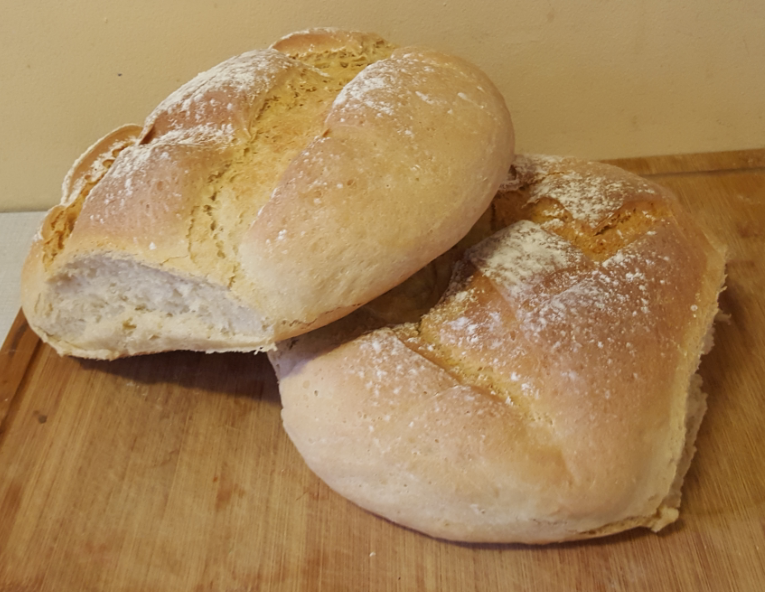
Last days I have plenty of free time. So today I decided to try to bake a bread. I thought it would be easier to start with very simple and basic white bread. Finally I had two of them because I prepared too much dough. But it’s OK… you can use just the half of the ingredients or just store one of them in the freezer. After it will be as good as in the day of the bake.
So if it is going to be your first bread baking… or you just like the simple ones go for that recipe. Mine is in the oven right now and believe me I have my mouth watering because of the smell in my kitchen.
You will need :
1kg of bread flour
625ml of water
21g dry east or 30g fresh one
2 tablespoons of sugar
1 1/2 tablespoons of fine sea salt
flour for dusting
Preheat the oven to 180°C/375°F.
Mix flour and salt in a big bowl. Then make like a well in the middle of it. Heat your water for a while. It shouldn’t be too hot but tepid. Now add the sugar and dissolve it. Finally add the east. Cover it with plastic foil and leave it for about 5- 10 minutes. It should form like foam on the top. And it’s time to add it to the flour. Put it in the well and start slowly incorporating the flour with a spoon. When it’s done it’s time for kneading.
Put the dough out on a flour dusted surface. Flour your hands and start kneading. Continue doing it for 7 to 10 minutes.
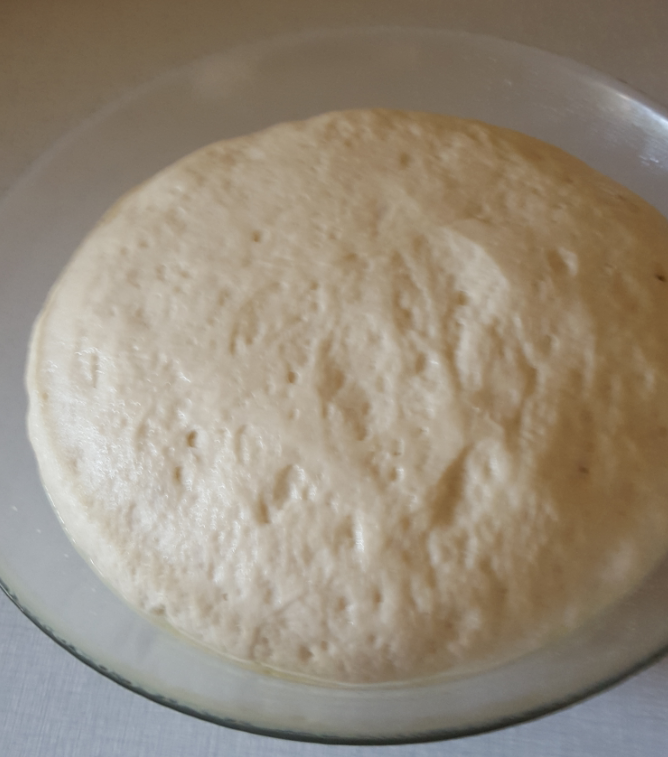
Now grease the biggest bowl you have. Form your dough like a ball and put it in there. Tell to your dough that you love it and cover it with clean kitchen towel. Now leave it prove for 45 minutes to 1 hour. It should double its size. Get sure it’s not cold in your kitchen. Close the windows. Now pray 😀
In 45 minutes my baby looks like this.

image

And believe me it’s a big bowl. So that’s when I realise I’m going to have two and not one bread loaf.
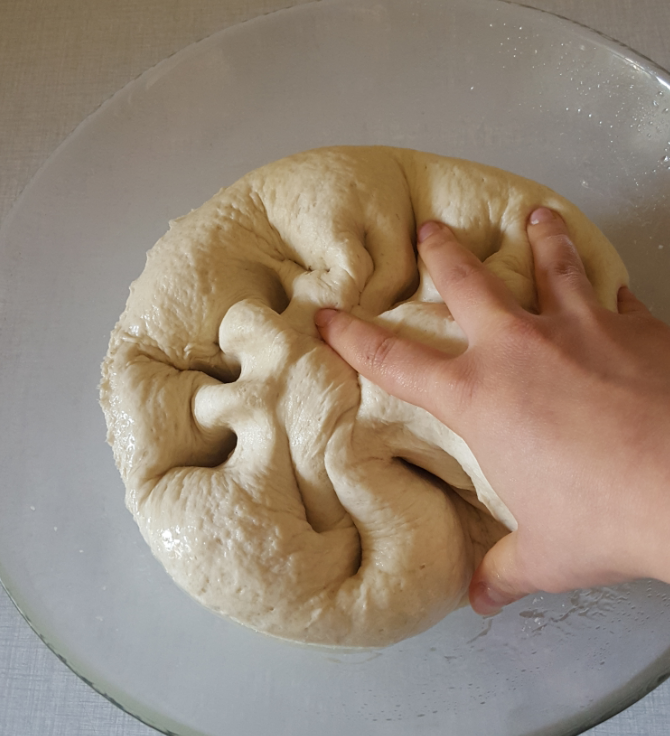
Now you need to put the air out of it by squashing it. And it’s so much fun doing it!

image

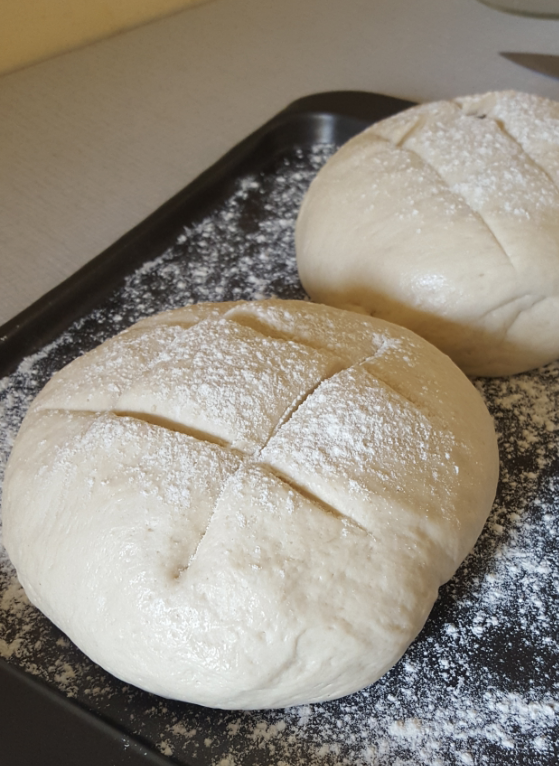
Time to shape your breads. And put them on a flour dusted baking tray. Now cover again with the towel and pray again because it must prove for a second time. This time for 30 minutes to an hour. It should again double in size.

image

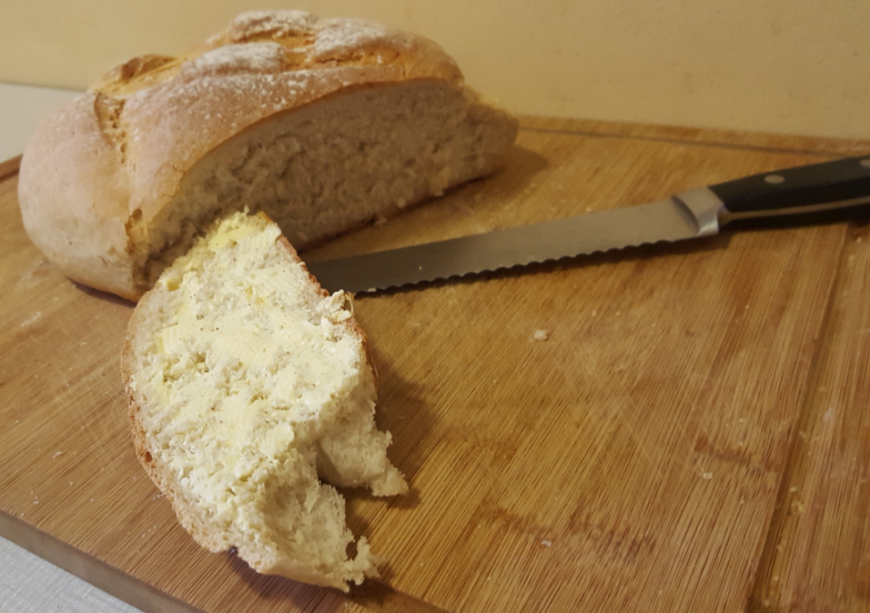
Aaand bake! Mines were ready for around 40 minutes. It should be golden-brown and when you tap its bottom you should hear that hollow sound like… yummy bread is ready!
And of course – enjoy!
Now I am going to taste mine. Hope you like yours!

image

Bon Appétit!
Christina