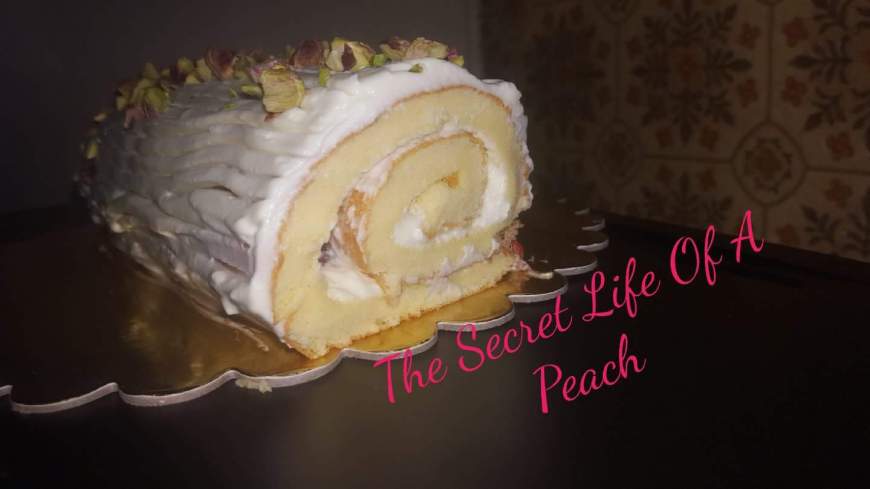
Strawberry and Pistachio Swiss Cake Roll

image

It’s been a while. I actually never stop baking. But lately I was baking again and again my favourite ones.
Last week saw a lot of tutorials about roll cakes so that inspired me to bake one. Never did a roll cake before. But I love them. Well… never tried a homemade roll cake. But you can find a good one in the bakeries or the grocery shops.
Today I did one. Actually I am really surprised how quick and easy it was. A little disappointed in fact. I like challenges. Of course the result is a delicious homemade dessert.
Now if you want to try my recipe for it you won’t need to go shopping. It is really simple one.
Here is what you need.
For the sponge:
4 eggs at room t°
120g granulated sugar
1 teaspoon boiling water
60g of all-purpose flour
1/3 teaspoon baking powder
1/4 teaspoon almond extract
1/4 teaspoon cream of tartar
For the filling:
3/4 cup whipping cream
1/2 teaspoon almond extract
70g powdered sugar
4-5 tablespoons strawberry jam
For the topping chop around 50g of pistachios.
Now preheat the oven at 170°C. Grease and cover with baking paper a baking pan. Mine is 27×36cm and around 1,5-2cm high.
Let’s first separate the egg whites and the egg yolks in two bowls.
Mix the yolks and add the half of the sugar to them (60g). Mix it again and add the almond extract and the water. Of course if you prefer you can use vanilla. But I am in love with the almond extract so I use it everywhere 😀 Mix till homogenous. Then sift in there the flour and the baking powder. Mix again till all the flour is incorporated. Put it aside.
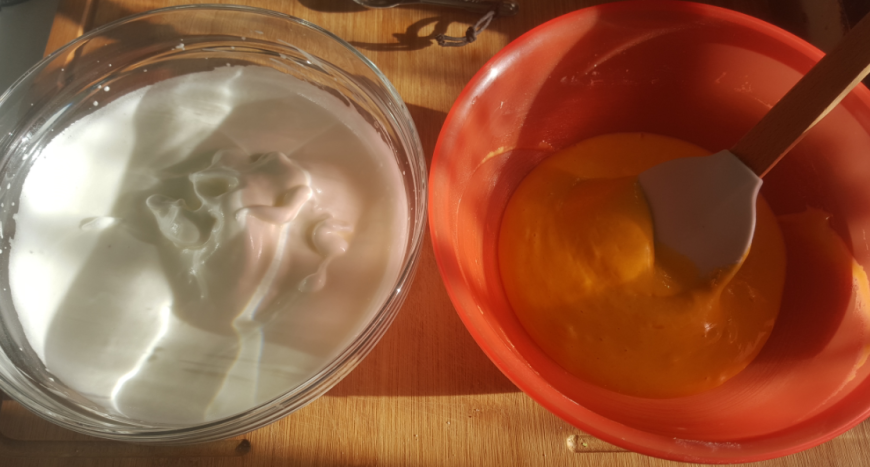
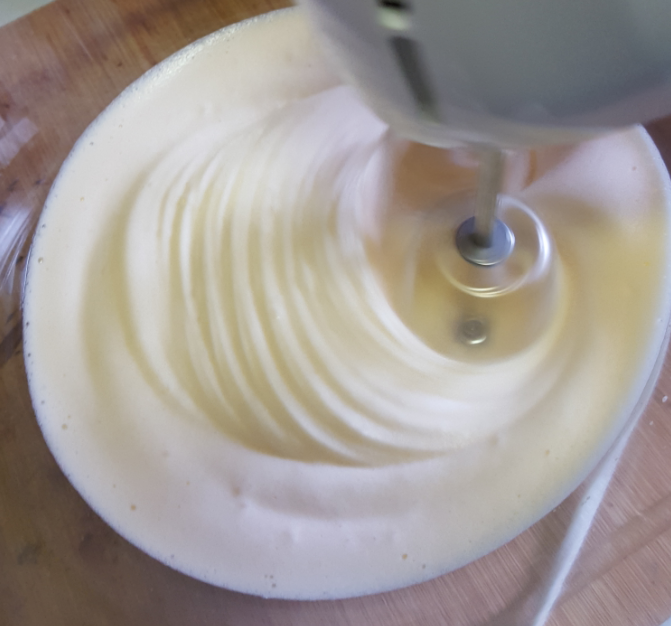
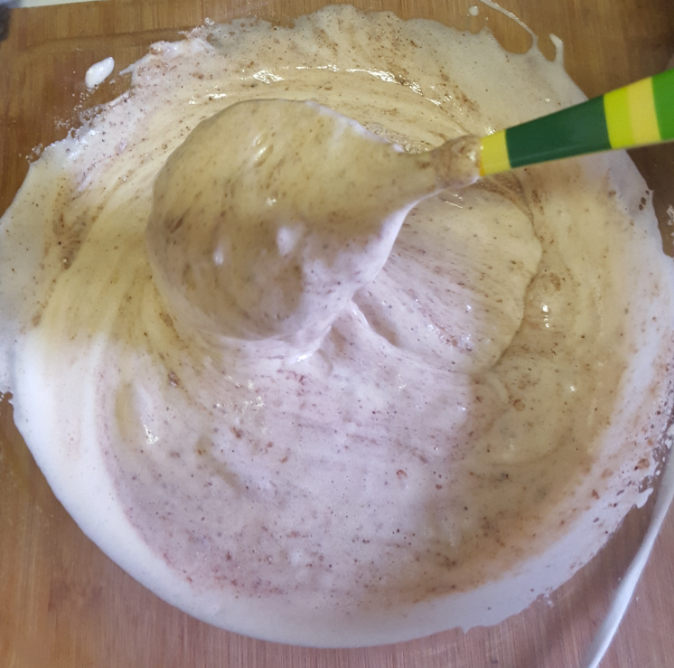
In the bowl with the egg whites add the cream of tartar and start mixing. Add the sugar gradually. Mix till soft peaks start forming.

image

Add about 1/3 of the egg whites in the batter and mix carefully with a wooden spoon. When homogenous add the rest and mix it again. Try to keep as much as volume as you can.
Pour the batter in the pan and bake between 10-13 minutes.
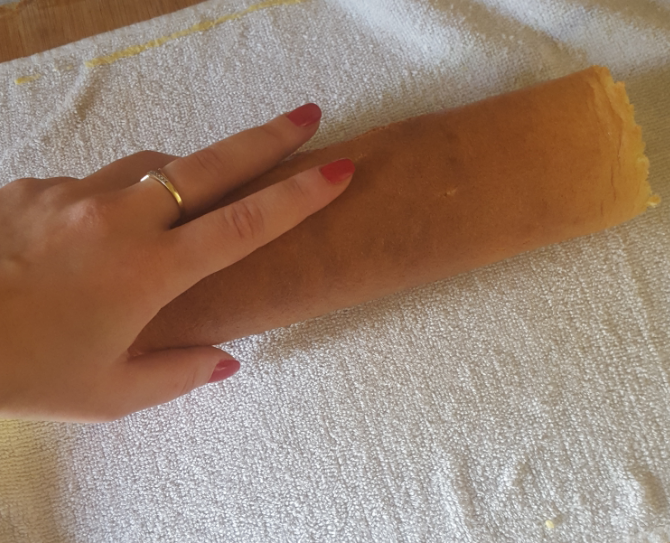
Here I will share with you a new trick I’ve learned about 10 days ago. And it really changed my life… or ok… not my life but at least I don’t cut my fingers with the bread knife anymore(it happened to me 2-3 times in the past and believe me it hurts!) Yes… the trick- when you put out your cake from the oven, cover with clean towel and press it gently with some flat surface for about 30 seconds. And it’s done- perfectly flat cake! Do you know what it means?!- No more trimming. Cake is perfectly leveled for 30 seconds!
Now you can try it right now with this one and use it in the future.
Now… put a sheet of baking paper to cover your cake, then a clean towel and turn it around. Be careful. You don’t want it ti break.
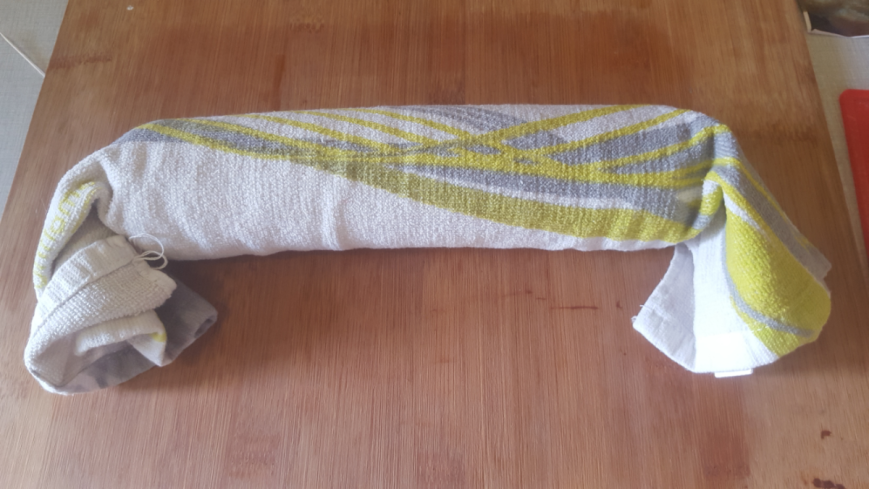
When cake is out you need to roll it. Make it carefully and tightly. Then pack it with the towel and let it cool for around 10 minutes.

image

image

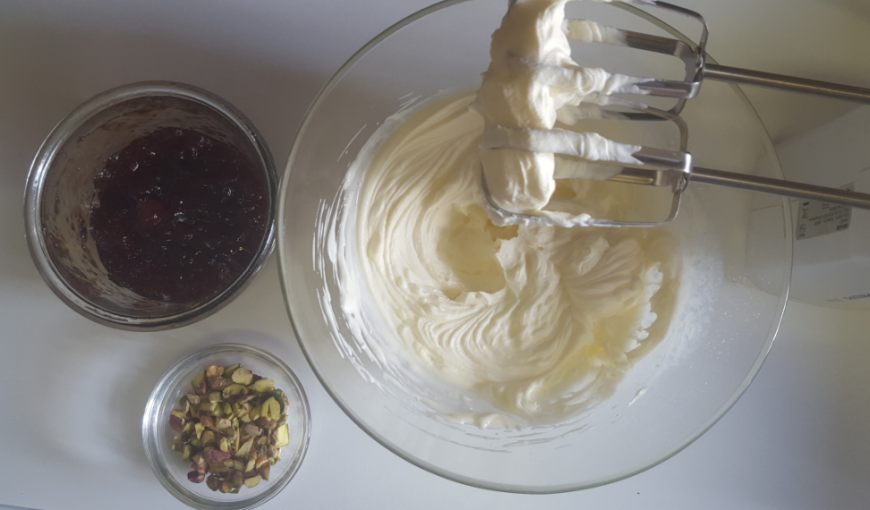
Meanwhile you can prepare the filling. Pour the whipping cream, powdered sugar and extract in a bowl and mix several minutes till cream is thick enough.

image

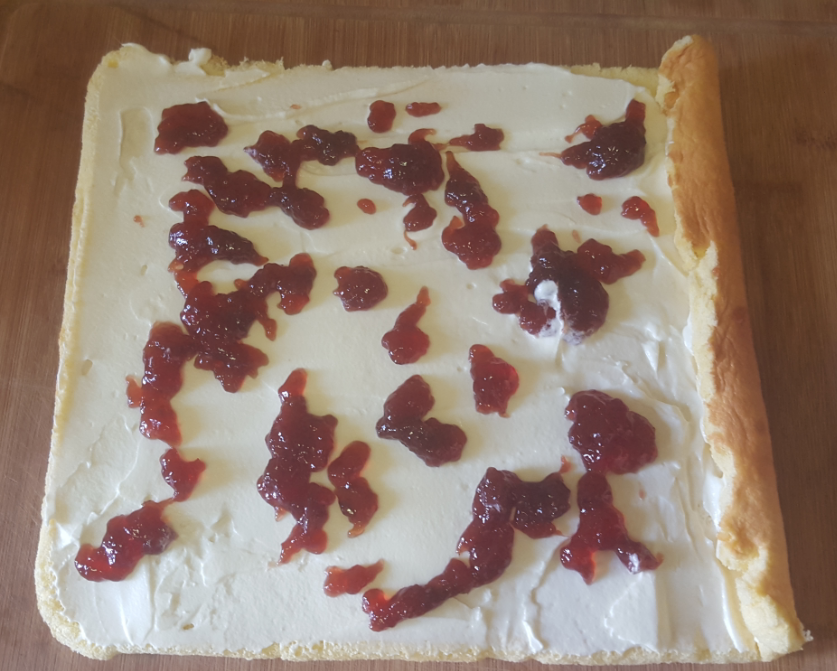
Roll out the sponge carefully. Spread generously some cream and strawberry jam.

image

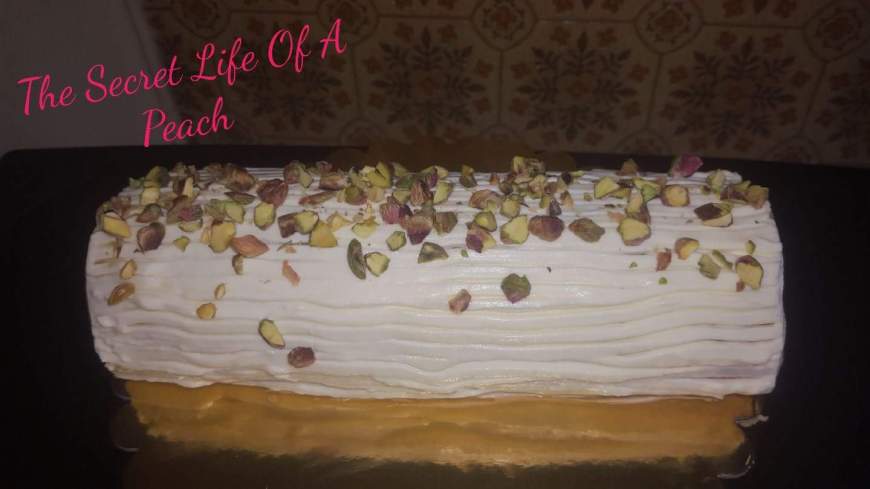
Roll it again. Cover with the rest of the cream and spread the chopped pistachios. Trim the two ends of the roll if you need to. But do it gently. 

image

Let it rest at least 1 hour in the fridge before serving.
Enjoy!

Bon Appétit!
Christina

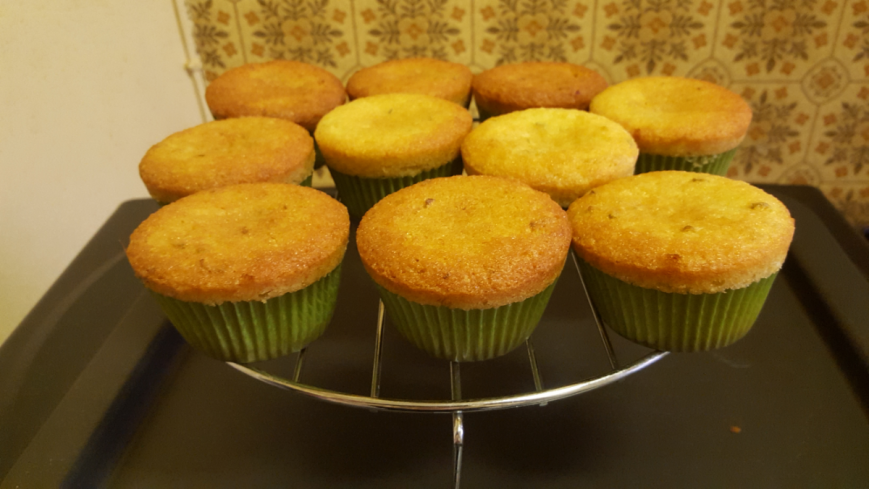
Lime Cupcakes

image

Cupcakes are so cute! Perfect portion size, different colours, flavors and pretty decoration. I really like cupcakes!
My tropical cake was not enough. Still want to try something… exotic.
Nowadays we can find limes everywhere any time of the year. But when I was a child I didn’t even knew they exist. The only citrus fruits that we had were bananas and oranges for Christmas.
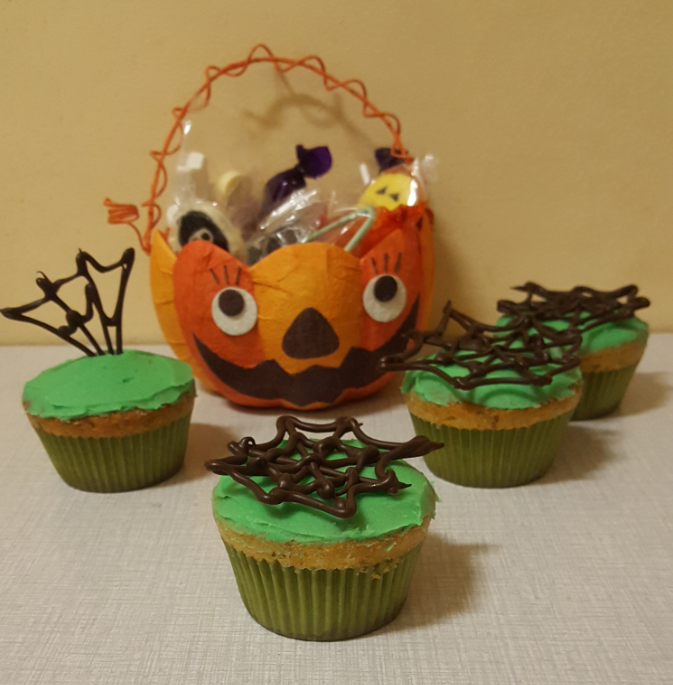
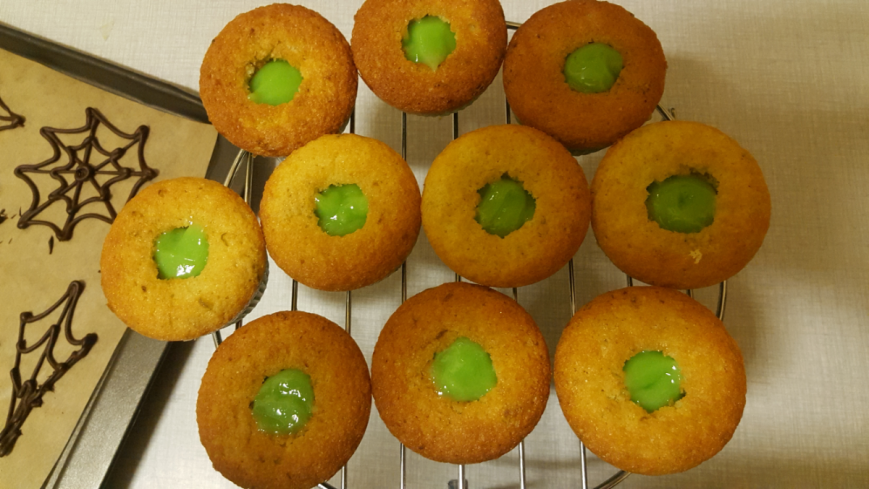
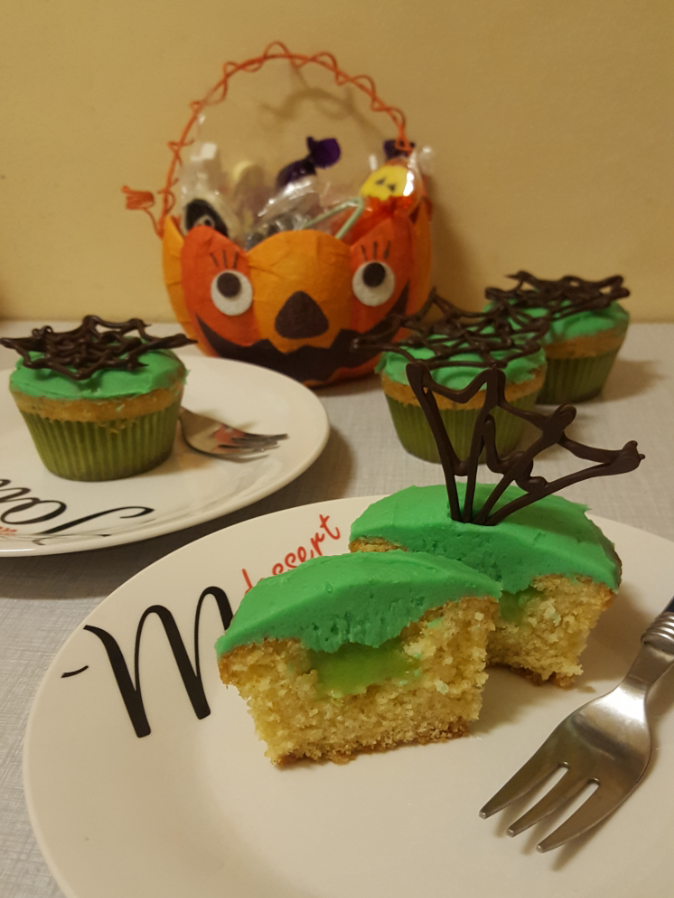
Today I will bake some Lime cupcakes filled with lime slime, green butter cream and chocolate spider web… Well it’s Halloween so… 😊
Now let’s first make the cupcake batter. You will need:
125g self-raising flour
125g powdered sugar
1/4 teaspoon baking soda
130g unsalted butter at room t°
2 eggs
zest of 2 limes
1 tablespoon juice of lime
1/2 tablespoon milk
Preheat the oven at 180°C. Prepare your cupcake pan with the cupcake paper liners.
Sift together flour, baking soda and sugar in a big bowl. Zest the 2 limes in there. Add the butter and the lime juice. And the eggs goes there too. Mix it well. With the hand mixer around 2-3 minutes. Now and the milk and give it another mix till incorporated.
Now just take a spoon and separate the batter in the cupcake pan. Fill around 2/3 of each paper liner.
Bake 20 to 25 minutes. Then leave it cool completely on a kitchen rack.

image

While cupcakes are cooling you have enough time to prepare all the rest.
I melted 100g of dark chocolate. Covered a baking sheet with wax paper and piped some chocolate spider webs there. You can do spiders or anything you like.
I always leave my chocolate to set at room temperature. It takes much longer but the chocolate keeps its shine I think. But you could always put it in the freezer. It will be ready in not even 5 minutes.
Let’s prepare that lime slime. We are going to fill the cupcakes with it. And it’s sooo delicious.
Now you will need:
110g of powdered sugar
110ml lime juice
zest of 1 lime
2 eggs
5 egg yolks
a bit of green gel colour
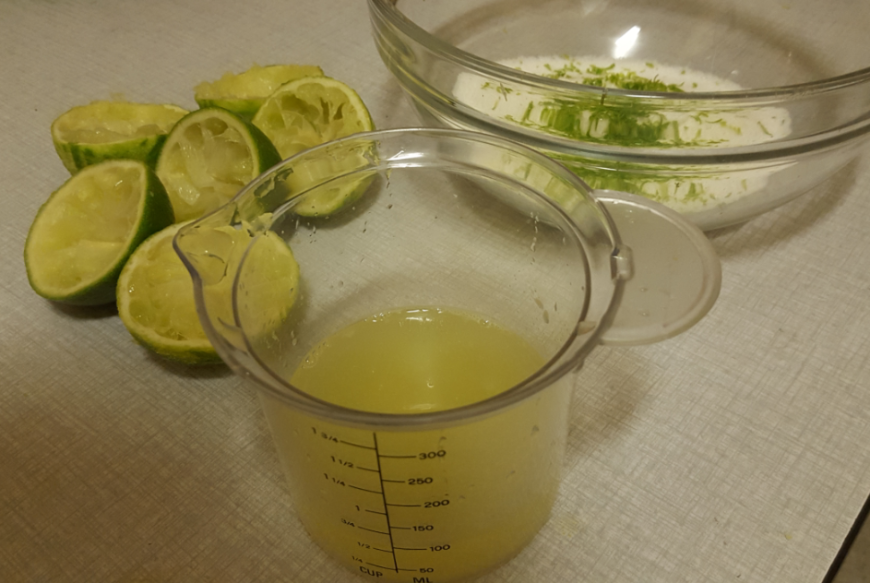
Prepare a bain marie. The sugar goes in a glass bowl. Zest the lime. Juice 110ml of lime juice. I used 3 limes.

image

Juice also goes in the bowl.
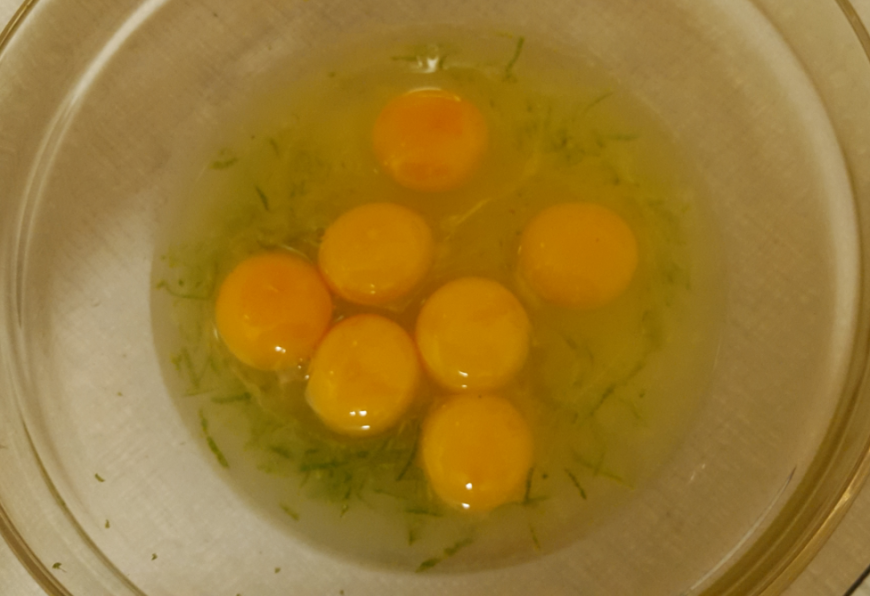
Now add the eggs and the egg yolks.

image

That goes on the bain marie. Mix it quickly with a whisk till it thickens. It will take around 5-7 minutes. So whisk hard and think about all the calories you’re burning 😀
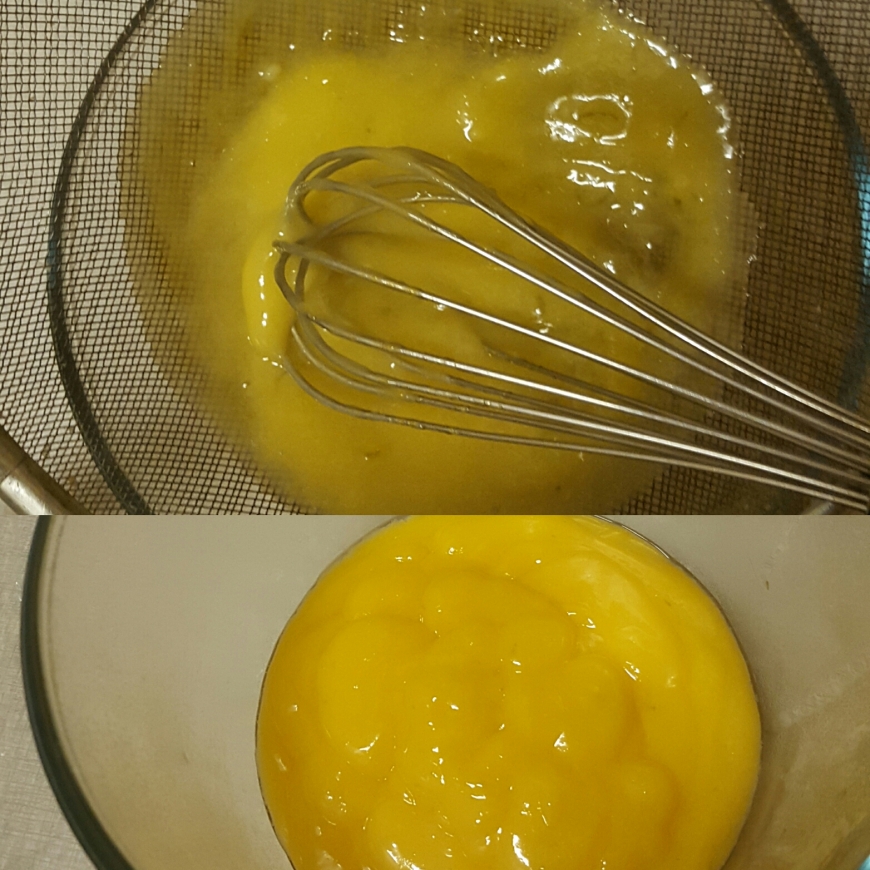
When the lime slime is thick enough we’ll get rid of the lime zest.

image

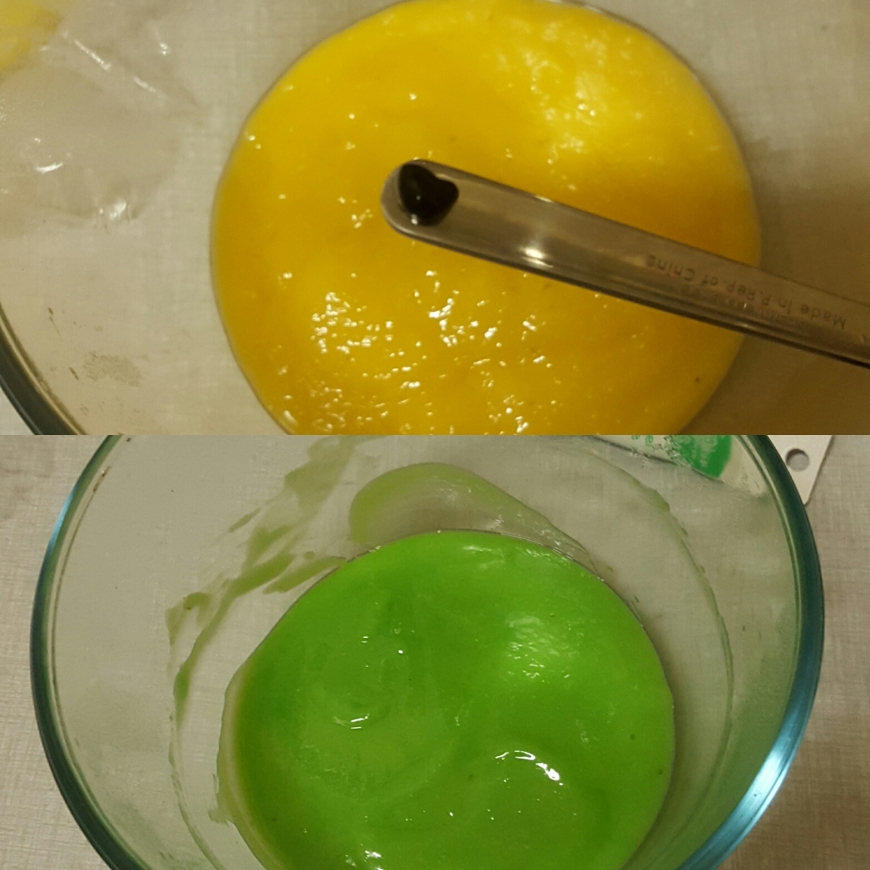
Put it in your sifter and it goes back it the bowl. As you see it’s pretty yellow. And we want it green. So add some green gel colour. Mix well.

image

Now that is lime slime! Cover and leave it aside to cool.
Butter cream time! I will mix simple vanilla butter cream and colour it in green to make it more like Helloween 😀
For the butter cream you will need:
400g powdered sugar
250g unsalted butter at room t°
1 teaspoon vanilla extract
3 tablespoons whipping cream
Well that’s easy! Mix the butter and sugar till light and fluffy. Add the vanilla extract and give it a mix. Finally add the whipping cream and mix again till homogenous.
As I said in one of my latest posts using whipping cream or heavy cream doesn’t make a big difference. Actually I always use whipping cream and never had a problem.
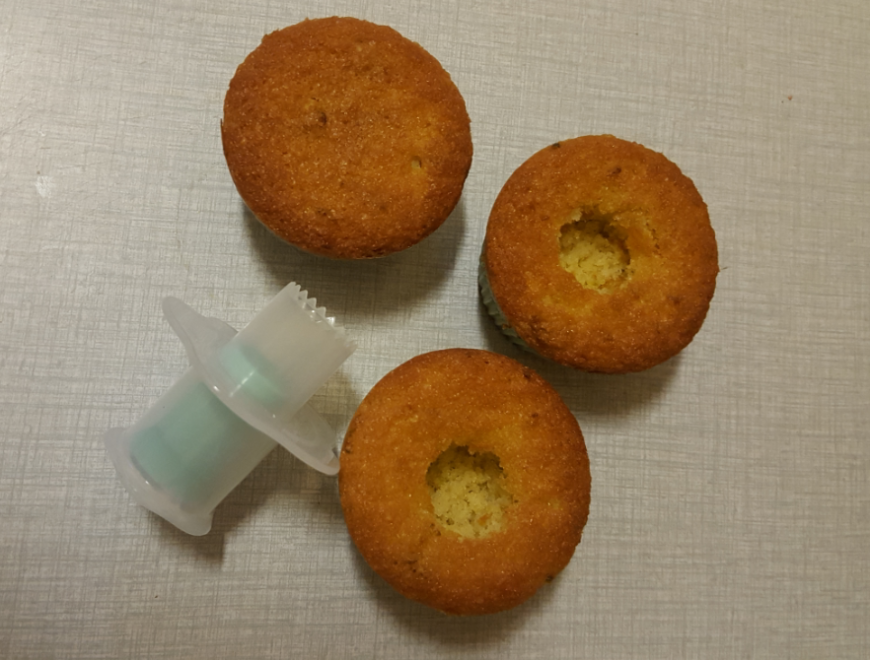
Now go back to your cupcakes. We need a small well in each cupcake.

image

There you will pipe the lime slime. And after it will be the small limy surprise when you start eating your dessert.

image

And of course finally the frosting and decoration.
And here we go! Dessert time is always best!
Hope you like them!

image

See you soon!

Bon Appétit!
Christina
Tropical Cake

image

Here I am again- obsessed of my oven. Reaaaly want to put something in there. It’s raining outside so really don’t feel like going shopping. Then should try to use what I have at home and create something delicious.
I notice a can of pineapple. Hmmm… That sounds like tropical cake, no? I can add also some bananas and try to do some glaze with the juice of the pineapple.
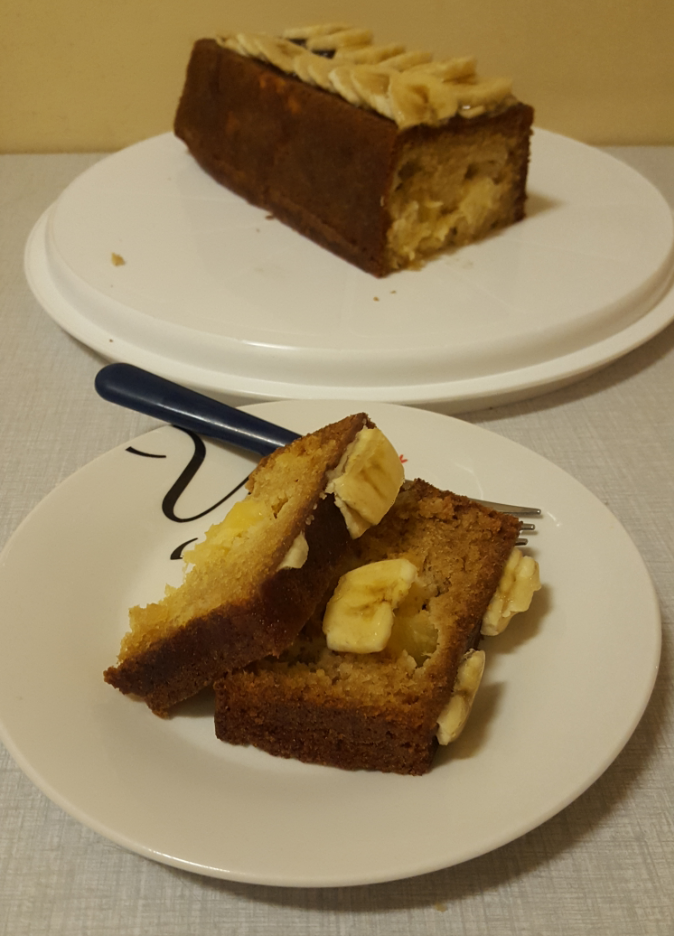
So after about an hour and a half I had a great tropical cake. It smells great and it tastes delicious!
Here’s what you need:
4 eggs
240g of sugar
240g of cake flour
1 teaspoon vanilla extract
2 teaspoons baking soda
170ml vegetable oil  (I used peanut oil because that’s what I had)
1 can pineapples (340g)
1 banana
1/2 lime
3 tablespoons of powdered sugar
2 sheets of gelatin
Preheat the oven at 180°C. Grease and cover with baking paper a rectangular bread mould (26×12cm).
Sift together flour and baking soda. In second bowl first mix sugar and eggs till fluffy. Add vanilla extract(if you have pineapple extract you can use it instead of the vanilla).
Now add around 1/3 of the flour and 1/3 of the oil. Mix with a spoon till incorporated. Add the rest of the flour and oil and continue till homogenous.
It’s time to add the finely chopped pineapple(no juice there. Keep it in a glass for later). Mix and pour in the bread mould. It goes in the oven for around 35-40 minutes or when a toothpick goes out clean.
Leave it cool around 10 minutes in the mould and then carefully turn it around so your cake is out. Leave it cool completely on a kitchen rack.
Now you can go back to the pineapple juice. We’ll use it for our tropical glaze.
Use around 100ml of the pineapple juice. Add the juice of 1/2 lime. That goes in a small saucepan. Add the sugar and let it boil.
Put the gelatin sheets in cool water for around 5 minutes. After put them in the fruit juice and remove from the heat. Let it cool for a while.
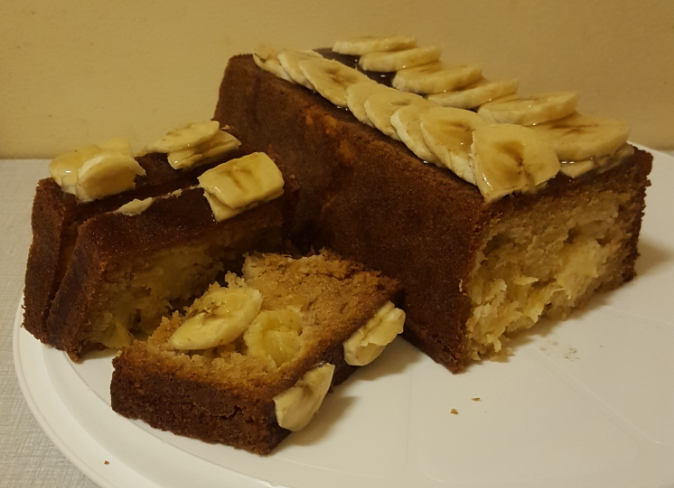
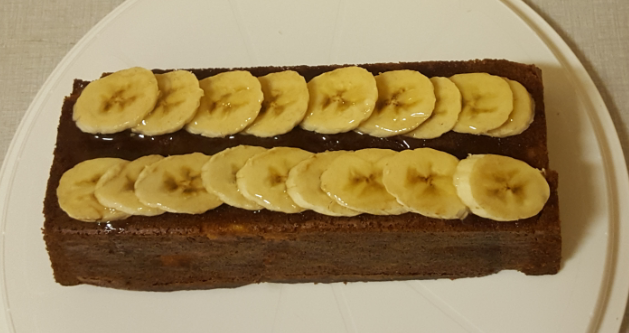
Cut a banana to thin slices and decorate your cake. Take the tropical juice and with a spoon pour over the bananas. It’s getting thick really quickly so after a minute you should have just a thin layer of jelly.

image

Well that was pretty simple but the result is great. And it goes perfectly with your cup of tea!
Hope you’ll try it! And of course that you will like it!
See you soon!

image

Bon Appétit!
Christina
White and Dark Chocolate Cake

image

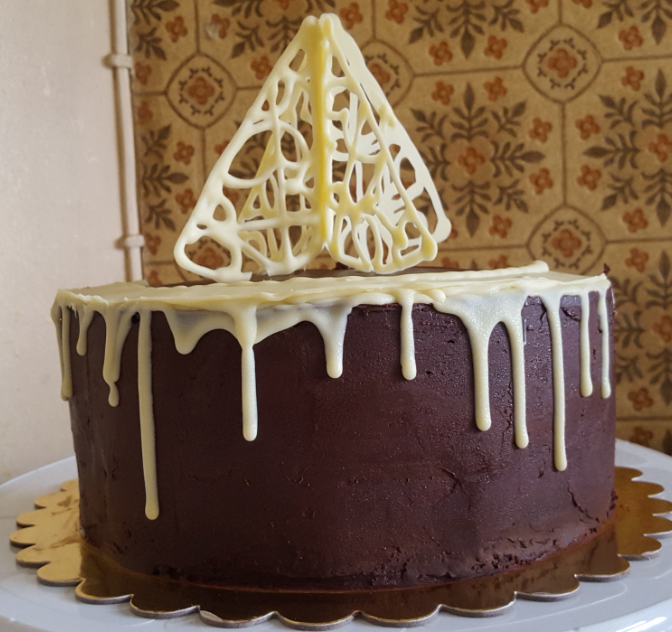
I really wanted to use that chocolate “structure” to decorate one of my cakes with. Finally did it. Well… they asked me if it’s a Christmas tree… and actually it was for my fiance’s birthday but… anyway. 😀
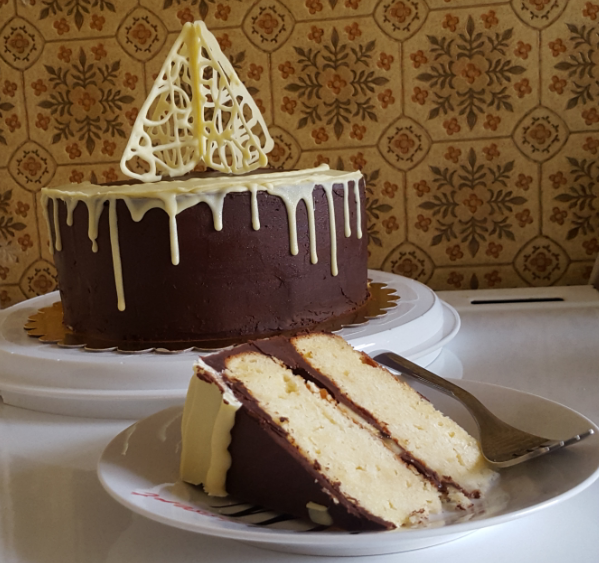
I did almond sponge covered with a lot of dark chocolate ganache and decorated with white chocolate. I find the taste of white chocolate too strong to use much of it. Actually… don’t juge me but I think white chocolate is not a real chocolate… Probably because I love chocolate but not this one.
Ok… Let’s move to cake.
For the sponge you will need:
250g of cake flour
100g of almond meal
1/2 teaspoon salt
325g of granulated sugar
280g unsalted butter
5 large egg yolks
7 large egg whites + 1/4 teaspoon cream of tartar
1 teaspoon almond extract
3 teaspoons baking powder
1 cup of milk
Mhm… pretty long list but finally you’ll have a great moist sponge.
Now preheat the oven at 180°C. Butter and cover with baking paper a 25cm cake pan (if you prefer baking the 2 layers separate you could. I just prefer baking one and cutting it later.)
Sift together flour, baking powder and salt.
Mix butter and sugar until light and fluffy. Add to them the egg yolks (one at a time). Mix and add almond extract.
It’s time to add the almond meal. Mix till incorporated. And start adding the flour mixture. Mix till batter is homogenous.
In a big glass bowl mix the egg whites and the cream of tartar till soft peaks start forming.
Now add it to the batter. Sloooowly stirring with a spoon. You want it to keep the maximum of volume.
When homogenous quickly pour the batter in the cake pan and it goes in the oven for around 45 minutes(if you bake 2 thinner cakes it will take around 30 minutes). But better always try it with a toothpick. It must go out clean.
When cake is ready let it cool completely.
I always prepare my chocolate ganache from the night before so it’s ready to go on my cake.
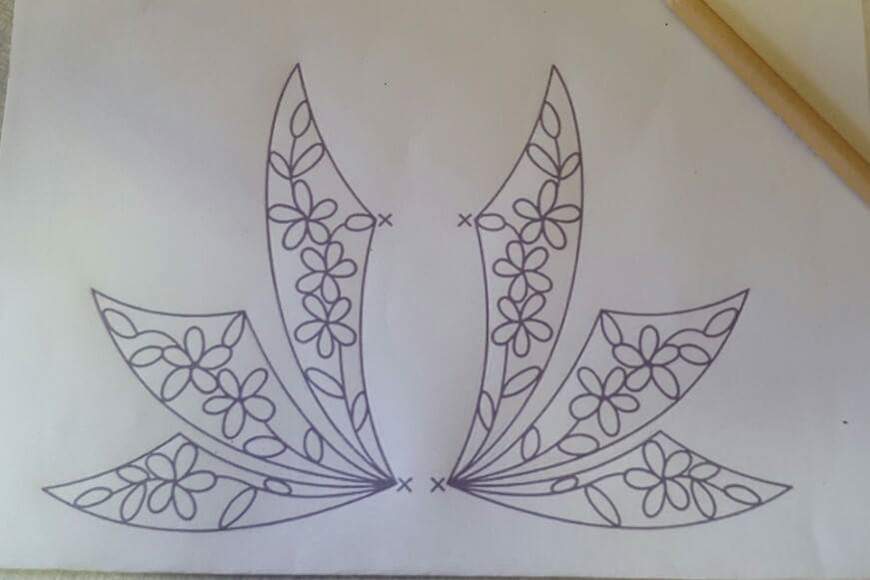
Here I give you the template I used for my decoration.

image

You just need to pipe with melted chocolate 4 identical pieces, let them set and glue them together with more melted chocolate where the x sign is. It is actually pretty easy. You could see photos of every step on my Facebook page. Just look for The Secret Life Of A Peach.

image

Hope you like my cake. And hope you are going to try it.
See you later!

Bon Appétit!
Christina
Chocolate Bombe Cakes

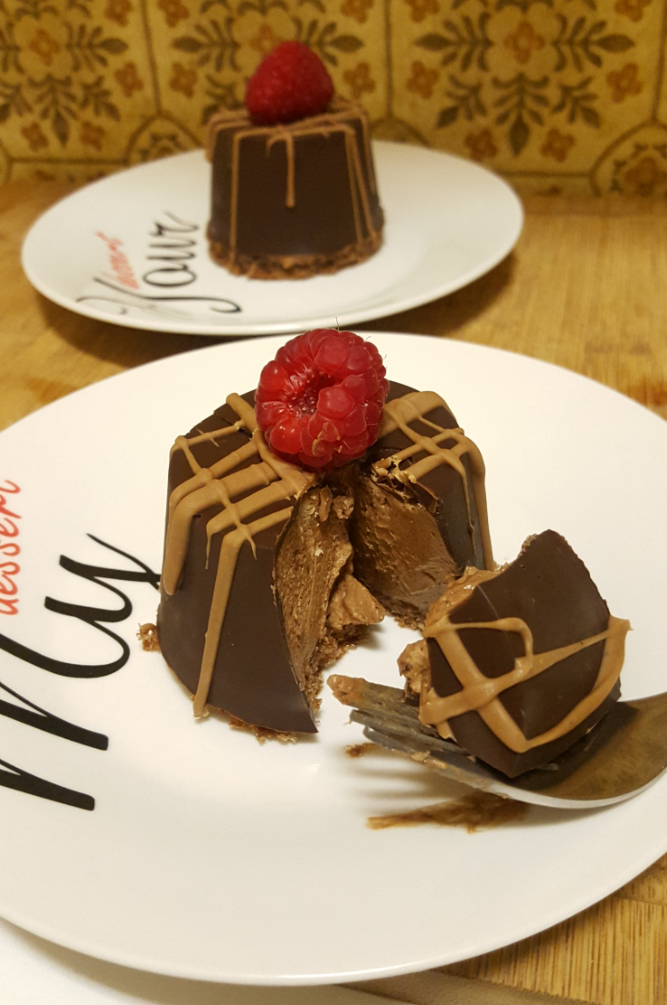
image

I really like it simple and with a lot of chocolate. Probably I am lucky to live in Belgium where chocolate is tradition. You can find incredible combinations and flavors.
Today I tried an easy chocolate bombe cake with yummy Nutella mousse inside. It is really delicious. And if you want to impress that’s the recipe. There’s no way to fail.
So let’s start.
First we’ll do the chocolate shell. You can use dark, milk or white chocolate. I did it with dark chocolate because I wanted the taste of the shell to contrast with the light taste of the mousse.
For 6 bombe cakes you will need around 250g of chocolate.
I did them in a silicone muffin mould.
So melt your chocolate in the microwave and using a pastry brush cover the bottom and the sides with thin layer of chocolate. Then put in the freezer for 5 minutes. Repeat. I did 3 layers of chocolate.
Then start the sponge you will need for the bottom of your bombe cake.
For it you should prepare:
3 eggs + 1 egg white at room t°
3/4 cup of sugar
1/2 teaspoon salt
1 teaspoon vanilla extract
2/3 cup of flour
1/3 cup of cocoa powder
1 1/4 teaspoon baking powder
1/4 cup of vegetable oil
100ml of butter milk
After learning how to make my own butter milk today I’ve learned a new lesson. What we do when we’re out of baking powder. Just mix together one part baking soda with two parts of cream of tartar. And it works great. I really find it genius… And really helpful!
So… go back to sponge.
Preheat the oven at 180°C. Cover a baking sheet with baking paper.
Eggs and egg white + salt goes in a big glass bowl. Take the hand mixer and mix till soft peaks start forming.

image

Now add sugar and vanilla extract and mix again.
In another bowl sift together flour, baking powder and cocoa powder. Add it to the egg mixture and incorporate carefully with a spoon.

image

Finally add vegetable oil and buttermilk. Mix again. Try to keep it as fluffy as possible.
Bake around 10-15 minutes.
While it’s in the oven move to the Nutella mousse.
Here you will need:
240ml of whipping cream
200g of Nutella
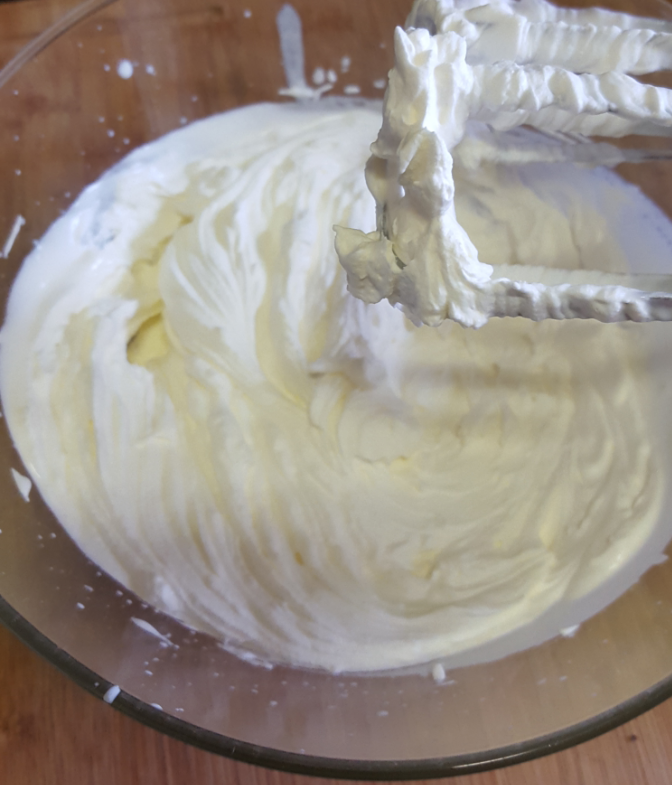
Again the mixer. Mix the whipping cream till soft peaks form.

image

Put your Nutella in the microwave for around 10 to 15 seconds. It will be easier to mix it with the whipping cream if it’s a little bit runny. Add 2-3 teaspoons at a time and mix carefully with a spoon. You want the whipping cream to keep its volume.
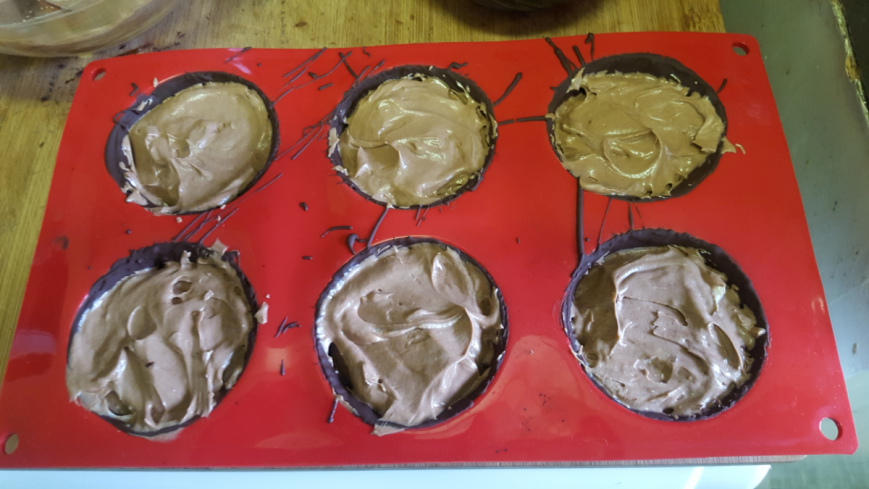
When ready put the muffin mould out of the fridge and fill the chocolate shells with the Nutella mousse.

image

Now leave it back in the fridge.
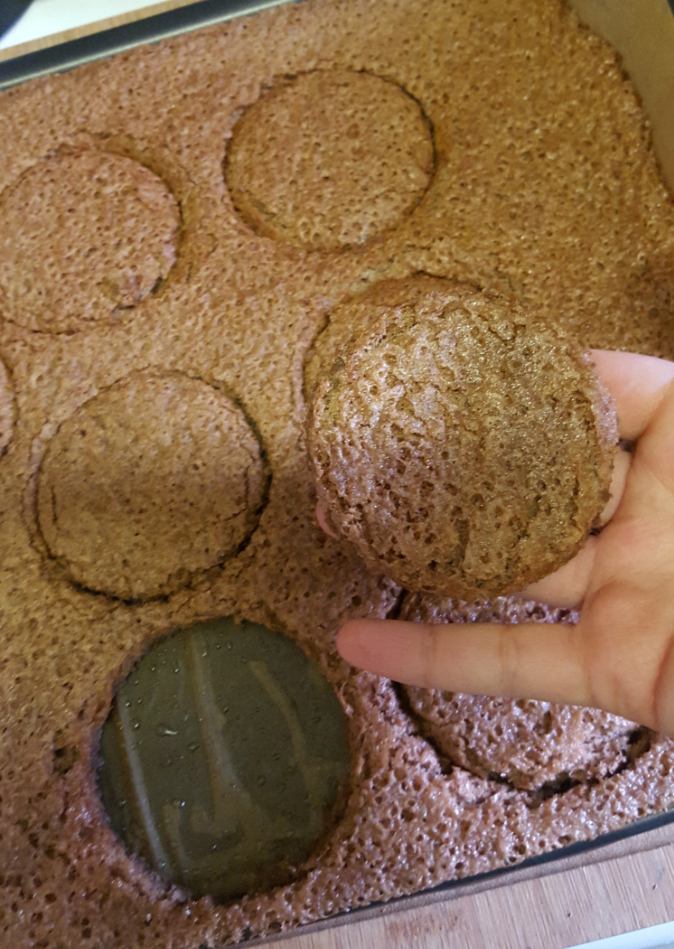
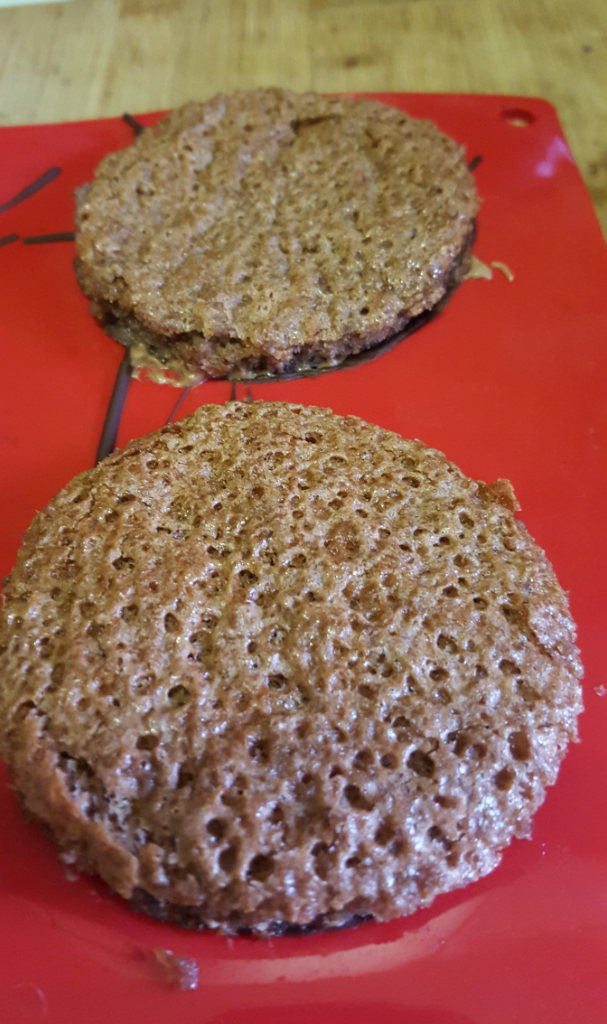
Let your sponge cool. Take a glass or a circle shaped cutter with the right size and cut 6 circles from the sponge.

image

Put each of the on the top (that’s going to be the bottom later) of a chocolate shell. Press lightly and put back in fridge.

image

Let it set for several hours.
It is really fun to put them out of the silicone mould. But be careful. You don’t want to brake the chocolate shell. Even though it’s thick enough.
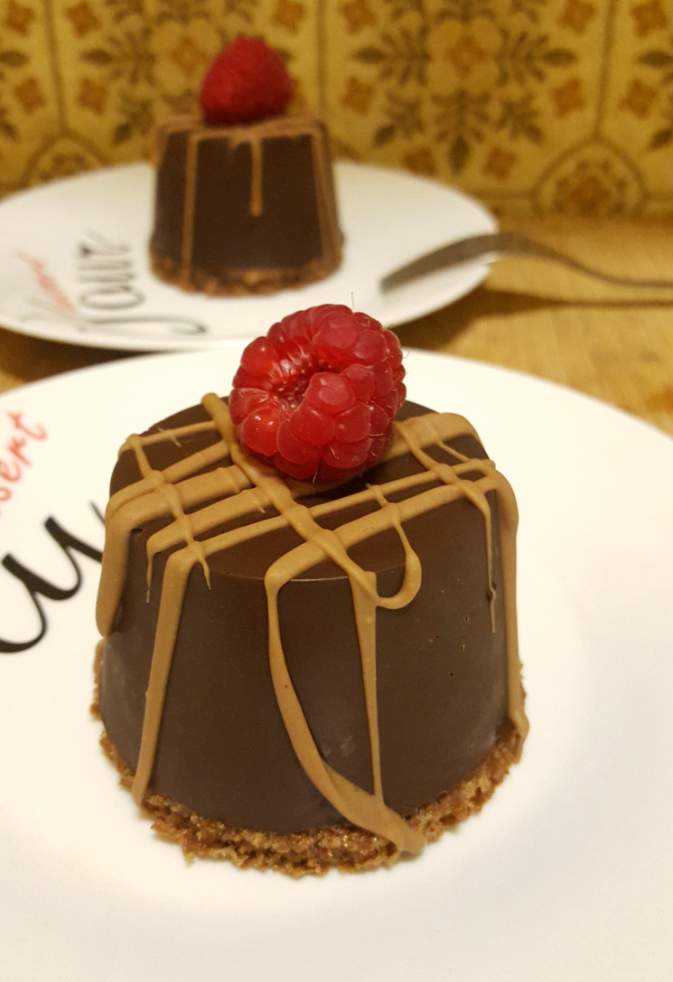
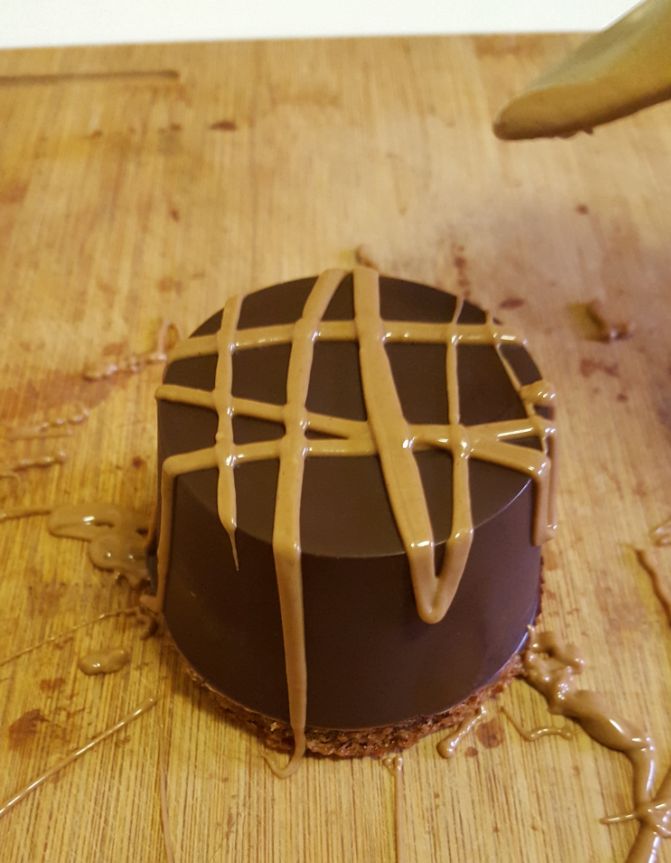
To decorate I melted some white chocolate with almond praliné inside. Then simply with a teaspoon poured it over every bombe cake.

image

Before the chocolate hardens finished with a raspberry on the top.
I am sure you will love it. It is just delicious!
Well… if you eat it directly from the frige (as I did because I couldn’t wait to try it) it will be funny eating it because the chocolate shell is too hard. But it tastes wonderful any way!
Hope you enjoy your bombe cake as I did! See you later!

image

Bon Appétit!
Christina
Vanilla Eclairs

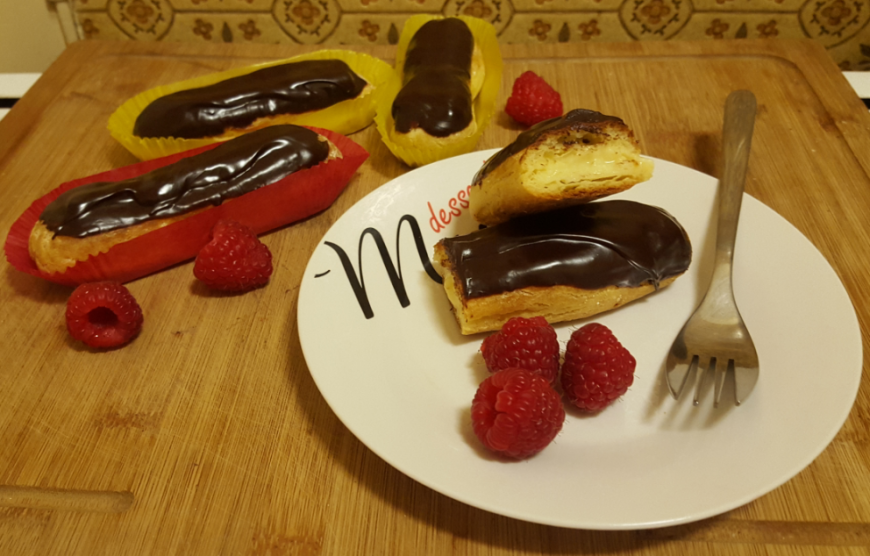
image

Always want to try something new. Something I’ve never tried. Love baking challenges! For some eclair may not be a challenge but they are so many things I need to learn. And every first time is a challenge. Sometimes successful… sometimes not. But as you can see these ones were a success! They are just
the best eclair I have ever tried!
If you like eclairs I really suggest you try these. Finally it was pretty easy and the final result just amazing!
You will need to make some choux pastry, crème pâtissière and chocolate ganache.
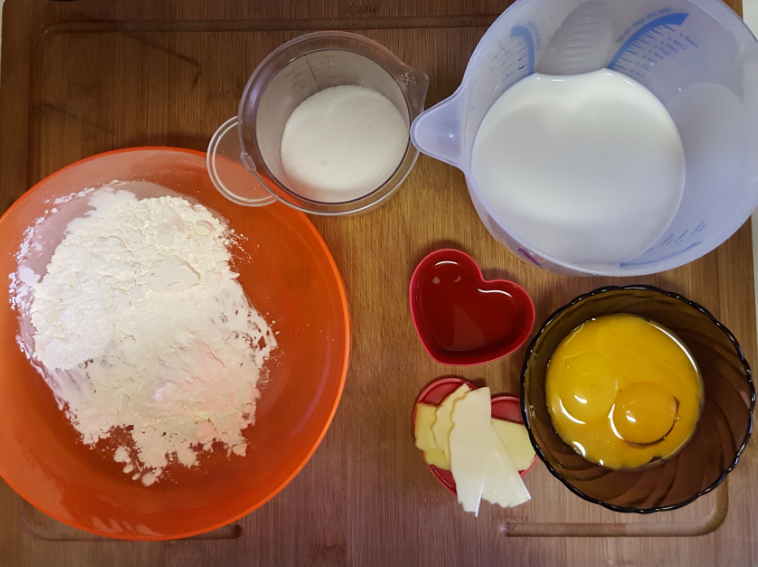
Let’s first start with the crème pâtissière. You will need:

image

480ml milk
4 egg yolks
2 teaspoons vanilla extract
70g sugar
40g cornstarch
15g unsalted butter
In a bowl mix together egg yolks and sugar until light yellow. Then add cornstarch and mix until incorporated. In a saucepan heat the milk. But don’t let it boil. Add 1/3 of the milk in the egg mixture. Incorporate. Then add it to the rest of the milk while mixing with a wooden spoon. Now put it back on a medium heat. Don’t stop mixing! Let it boil and mix until it thickens. Then remove from the heat and add the vanilla extract. Incorporate. Put the crème pâtissière in a glass bowl, add the butter and mix until it melts. Now cover firmly.
First stage completed!
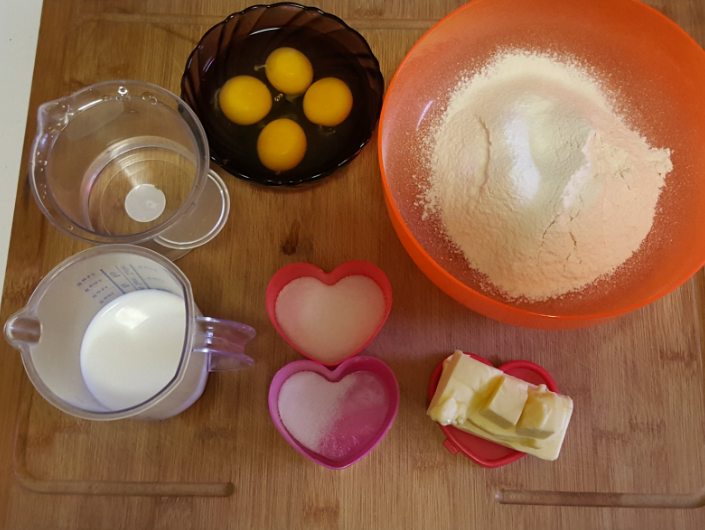
Now the choux pastry. For around 10-12 eclairs you will need:

image

4 eggs
125g of flour
100ml milk
100ml water
10g of sugar
1/2 teaspoon salt
80g unsalted butter
Preheat the oven at 180°C. Cover a baking sheet with baking paper.
Preparing this kind of dough was a lot of fun I think. Pretty different from everything I’ve done before.
Put milk, water, butte, salt and sugar in a saucepan and it goes over medium heat. Mix it and let it boil. Then remove from the heat, add the sifted flour and mix quickly with a wooden spoon till mixture homogenous. Now put it back on low heat for about minute or two and continue stirring. Your dough is ready to go in a bowl where you will add to it the eggs. One at a time. And mix with the spoon until incorporated.
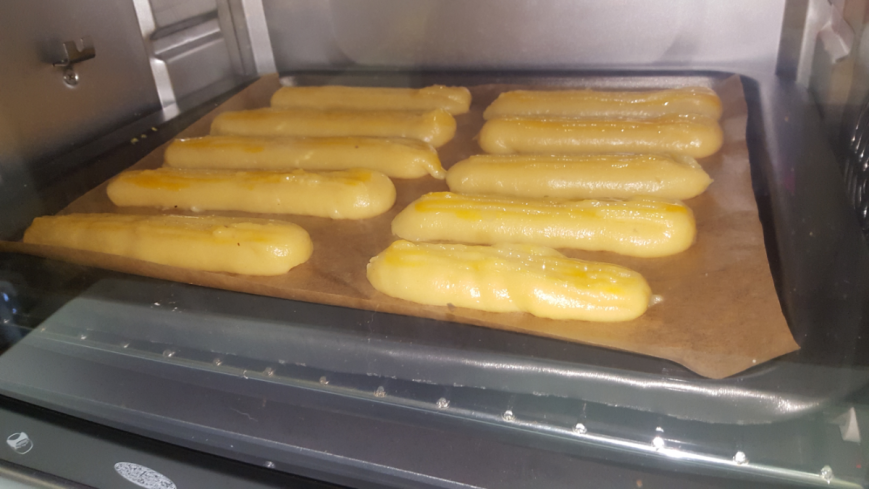
When ready put the dough in a pastry bag with 1cm round or star tip. Pipe 10-12cm long strips on the baking paper. Leave enough space between them . Egg wash and put in the oven.

image

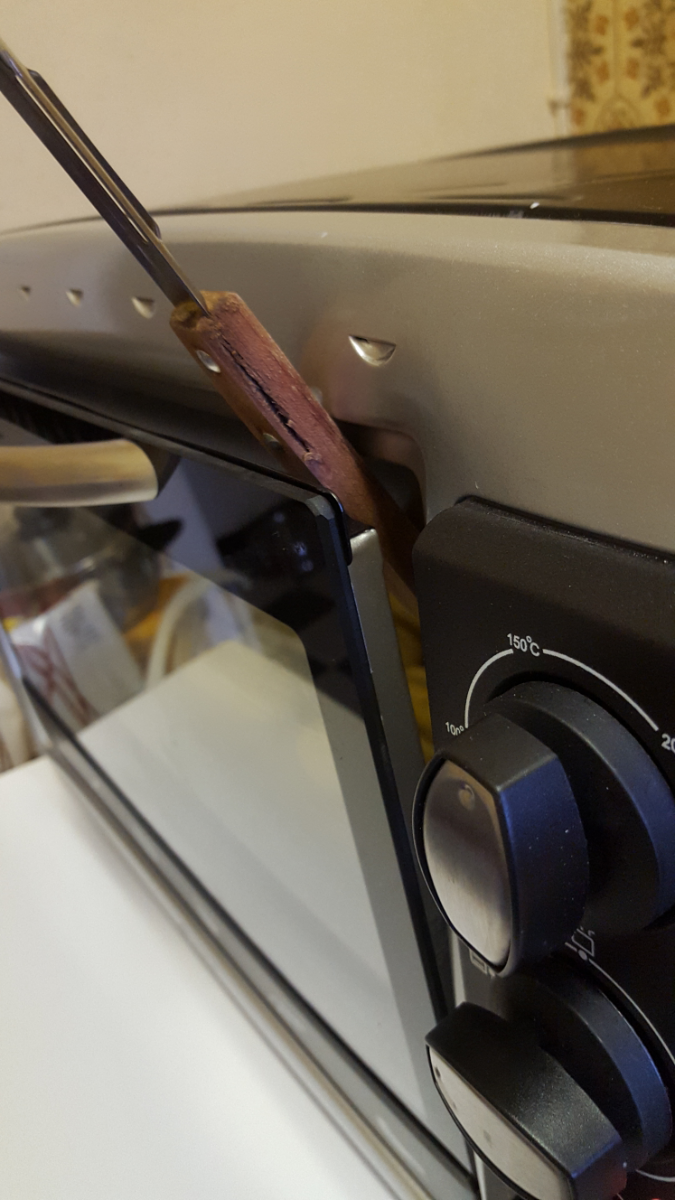
Bake 40 minutes. After first 10 minutes have passed open slightly the oven door (around 2-3cm) and leave it like this for the next 30 minutes. It will let the steam escape.

image

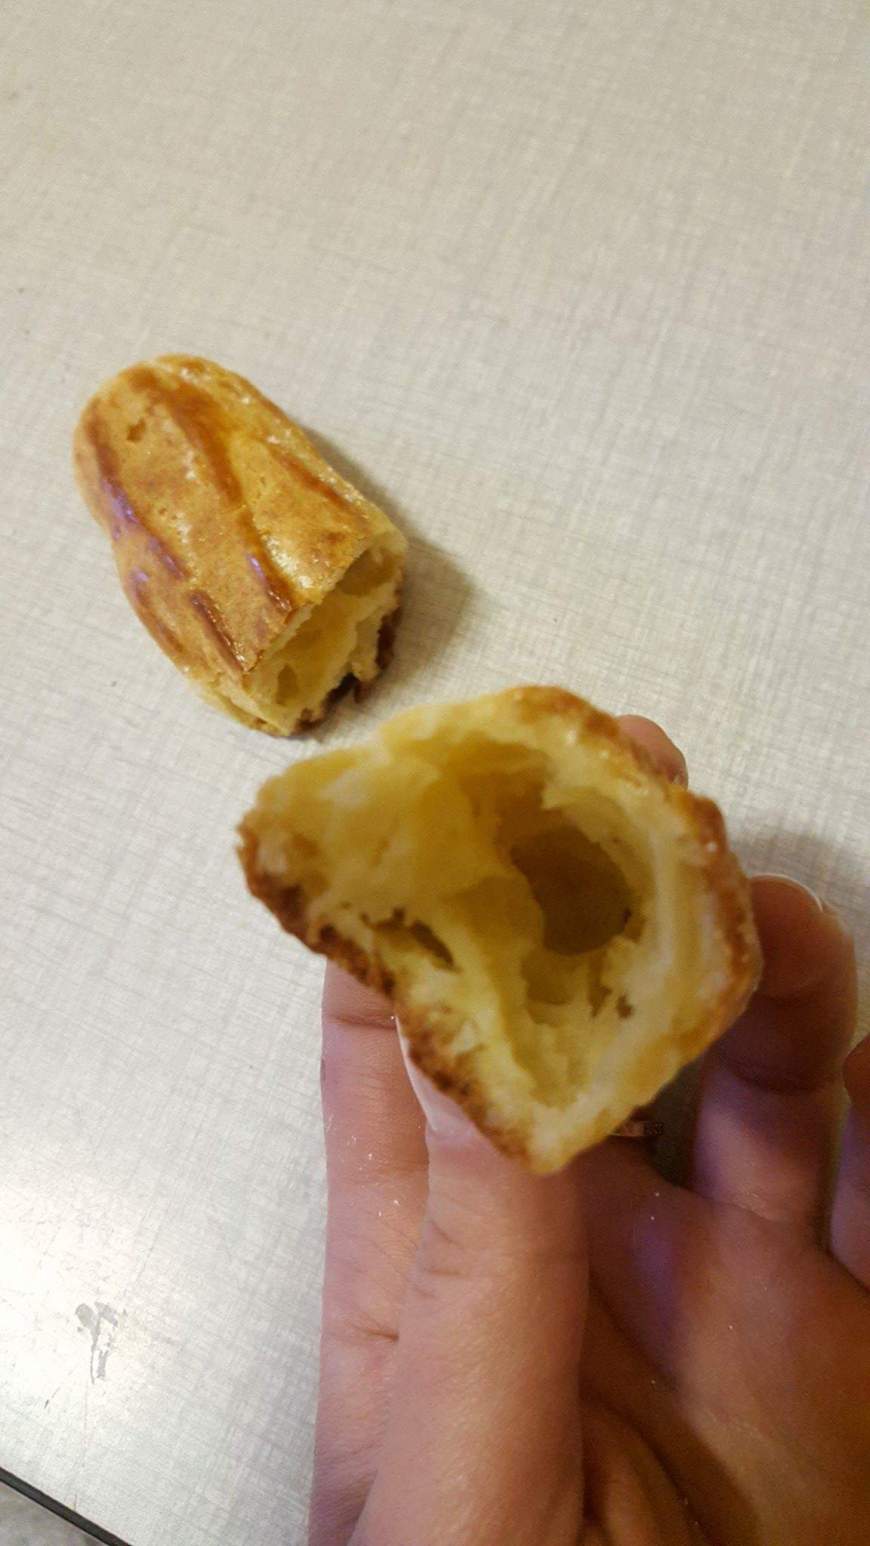
When golden brown put them out of the oven. Make a small whole with a toothpick  in each of them. It’s again for the steam inside. Let them cool completely.
This is how they should look like from the inside.

image

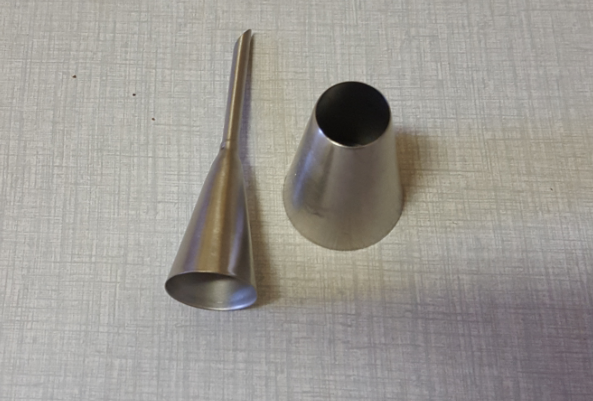
Mhm… enough space for a loooot of crème pâtissière. Then let’s start filling them. Now these are the tips I used.

image

Right one I used for piping my eclairs. And the left one for filling them.
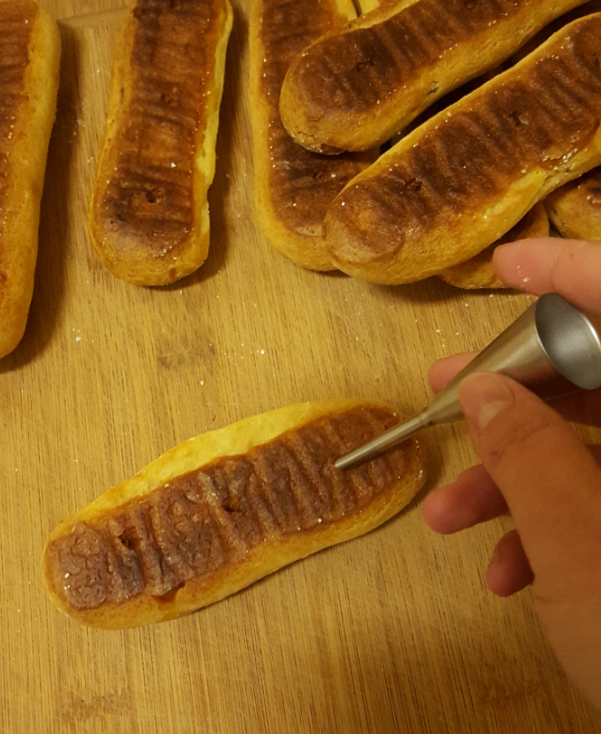
Now take the left and make with it three small wholes in the bottom of each eclair.

image

This is where we are going to fill them through. Then the crème pâtissière goes in a pastry bag with the same tip and start filling.
When filled put each eclair upside-down so the filling hardens inside.
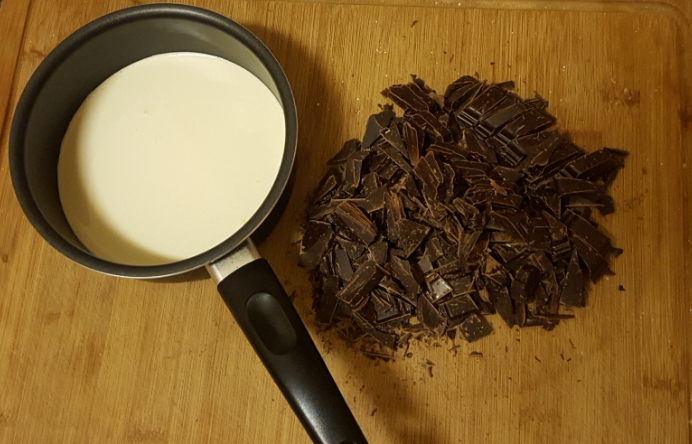
Time for chocolate ganache.

image

Prepare:
200g of dark chocolate
155ml of whipping cream
At first I was used to prepare my ganache with heavy cream. They say there’s no big difference between it and whipping cream. But I think I prefer the second one. But if you have some heavy cream you can use it.
Now your cream goes in a saucepan and you heat it without letting it to boil.
Pour it over the chocolate and leave it for a minute or two. Then start stirring till the ganache is ready.
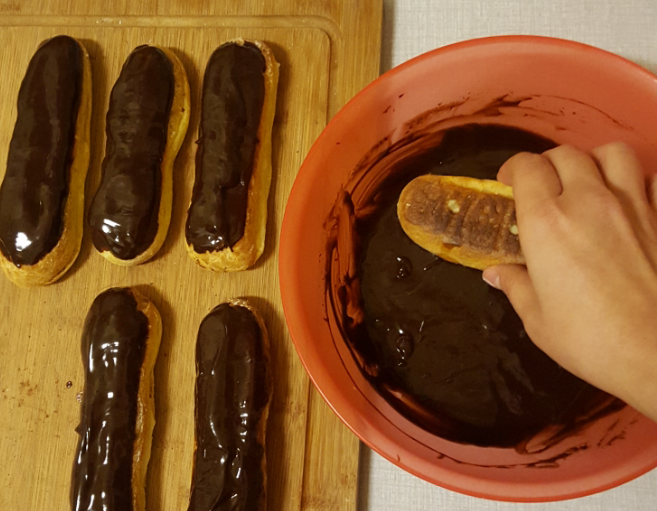
And now dip the top of each eclair and leave it to set.

image

And here we go! Dessert time is always best, don’t you think?
Hope you enjoyed it.
See you later!

Bon Appétit!
Christina
No-Bake Chocolate Tart

image
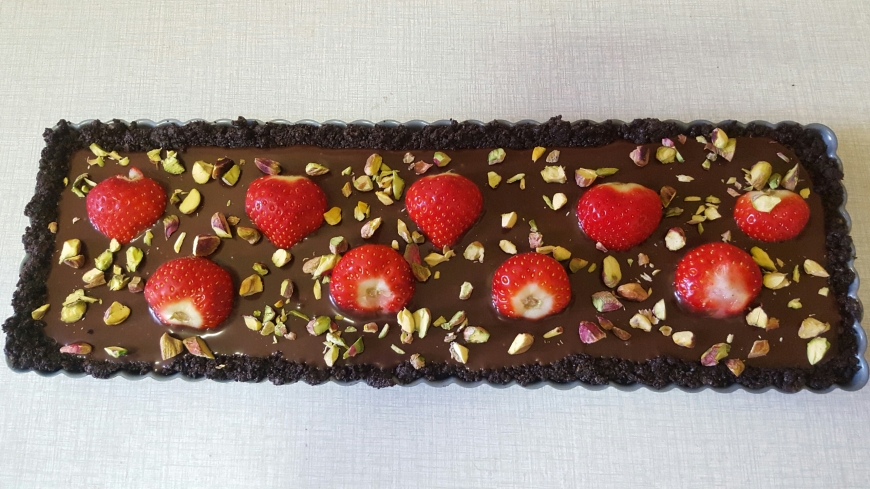
If you like chocolate and have no time to bake- that one is for you!
Oreo biscuits, chocolate ganache, strawberries and pistachios. Can you think of a better combination? For me it’s the perfect one.
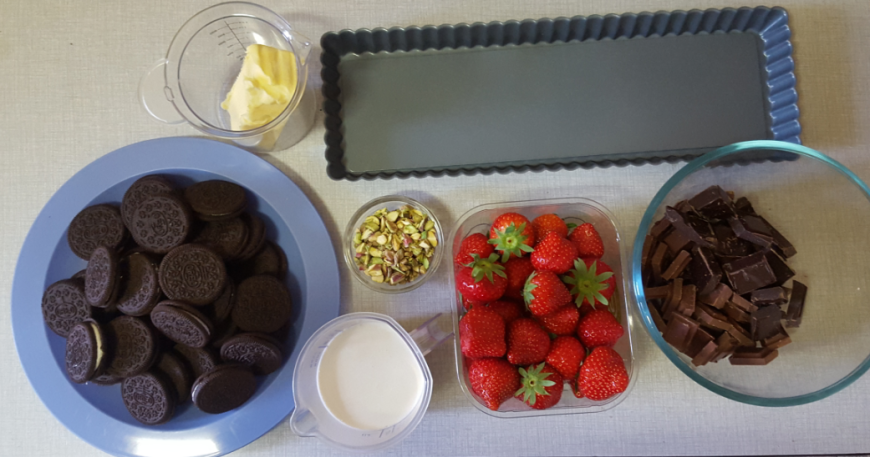
So here’s what you need:

image
32 Oreo biscuits
110g melted butter
200ml whipping cream
200g milk chocolate
100g dark chocolate
strawberries and pistachios for decoration
As I said no oven needed. Just prepare a tart pan (12×36cm).
First make the crust. All your biscuits go in the blender till crumbs. Then add the melted butter and blend again till it forms a paste. Press the mixture to the bottom and the edges of the tart pan. You can use the back of a spoon or your fingers. Then freeze till you prepare the filling.
Cut all the chocolate in small pieces. Heat the whipping cream in a saucepan but don’t let it boil. Then pour in a bowl over the chocolate and let it stay for 1-2 minutes. Now mix with a spoon till all the chocolate melted.
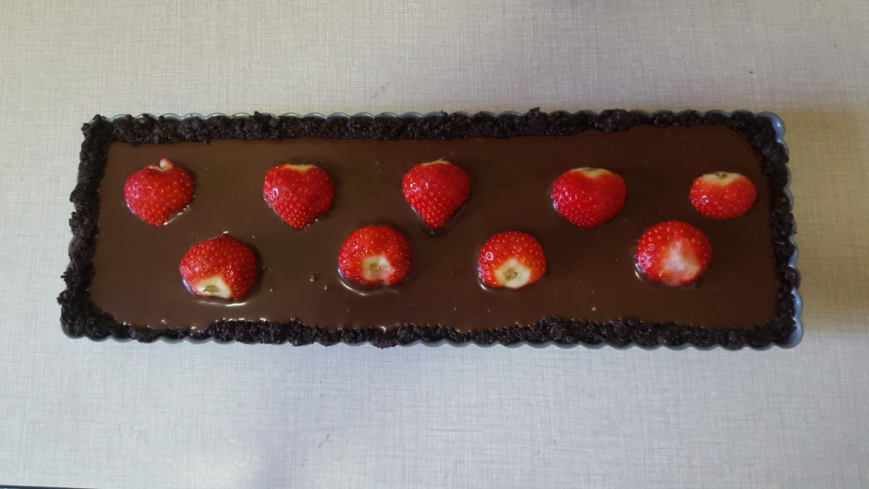
Take the crust and pour the chocolate filling in it.

image

Decorate with the strawberries and the pistachios and put back in the fridge.
You can serve after 3-4 hours. But I recommend you to leave it overnight.
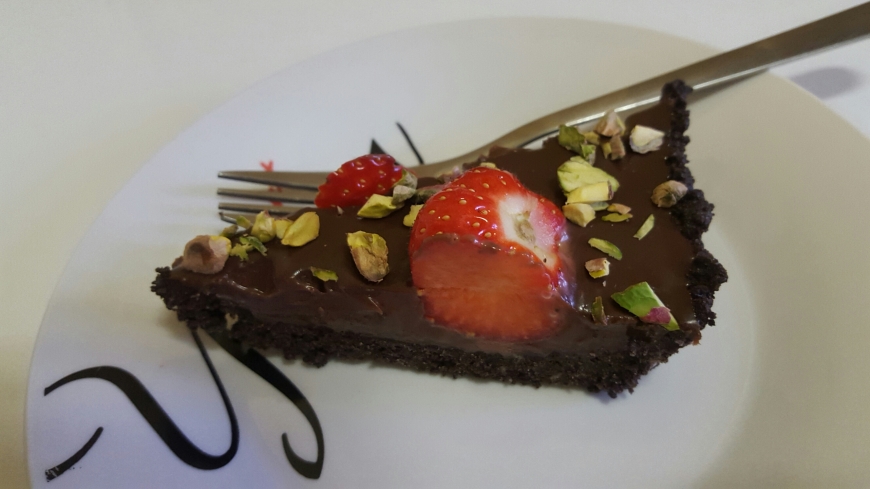
And now enjoy! And I am sure you will! It really is delicious!
image

See you later with some éclairs.

Bon Appétit!
Christina
Persian Cumin Bread Sticks

image

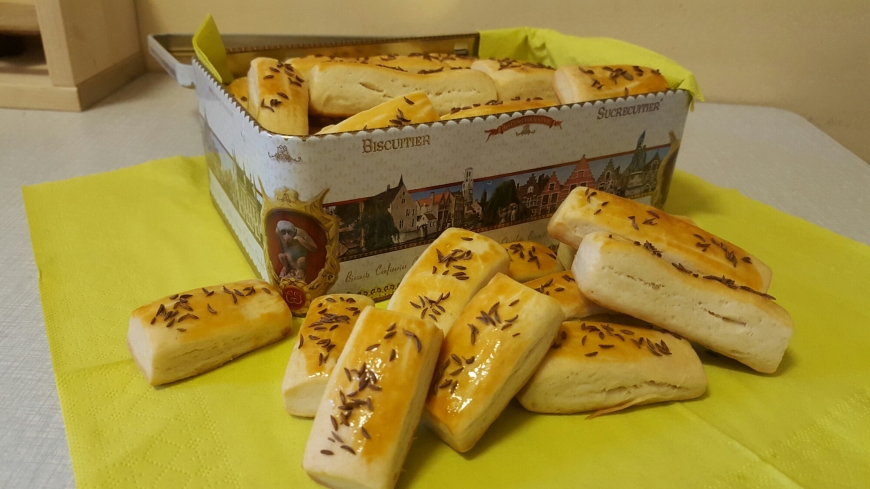
Yum yum! Who doesn’t like freshly baked bread sticks. And it’s great because you can add them any spice you like, cheese, bacon, even sugar or chocolate. I think you just need a nice recipe for the dough and after you let your imagination works. You can make them crispy or not, squared, round, long, thin, any shape you like.
But I remember breadsticks from my childhood. They are covered with some Persian cumin. To be honest I never use this spice in my kitchen. I think its strong aroma is pretty specific but it goes wonderfully with bread sticks.
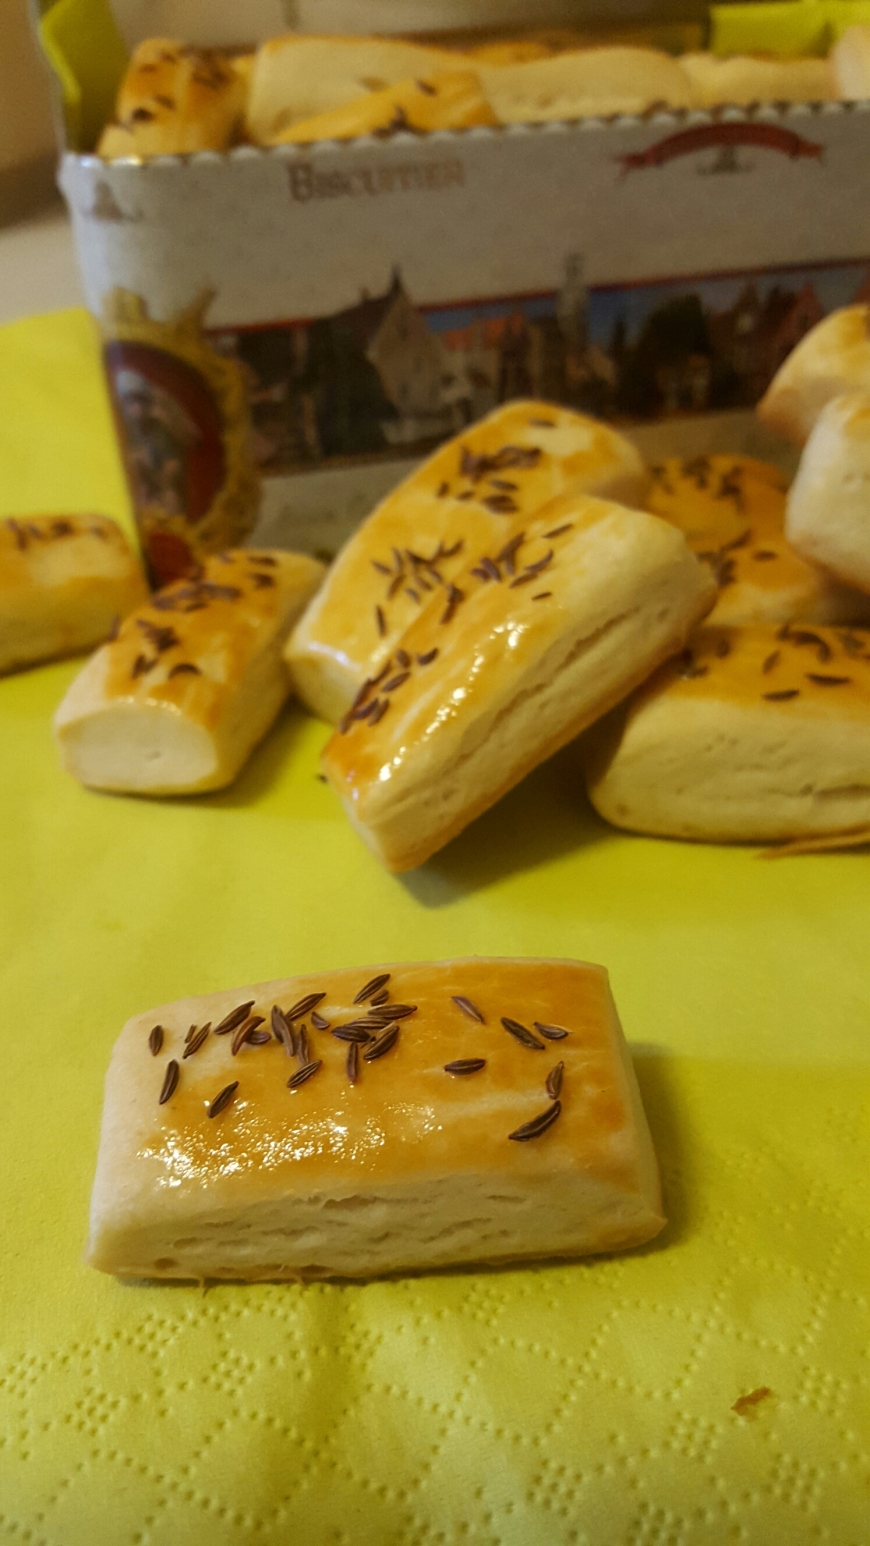
These on the photo are only Persian Cumin flavored. Some weeks after baking them I tried the recipe again but this time made them pretty thinner and added some cheddar on the top. They were just delicious! So if you like you can add some cheese to the recipe.
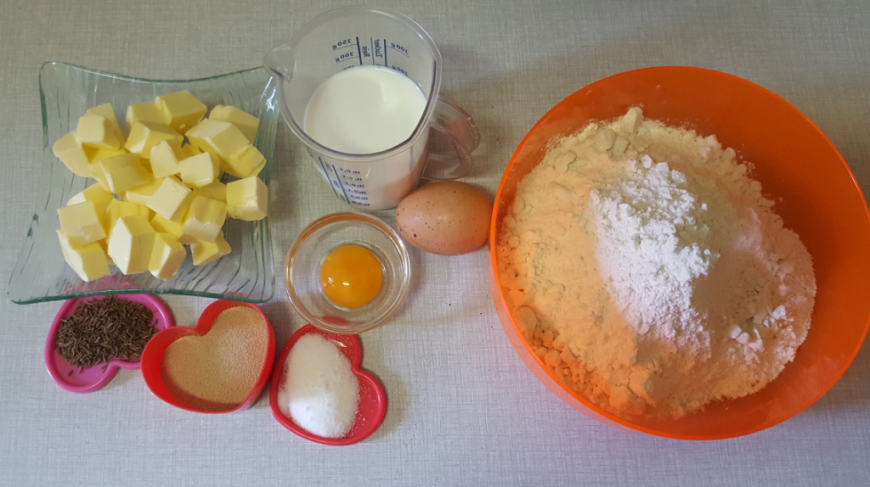
And here’s what you need:
200g of butter (I always use unsalted)
200 ml of milk
1 egg
1 egg yolk
20g of yeast
1 tablespoon of salt
400g of flour
1 tablespoon of Persian Cumin

image

Preheat the oven at 170°C. Prepare a baking sheet covered with baking paper.
Now mix flour, salt and yeast. Make like a well in the middle of it. Mix there milk and egg. Finally add the melted butter. Now start incorporating slowly the dry ingredients.
This time you use yeast but you’re not going to let it prove before. Directly roll out the dough on a greased surface. If you like your bread sticks to be thin roll it out as thin as possible. Keep in mind they are going to rise in the oven. So roll out and cut them the shape you like.

image

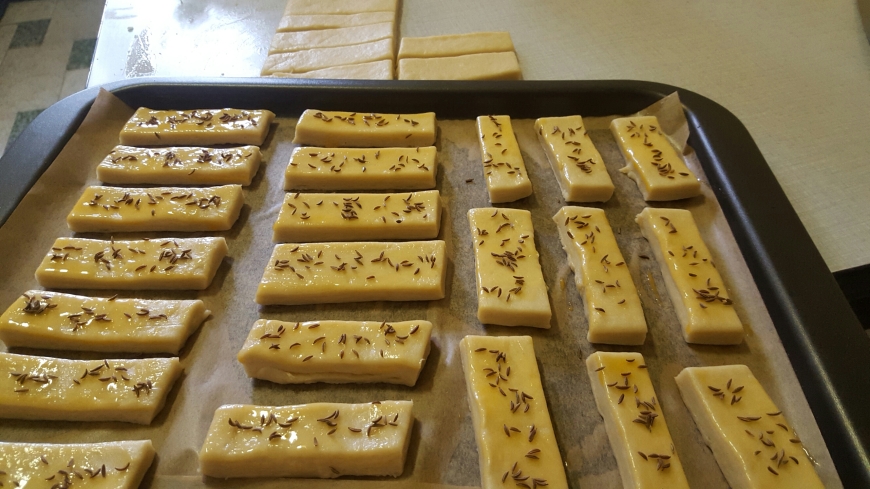
Put them on the baking sheet. Use the egg yolk to egg wash and after sprinkle with the Persian cumin.

image

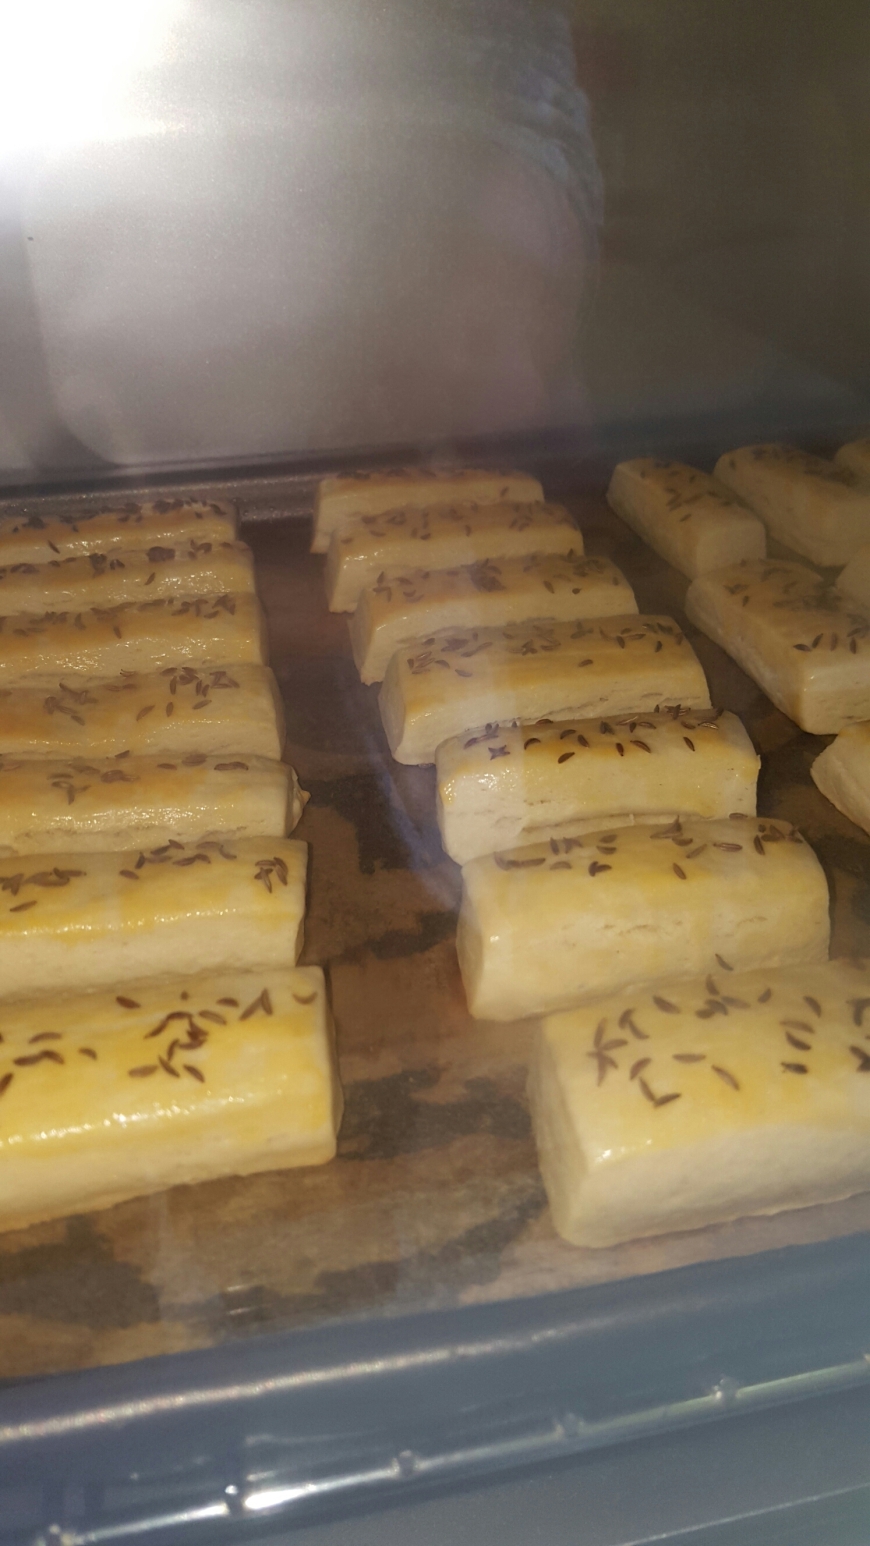
Bake around 15 minutes. It depends on how thick they are. Let them become golden brown.

image

Hope you’ll like them! Well… they were gone pretty quickly at home so… My family did 😊
Coming later with White and Dark chocolate cake.

Bon Appétit!
Christina
Chocolate Cupcakes

image

Someone could believe I am obsessed of chocolate. But really- it’s my favourite. From time to time I bake for friends or have an order. But most of the time I bake just for pleasure and practice of course. And when I ask by fiance what kind of cake he would like and the answer is – You decide! Yeees! I go for chocolate.
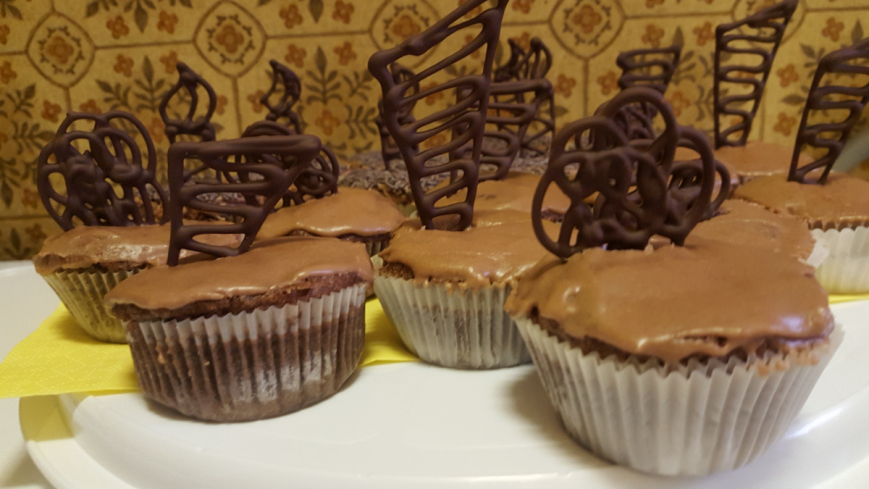
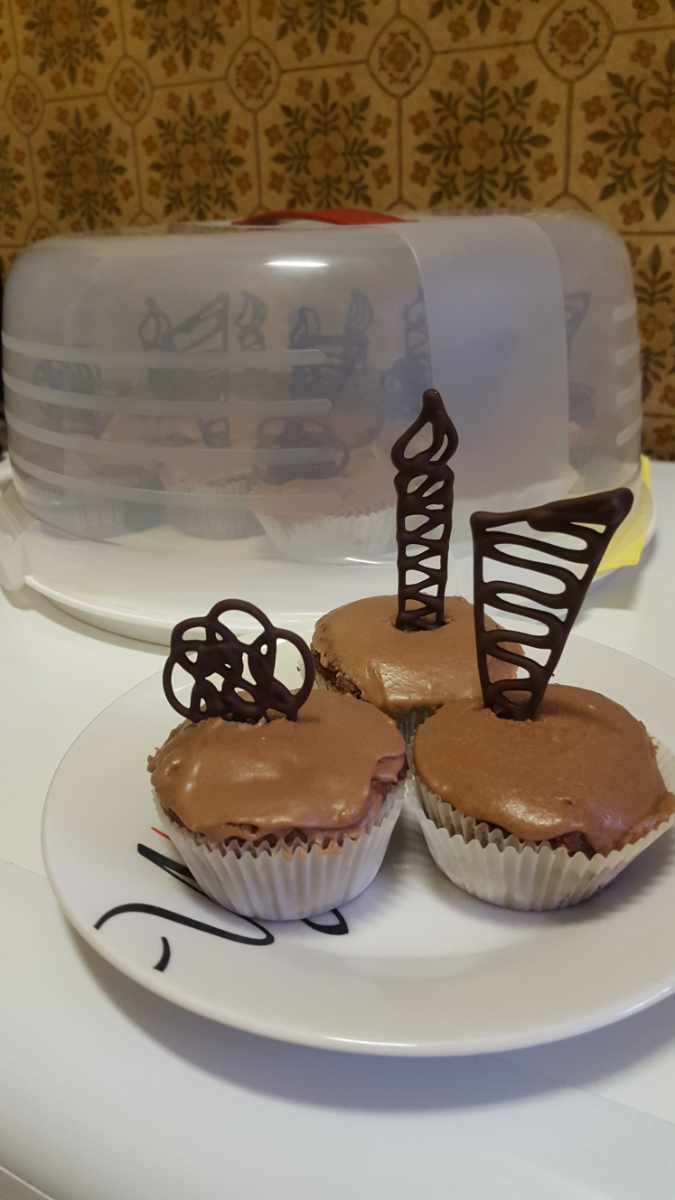
So this is an easy chocolate cupcake recipe. The chocolate frosting I used you can find in my previous post “French Meringue Cookie Sandwiches”. I also added some chocolate decoration. Just melted some chocolate and piped it in different shapes. Left it set (better out of the fridge. It takes longer but the chocolate keeps its shine) and put it on the top.
So for around 20 cupcakes you will need:
160g of all-purpose flour
1/2 teaspoon baking powder
100g of cocoa powder
45g of unsalted butter at room t°
360g of sugar
2 eggs
230ml milk
Preheat the oven at 180°C. Prepare your cupcake paper liners in the cupcake pan.
Now mix the dry ingredients in a big bowl. After the wet ingredients in another one till well combined. Add the wet ingredients to the dry and mix till everything is incorporated.
To fill the cupcake liners better use an ice-cream spoon. Fill only 2/3 of the because they will rise and you want them to look nice.
Bake around 20 minutes. Or of course till a toothpick goes out clean. Then leave them cool for around 10 minutes in the pan and after put them out. Now leave them cool completely.
Put the frosting in a piping bag and make your cupcakes look even better now. As I’m adding some chocolate decoration I just spread the frosting. About the taste- I garantie they taste great!

image

I hope you enjoyed it.
See you later.

Bon Appétit!
Christina
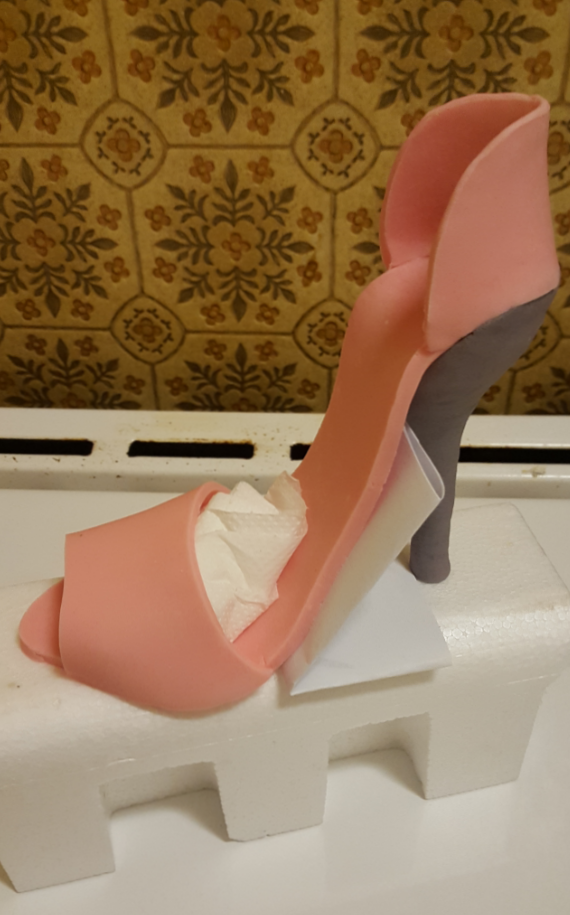
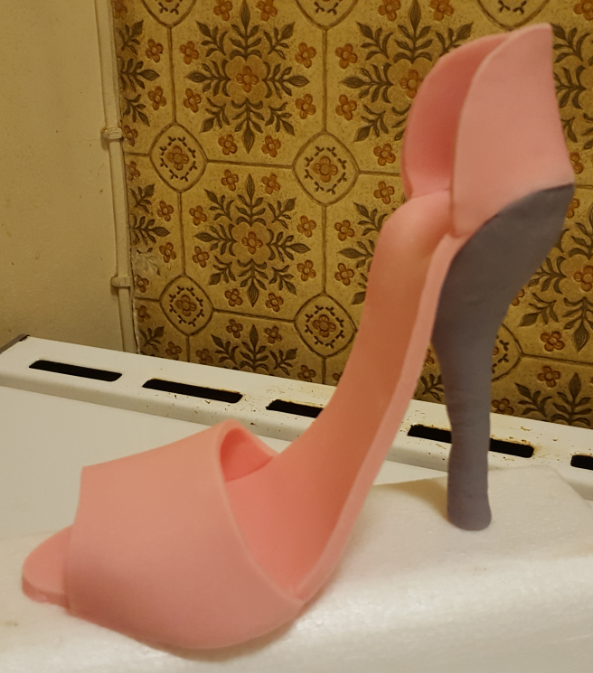
Fondant Shoe Decoration

I have said it before that what I most love about cakes is decorating them. Every special occasion deserves a special cake. And you feel so special when you have a cake representing something you really like!
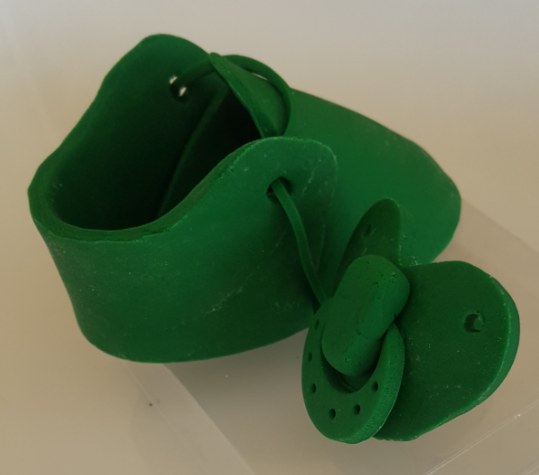
What women like most?… except cakes!- Shoes and bags, no? I am planning a handbag cake for Saturday. But today I will make my first fondant shoe. And while waiting for the fondant to harden I will make a baby shoe and pacifier for a baby cake.
I will show you photos of every step so if you like them you can try to do them by yourself. Don’t pay attention of the colours of the fondant I use. I had some leftovers that were just enough for my exercise. You can use any colour you like and decorate with royal icing to make them even cuter.
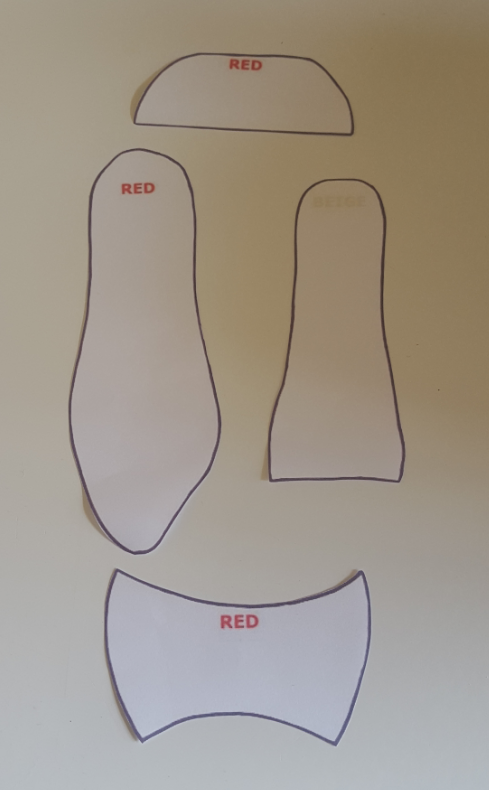
I will also give you the templates I used for the shoes so you can print them. Of course in the size you’d like your shoes to be.
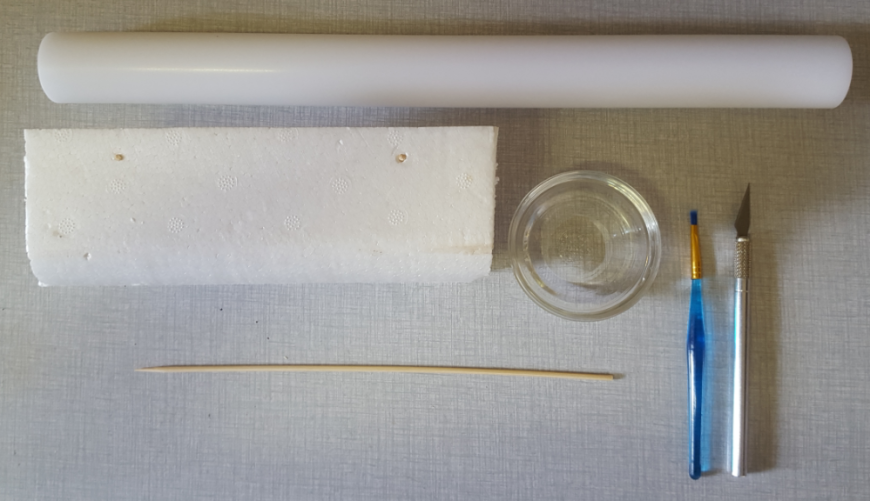
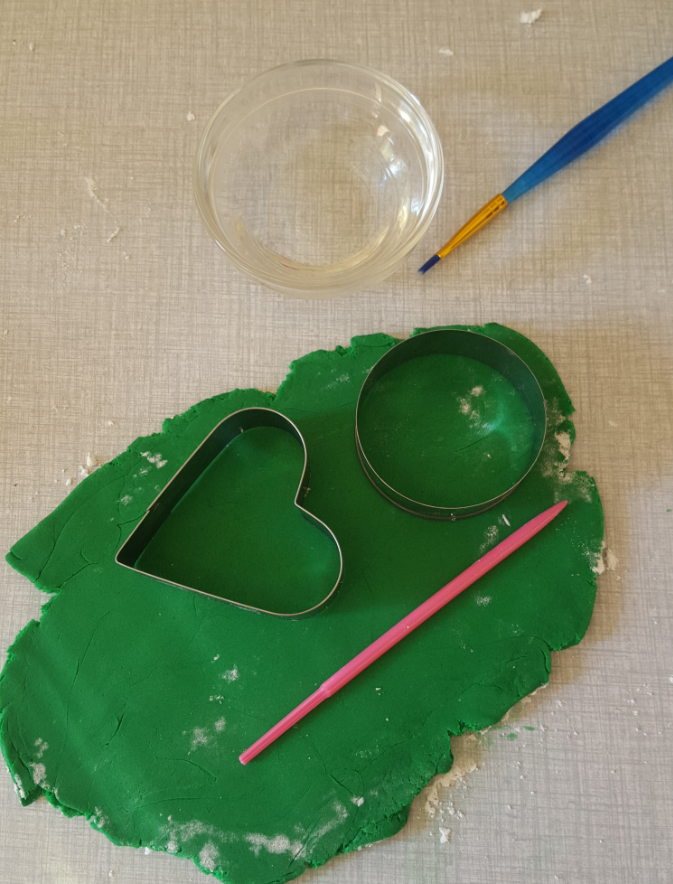
Here are the tools you need for the hight heel shoe. For the baby decoration prepare also heart and circle shaped cutters.

image

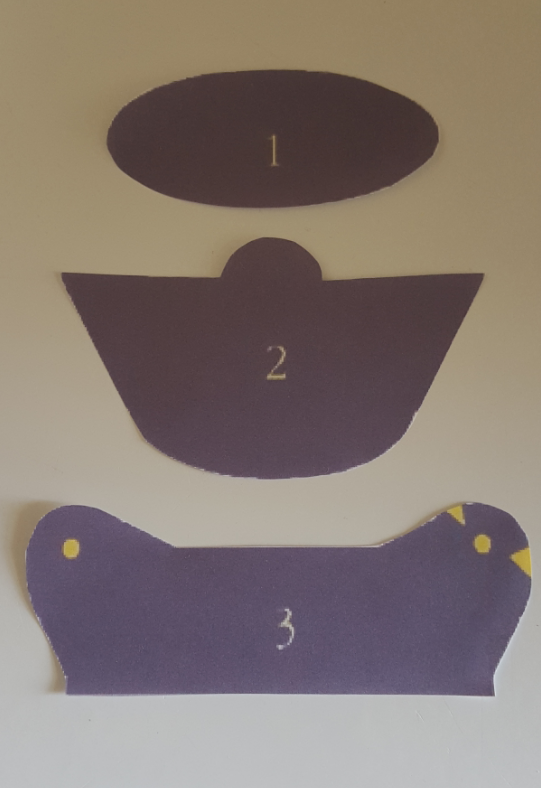
Fo first for the baby cake decoration. Here are the templates you need.

image

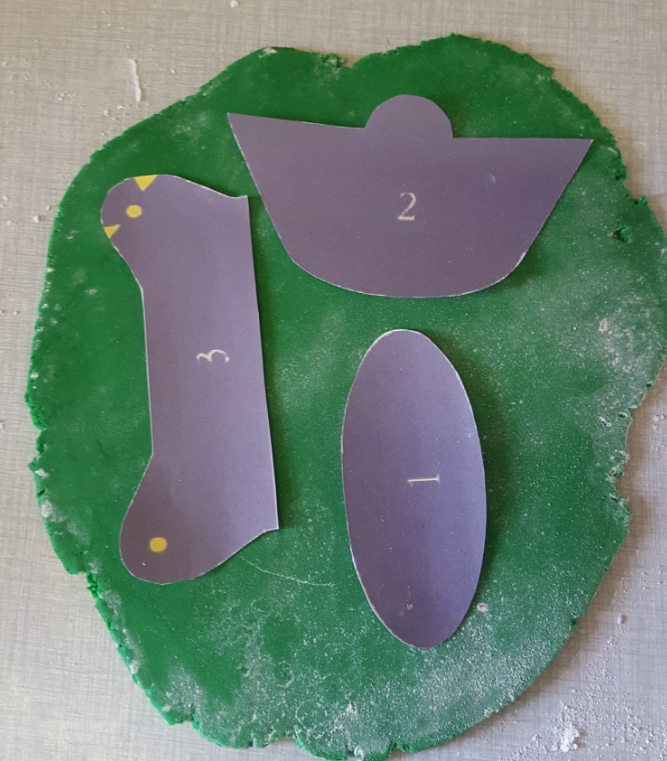
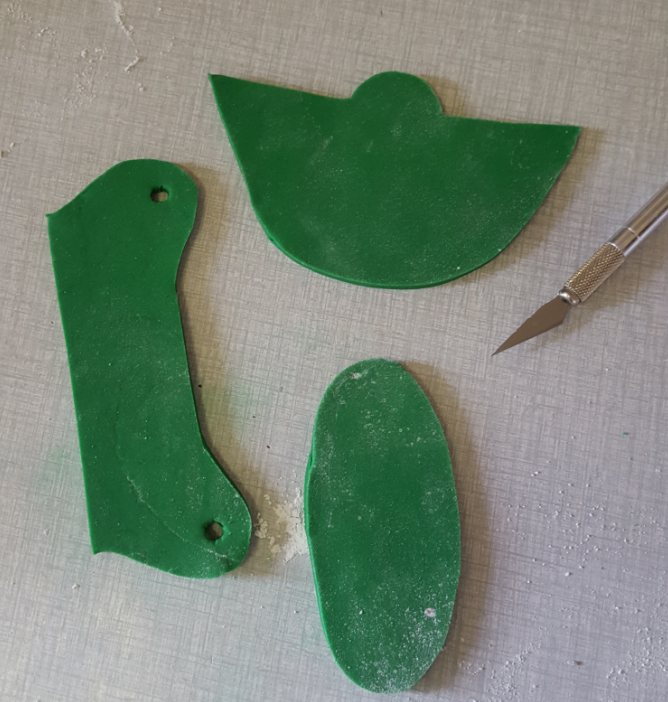
Take your fondant and after kneading it roll it around 5mm thick. Place the paper templates on it and cut them carefully.

image

image

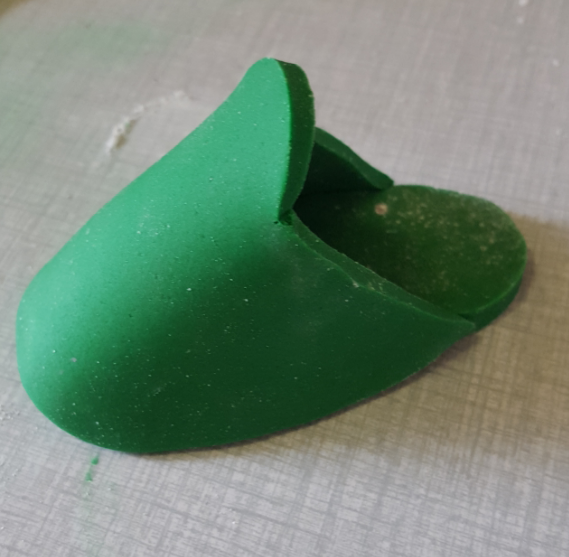
First take the sole peace(num. 1) and stick it together with the front part of the shoe(num. 2) by using some water as glue. Let it set for around 10 minutes.

image

Then add the back of the shoe (num. 3) again with some water and leave it set.

image

Now roll out a really thin shoelace and put it in the two wholes. And… isn’t it cute?!
Now the pacifier. It’s really simple. Roll out some fondant again around 5mm thick.

image

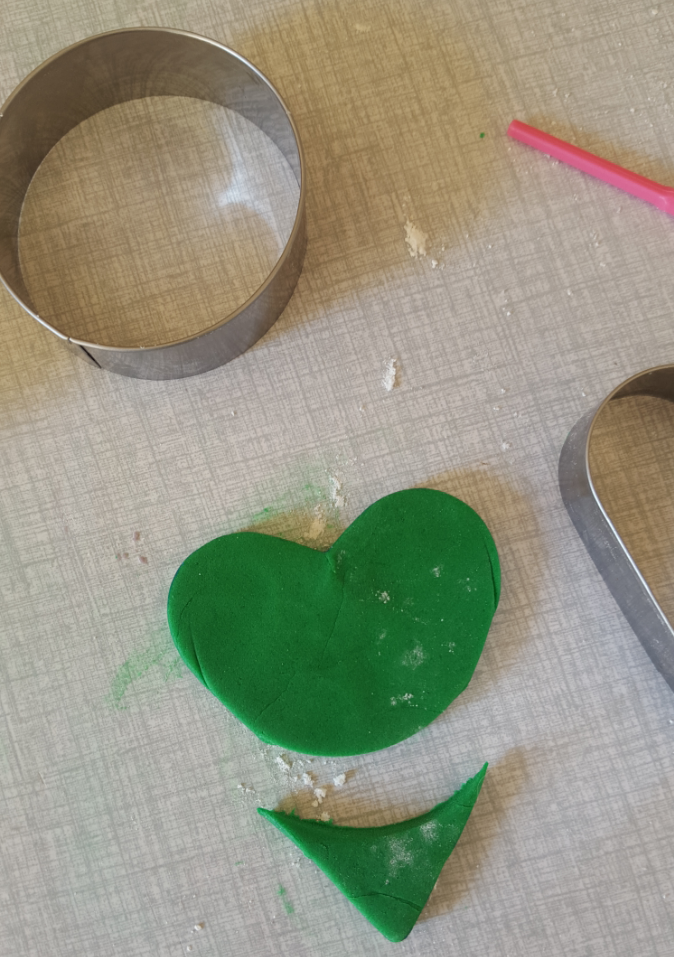
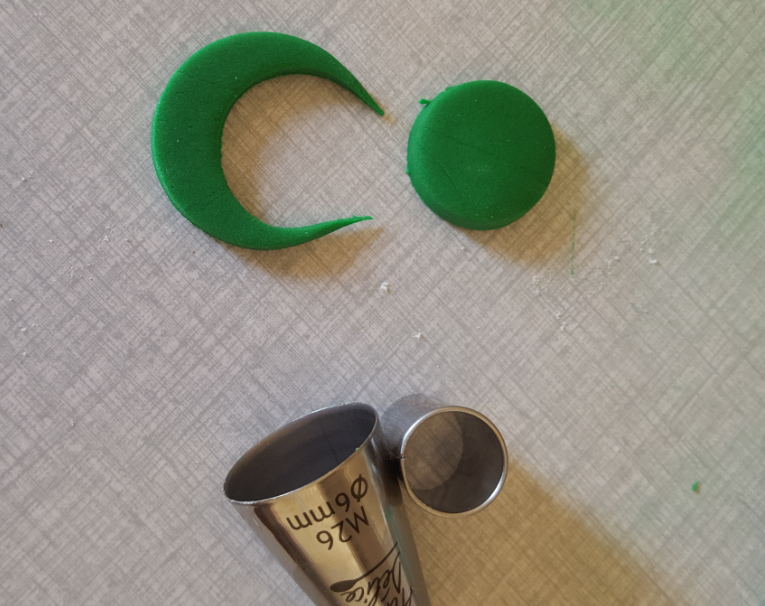
Cut a heart and after cut heart’s bottom with the circle shape.

image

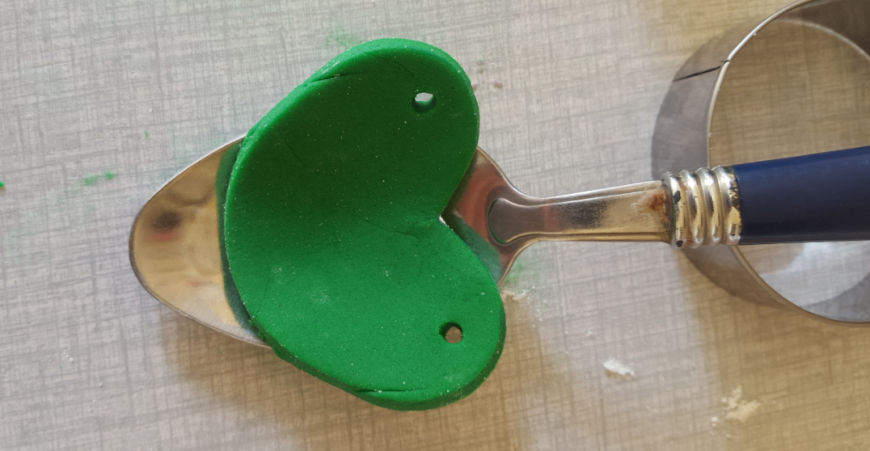
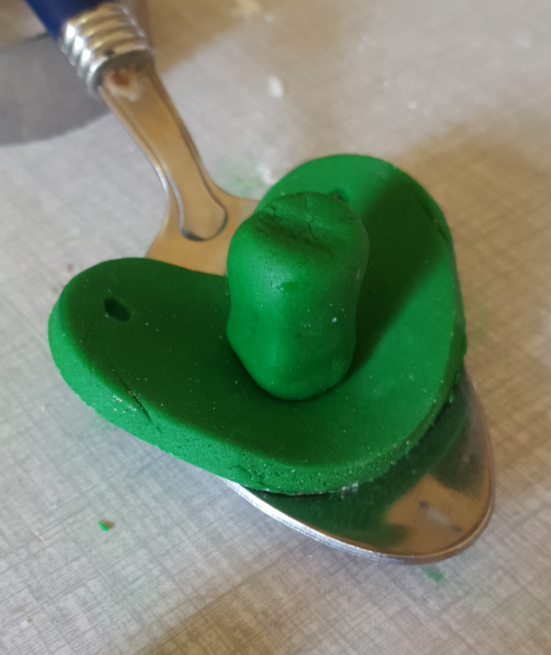
Make two wholes in the top side and leave it harden in a spoon.

image

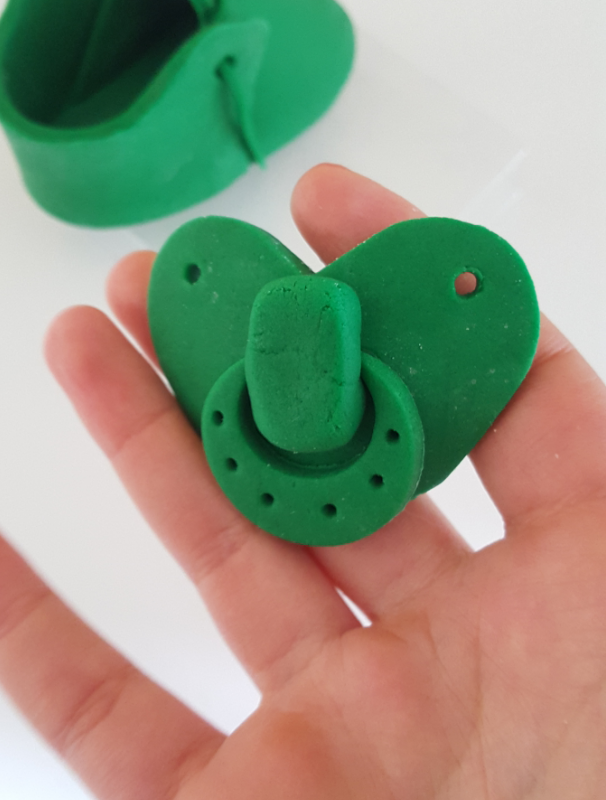
Now with your hands roll like a small cylinder and stick it in the centre of the front side of the pacifier.

image

Now we need the back side. Cut a small circle and well… better show you!

image

From that you can make the back side of the pacifier.

image

Stick them together using some water and leave it harden.
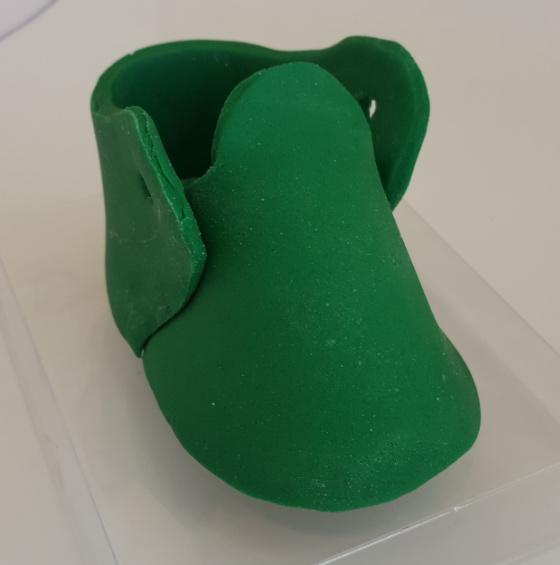
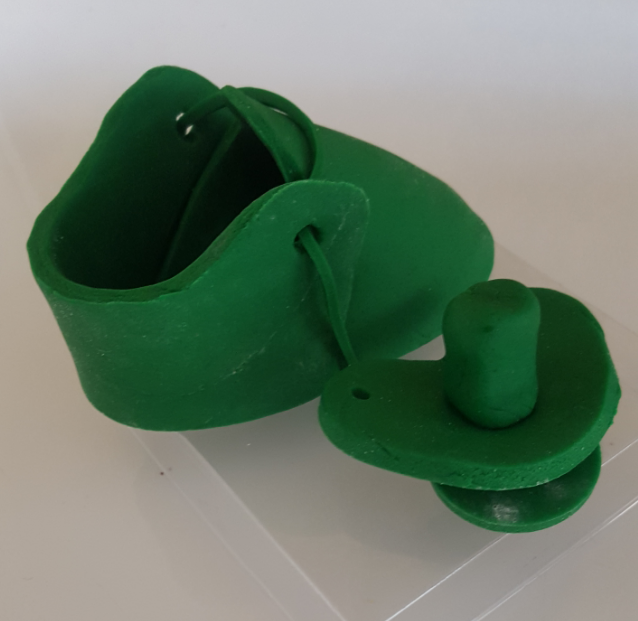
And here it is. For around 30 minutes we have a cute baby decoration.

image

image

Now the hight heel shoe. There you need much more time. If you are going to decorate a cake with it I advise you to make it the day before putting it on the cake. It needs much more time ti hardens.
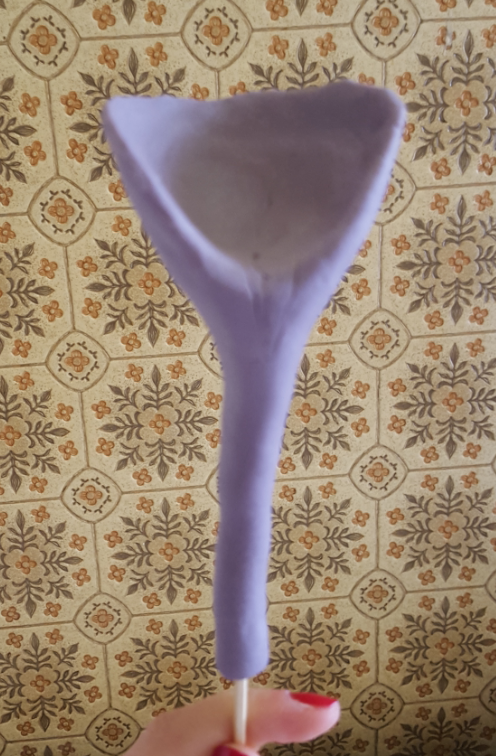
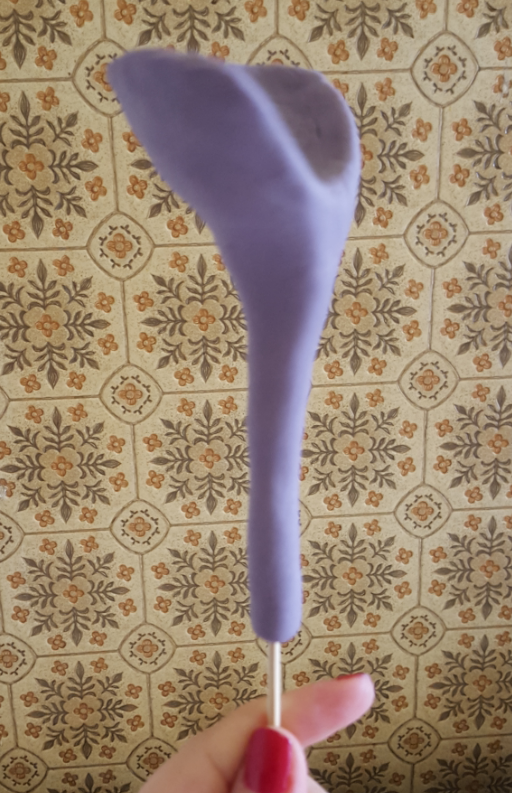
Here are the templates you need.

image

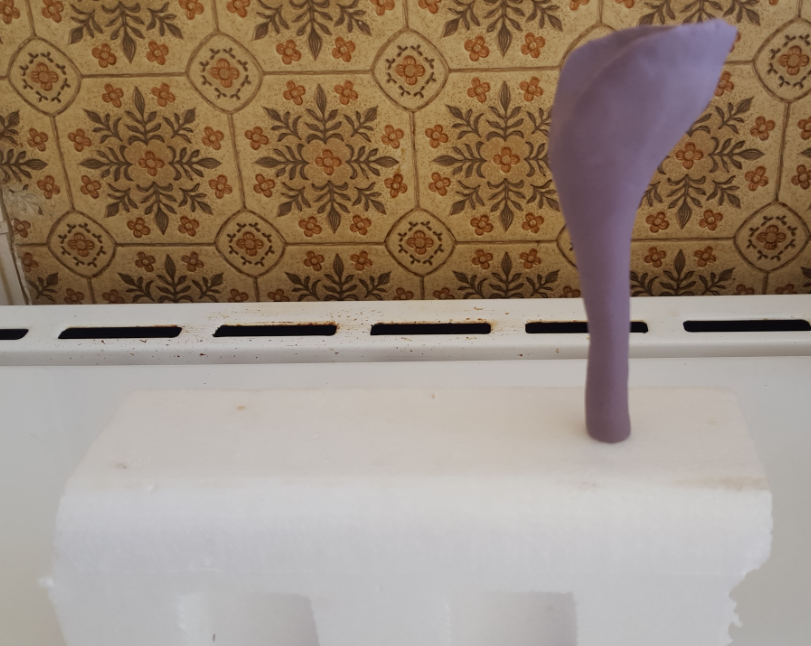
Yes. The heel is not there. You will make it by hand. You decide how high and thin it is going to be. You will put like a giant toothpick in it so don’t worry to make it thin or high. But don’t forget that the higher it is the longer your sole part should be.

image

image

Then put it carefully in a big peace of Styrofoam. And leave it hardens for at least 3-4 hours.

image

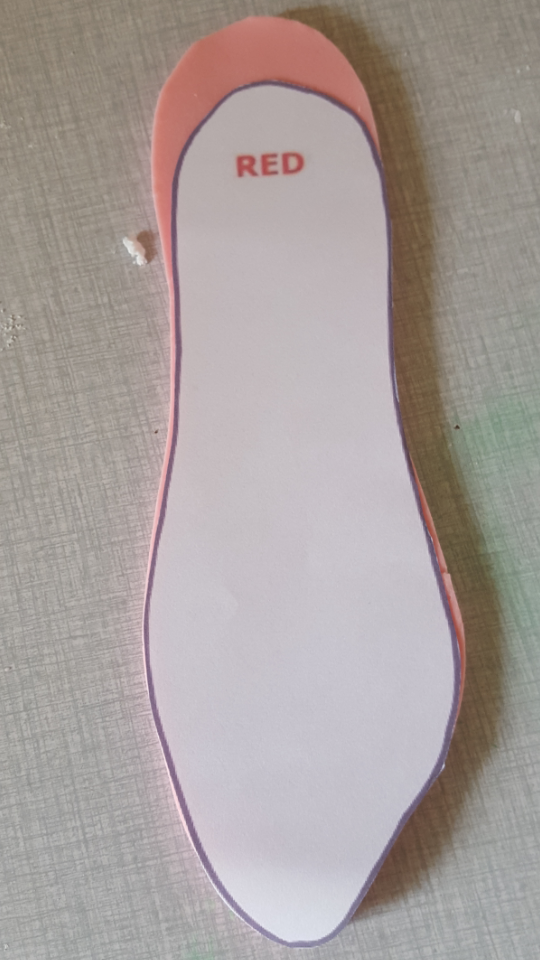
When ready you can roll out a peace of fondant again around 5mm thick and take the shoe sole template. Cut it carefully. A little longer at the back side.

image

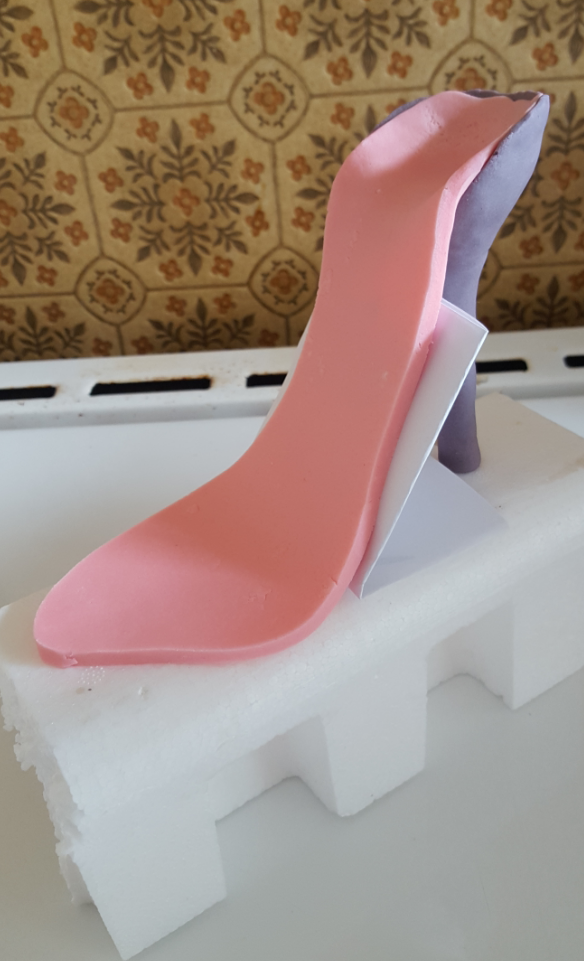
Stick it to the heel with some water. Put some peace of paper under it to support it while hardening.

image

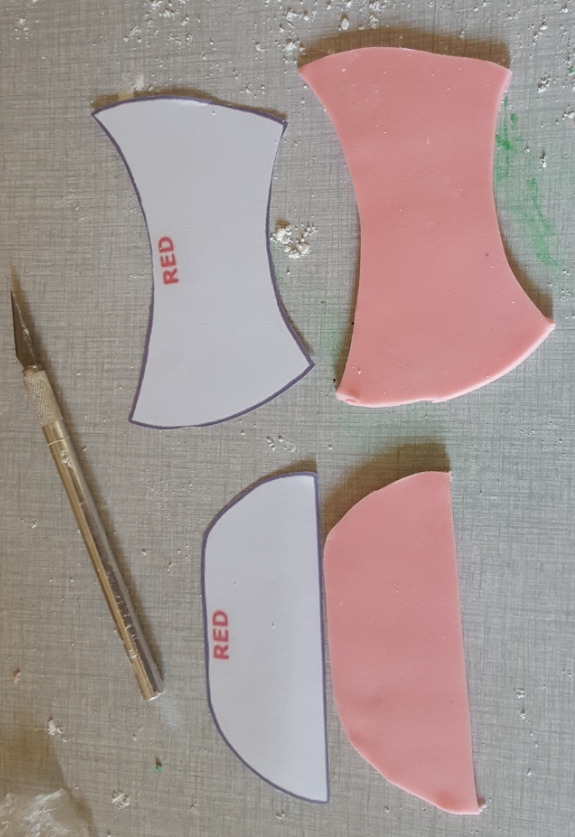
After 3 or 4 hours more you can add the last pieces. Roll out fondant and cut the front and the back.

image

Now stick them carefully to the shoe. Under the front peace put again some paper to support it. Leave harden again.

image

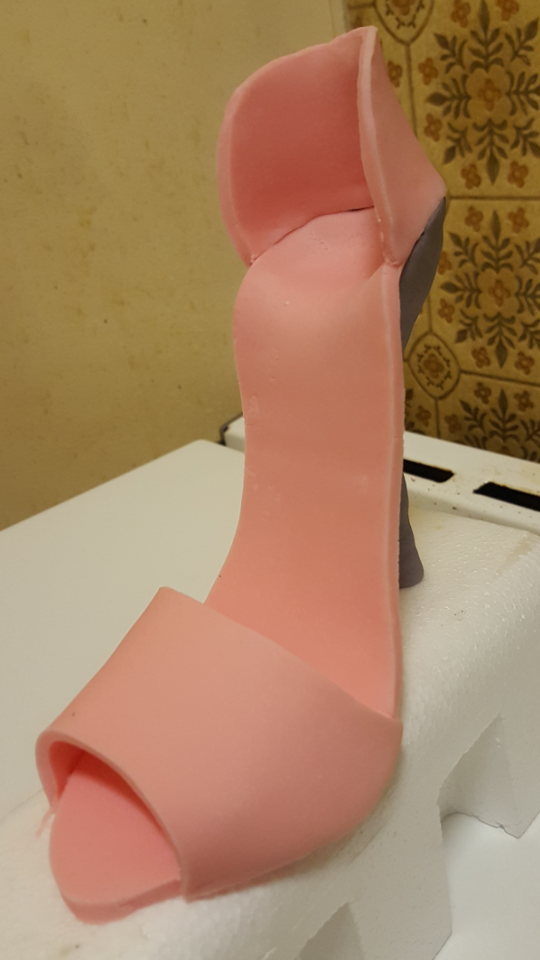
If you start it in the morning by dinner time you should have a pretty fondant shoe.

image

image

I really like it. Of course as I said it would be perfect in some other colour and decorated with royal icing.
I hope you enjoyed it!
If you try one of them I will be happy to see some photos.
See you later.

Bon Appétit!
Christina