Vanilla Eclairs

image

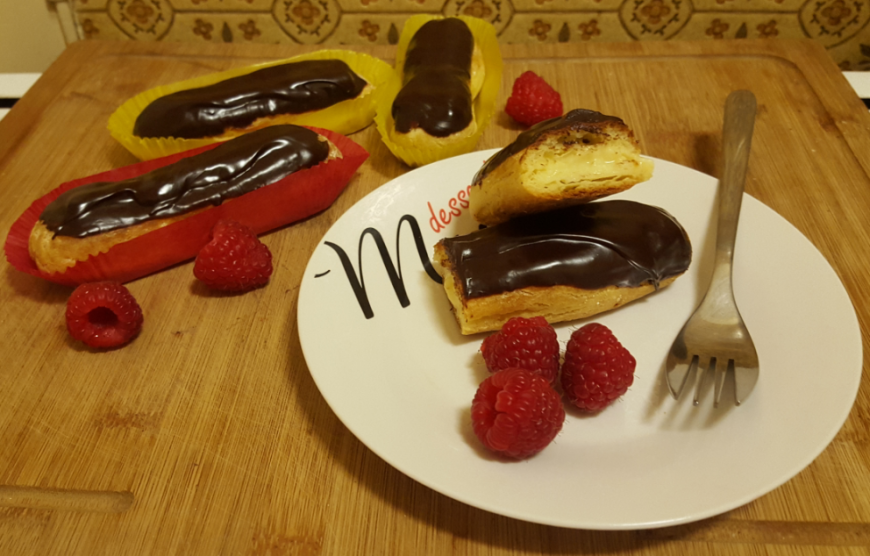
Always want to try something new. Something I’ve never tried. Love baking challenges! For some eclair may not be a challenge but they are so many things I need to learn. And every first time is a challenge. Sometimes successful… sometimes not. But as you can see these ones were a success! They are just
the best eclair I have ever tried!
If you like eclairs I really suggest you try these. Finally it was pretty easy and the final result just amazing!
You will need to make some choux pastry, crème pâtissière and chocolate ganache.
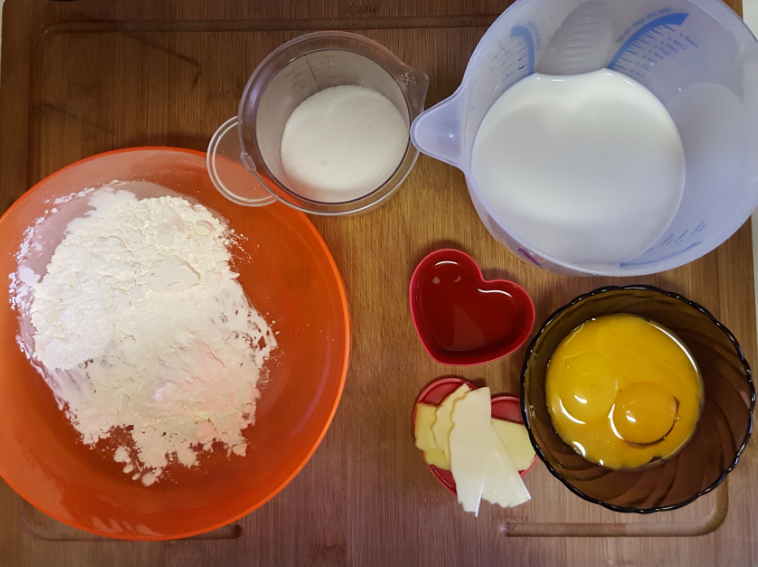
Let’s first start with the crème pâtissière. You will need:

image

480ml milk
4 egg yolks
2 teaspoons vanilla extract
70g sugar
40g cornstarch
15g unsalted butter
In a bowl mix together egg yolks and sugar until light yellow. Then add cornstarch and mix until incorporated. In a saucepan heat the milk. But don’t let it boil. Add 1/3 of the milk in the egg mixture. Incorporate. Then add it to the rest of the milk while mixing with a wooden spoon. Now put it back on a medium heat. Don’t stop mixing! Let it boil and mix until it thickens. Then remove from the heat and add the vanilla extract. Incorporate. Put the crème pâtissière in a glass bowl, add the butter and mix until it melts. Now cover firmly.
First stage completed!
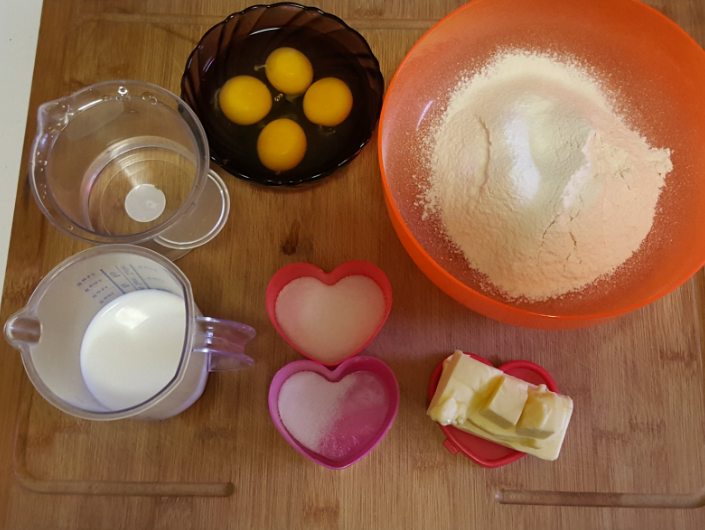
Now the choux pastry. For around 10-12 eclairs you will need:

image

4 eggs
125g of flour
100ml milk
100ml water
10g of sugar
1/2 teaspoon salt
80g unsalted butter
Preheat the oven at 180°C. Cover a baking sheet with baking paper.
Preparing this kind of dough was a lot of fun I think. Pretty different from everything I’ve done before.
Put milk, water, butte, salt and sugar in a saucepan and it goes over medium heat. Mix it and let it boil. Then remove from the heat, add the sifted flour and mix quickly with a wooden spoon till mixture homogenous. Now put it back on low heat for about minute or two and continue stirring. Your dough is ready to go in a bowl where you will add to it the eggs. One at a time. And mix with the spoon until incorporated.
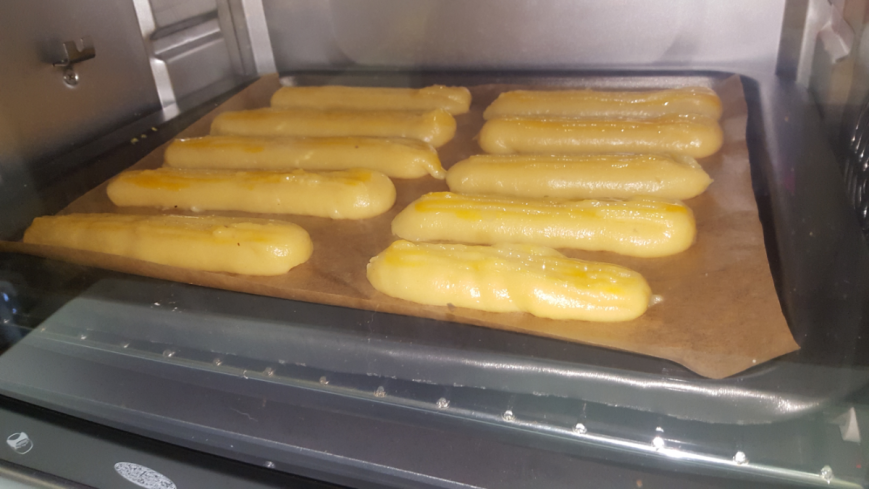
When ready put the dough in a pastry bag with 1cm round or star tip. Pipe 10-12cm long strips on the baking paper. Leave enough space between them . Egg wash and put in the oven.

image

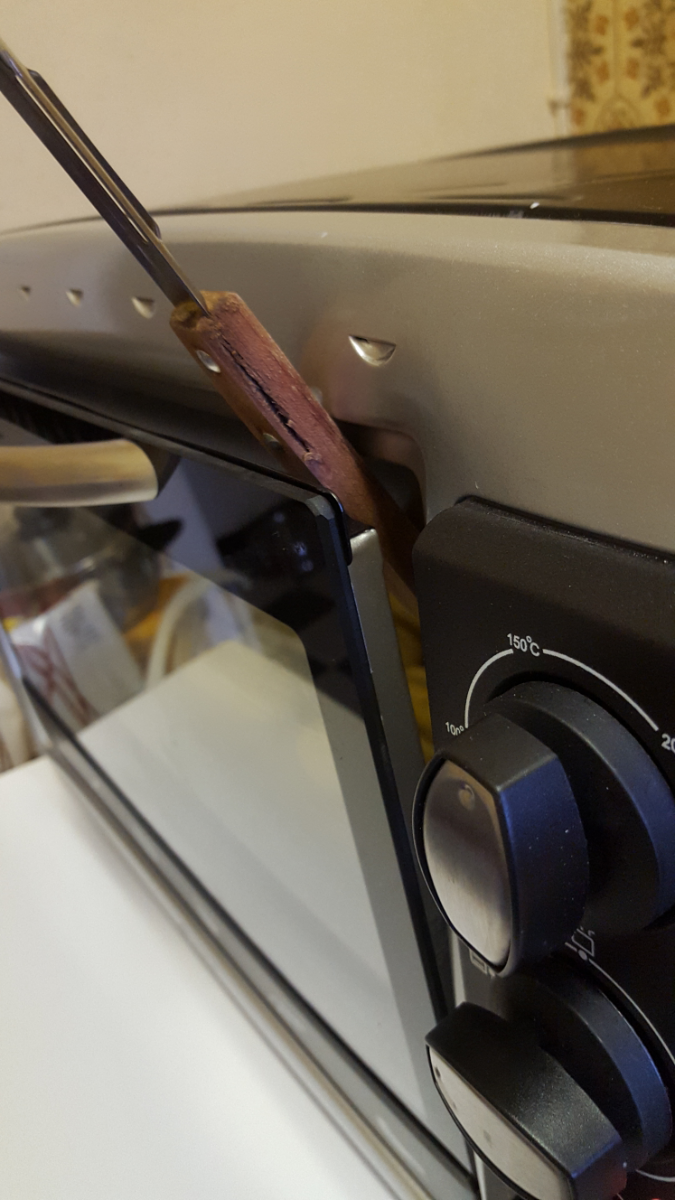
Bake 40 minutes. After first 10 minutes have passed open slightly the oven door (around 2-3cm) and leave it like this for the next 30 minutes. It will let the steam escape.

image

When golden brown put them out of the oven. Make a small whole with a toothpick  in each of them. It’s again for the steam inside. Let them cool completely.
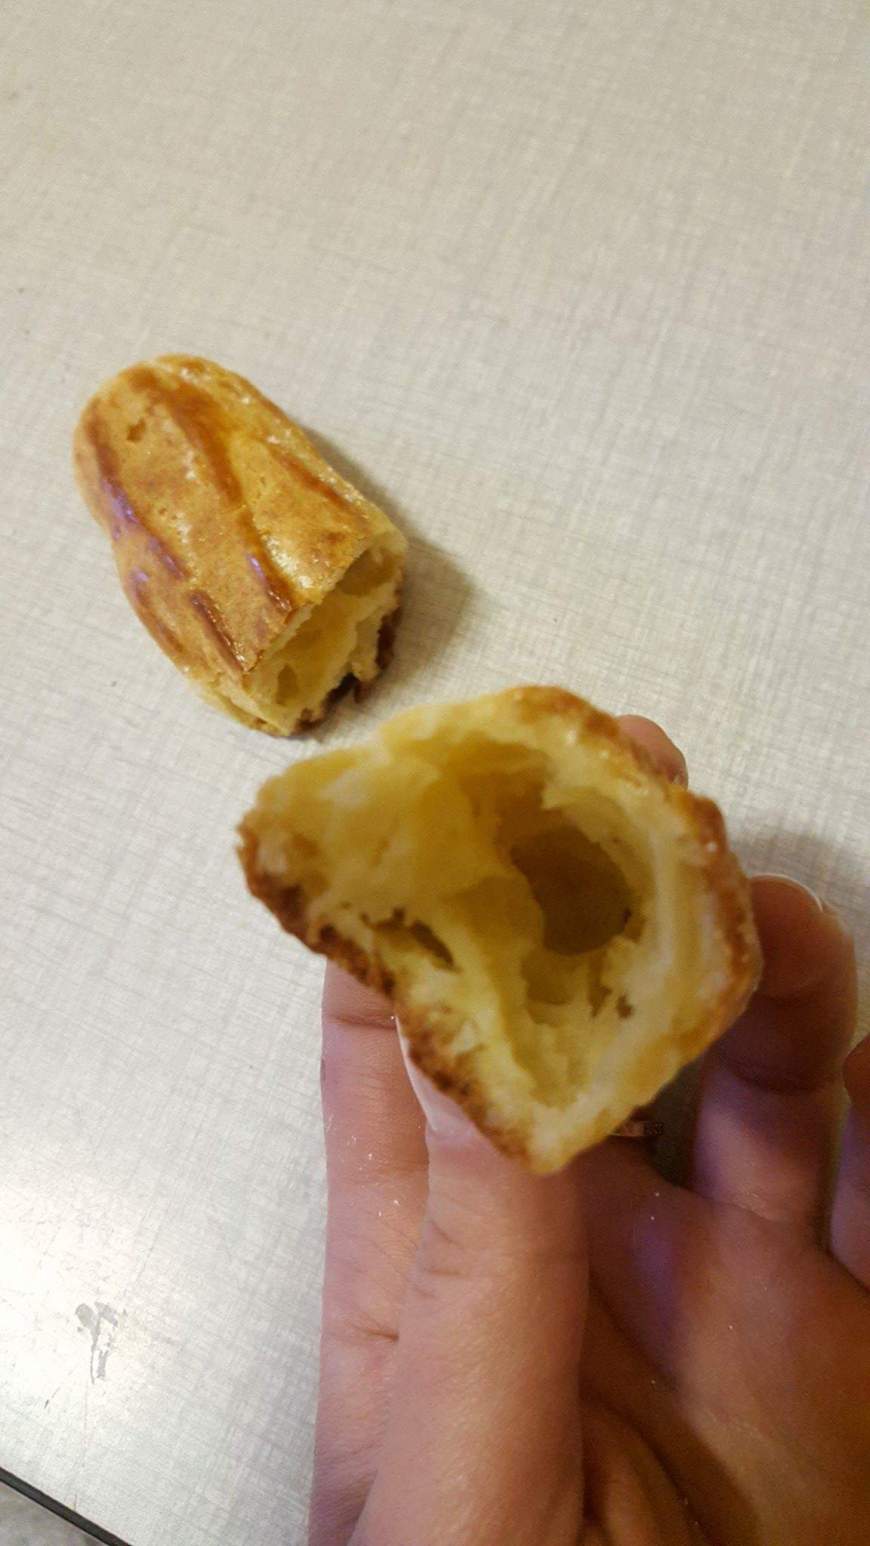
This is how they should look like from the inside.

image

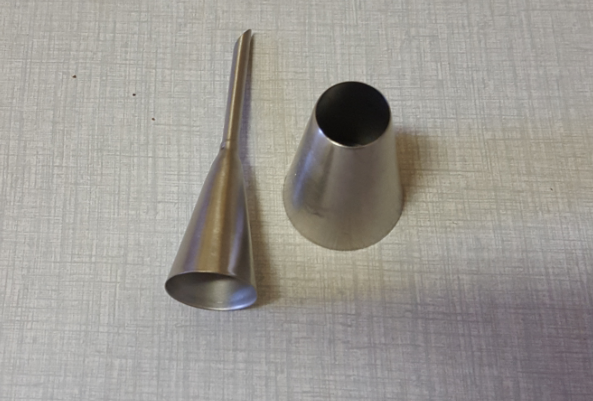
Mhm… enough space for a loooot of crème pâtissière. Then let’s start filling them. Now these are the tips I used.

image

Right one I used for piping my eclairs. And the left one for filling them.
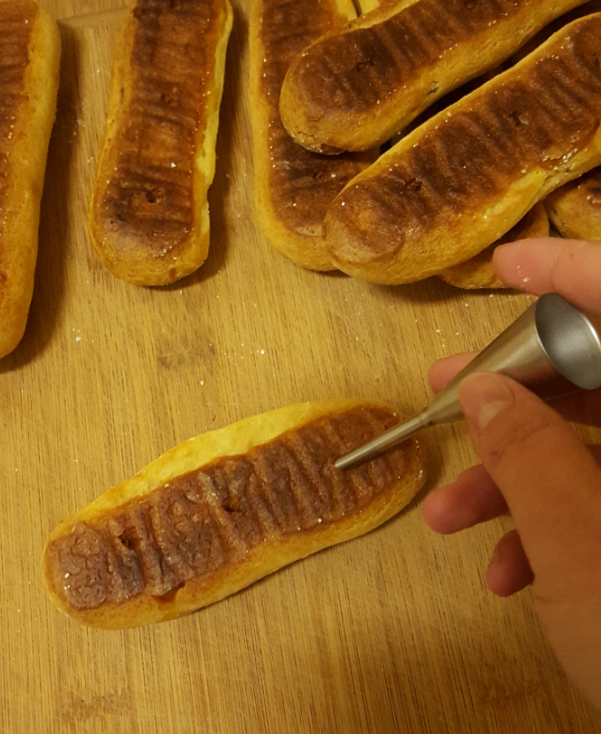
Now take the left and make with it three small wholes in the bottom of each eclair.

image

This is where we are going to fill them through. Then the crème pâtissière goes in a pastry bag with the same tip and start filling.
When filled put each eclair upside-down so the filling hardens inside.
Time for chocolate ganache.

image

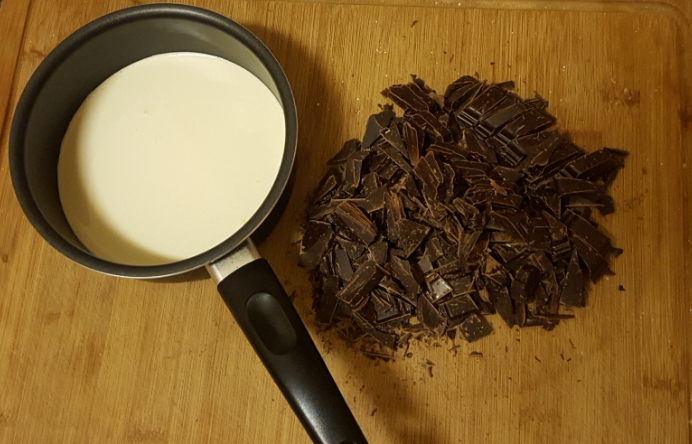
Prepare:
200g of dark chocolate
155ml of whipping cream
At first I was used to prepare my ganache with heavy cream. They say there’s no big difference between it and whipping cream. But I think I prefer the second one. But if you have some heavy cream you can use it.
Now your cream goes in a saucepan and you heat it without letting it to boil.
Pour it over the chocolate and leave it for a minute or two. Then start stirring till the ganache is ready.
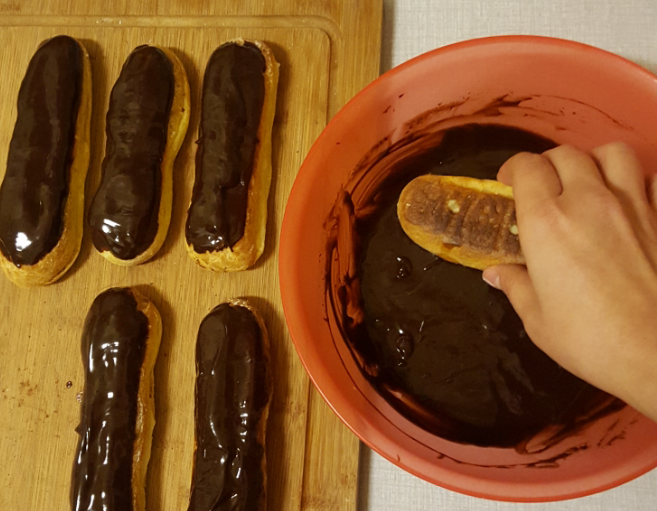
And now dip the top of each eclair and leave it to set.

image

And here we go! Dessert time is always best, don’t you think?
Hope you enjoyed it.
See you later!

Bon Appétit!
Christina

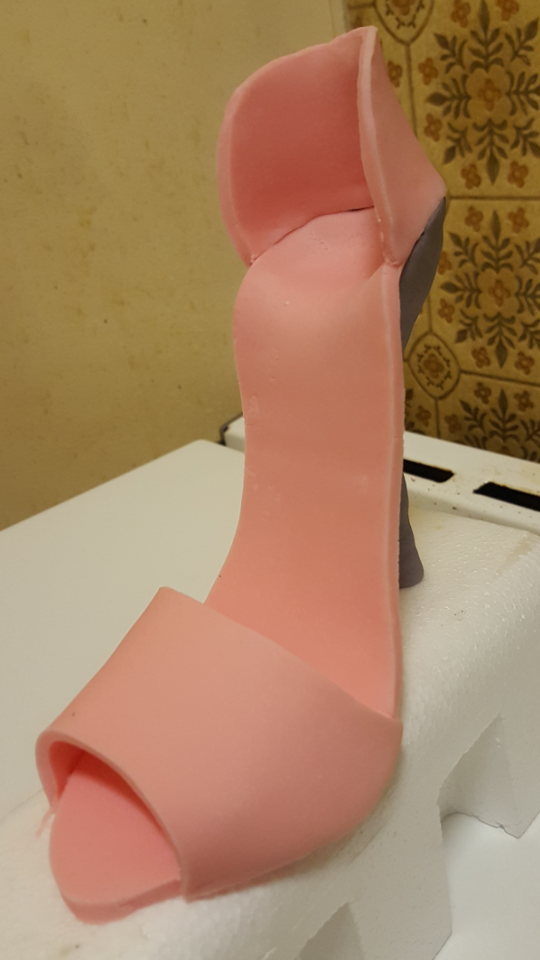
Fondant Shoe Decoration

I have said it before that what I most love about cakes is decorating them. Every special occasion deserves a special cake. And you feel so special when you have a cake representing something you really like!
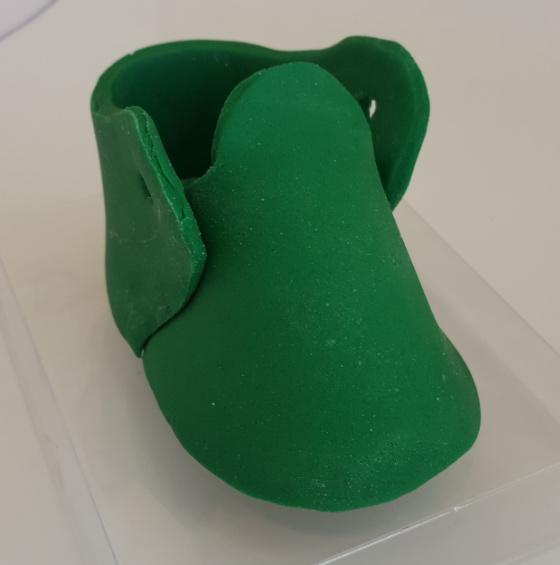
What women like most?… except cakes!- Shoes and bags, no? I am planning a handbag cake for Saturday. But today I will make my first fondant shoe. And while waiting for the fondant to harden I will make a baby shoe and pacifier for a baby cake.
I will show you photos of every step so if you like them you can try to do them by yourself. Don’t pay attention of the colours of the fondant I use. I had some leftovers that were just enough for my exercise. You can use any colour you like and decorate with royal icing to make them even cuter.
I will also give you the templates I used for the shoes so you can print them. Of course in the size you’d like your shoes to be.
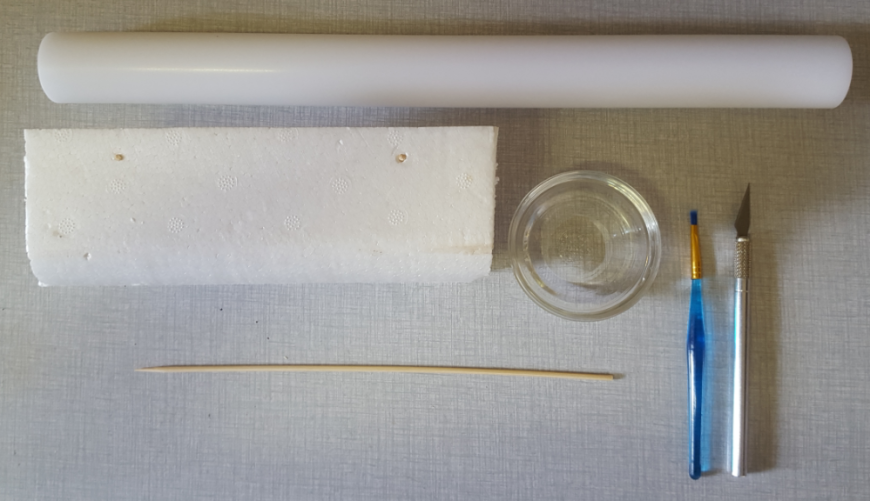
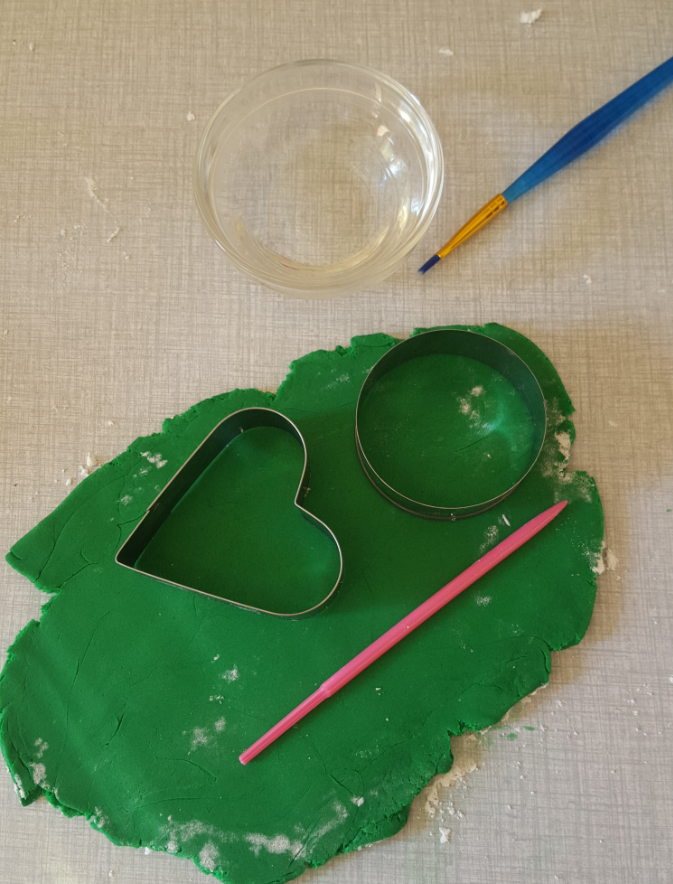
Here are the tools you need for the hight heel shoe. For the baby decoration prepare also heart and circle shaped cutters.

image

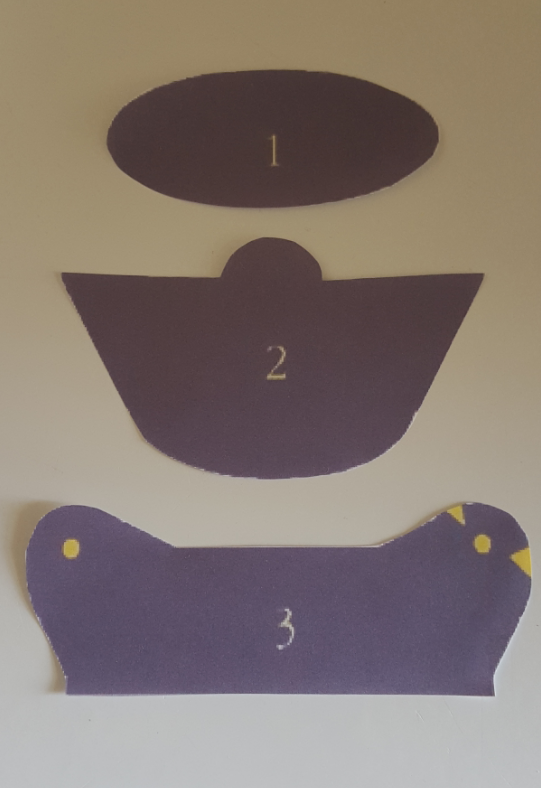
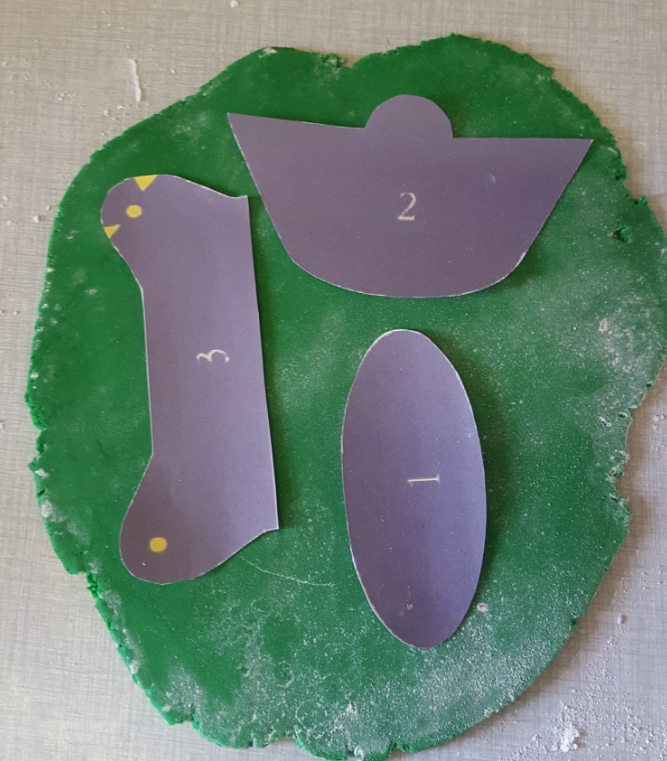
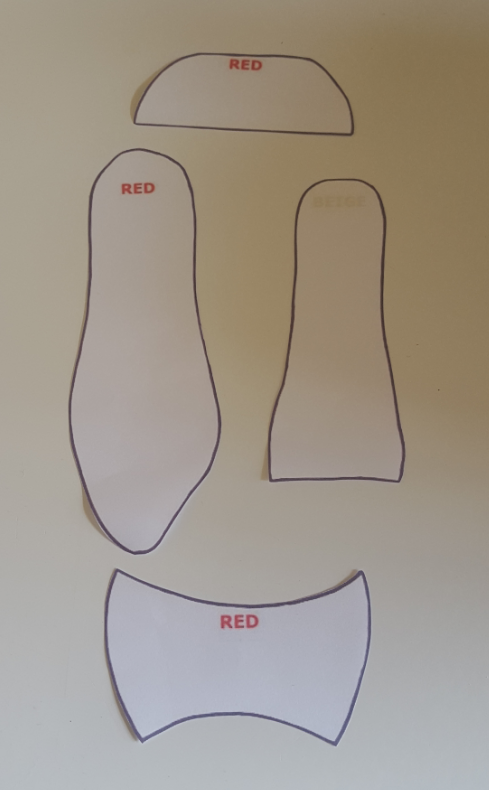
Fo first for the baby cake decoration. Here are the templates you need.

image

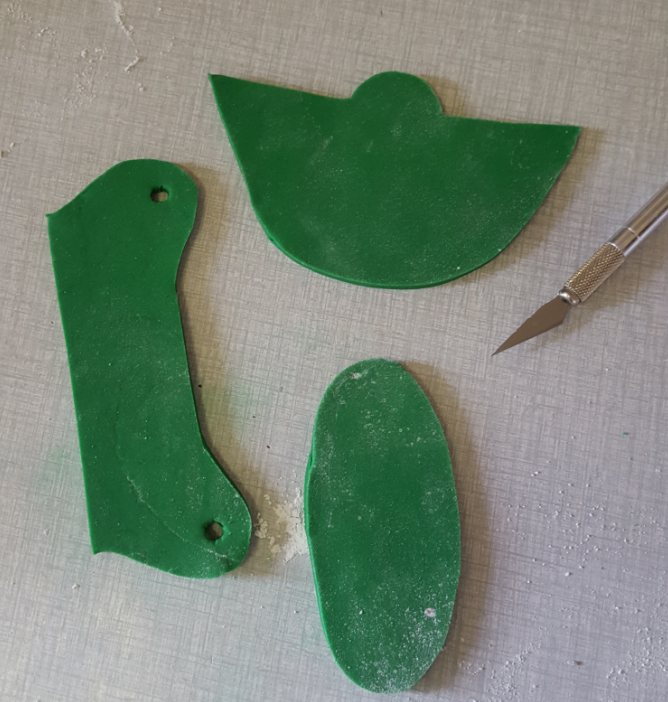
Take your fondant and after kneading it roll it around 5mm thick. Place the paper templates on it and cut them carefully.

image

image

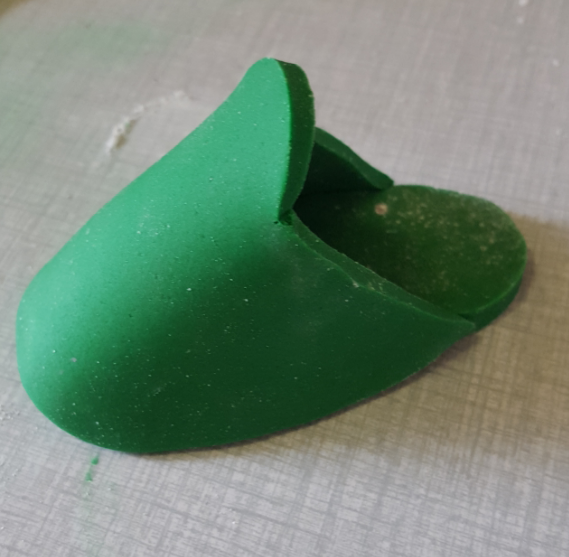
First take the sole peace(num. 1) and stick it together with the front part of the shoe(num. 2) by using some water as glue. Let it set for around 10 minutes.

image

Then add the back of the shoe (num. 3) again with some water and leave it set.

image

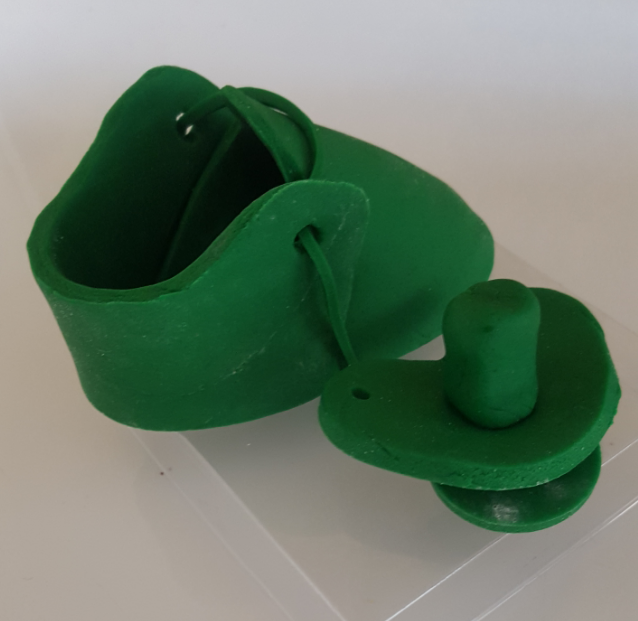
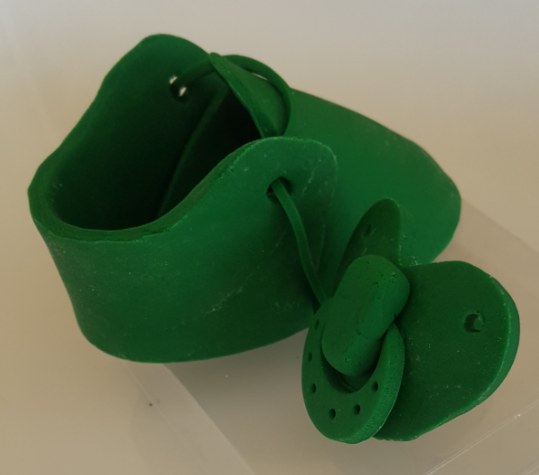
Now roll out a really thin shoelace and put it in the two wholes. And… isn’t it cute?!
Now the pacifier. It’s really simple. Roll out some fondant again around 5mm thick.

image

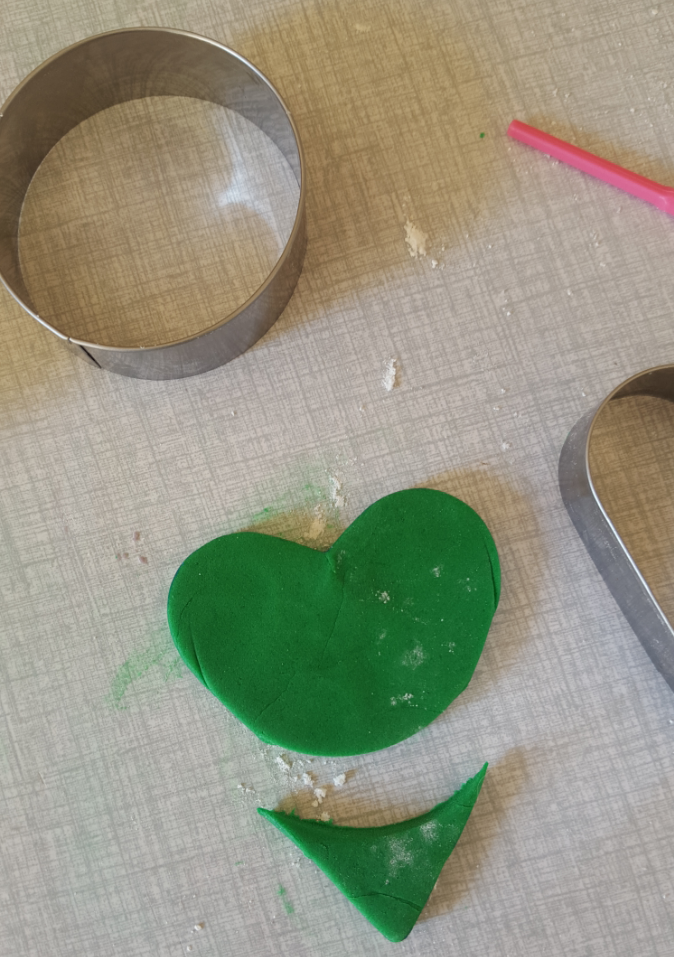
Cut a heart and after cut heart’s bottom with the circle shape.

image

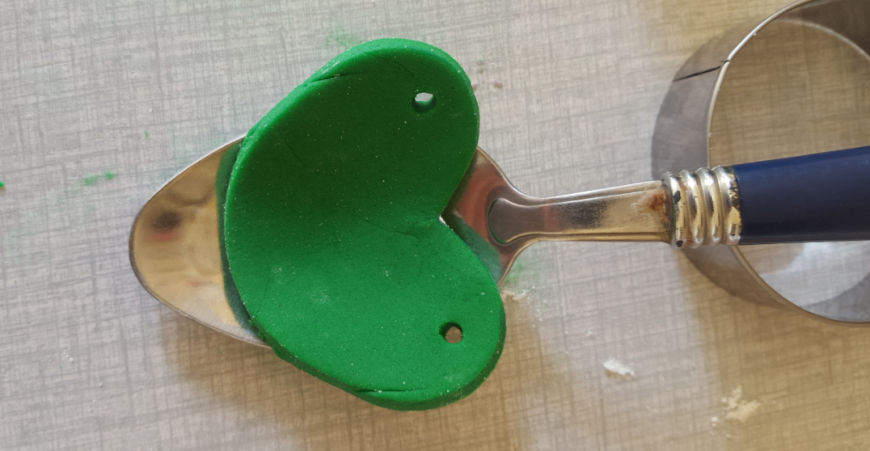
Make two wholes in the top side and leave it harden in a spoon.

image

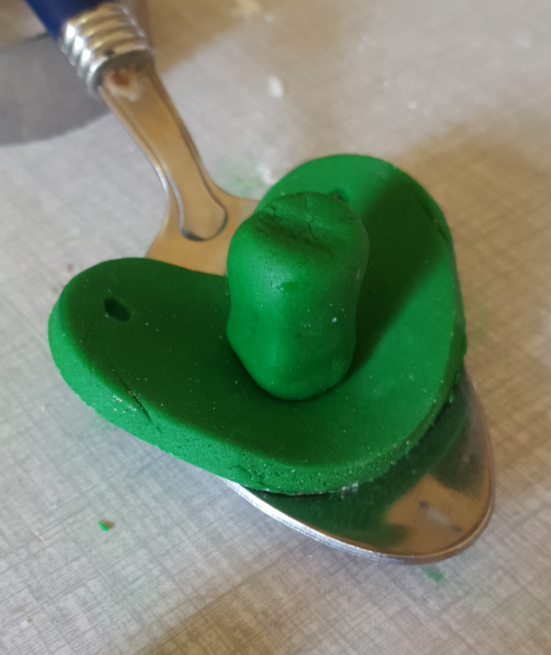
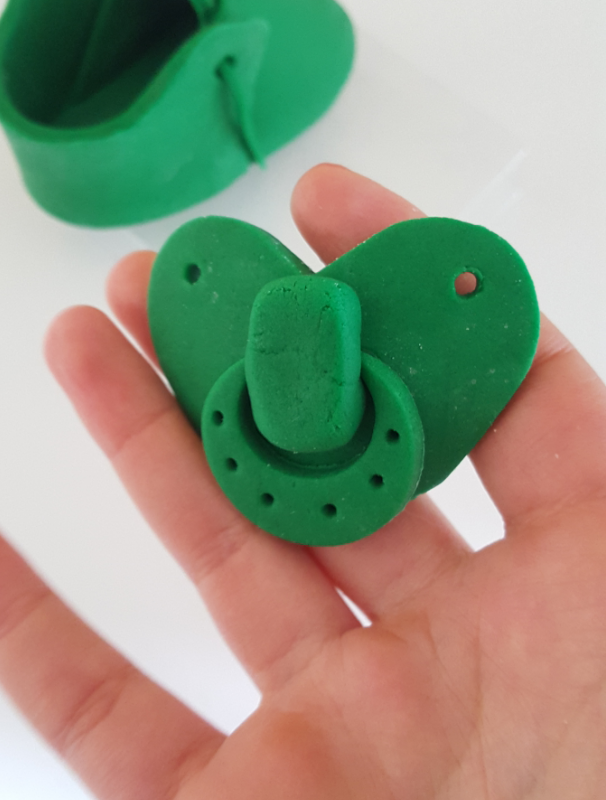
Now with your hands roll like a small cylinder and stick it in the centre of the front side of the pacifier.

image

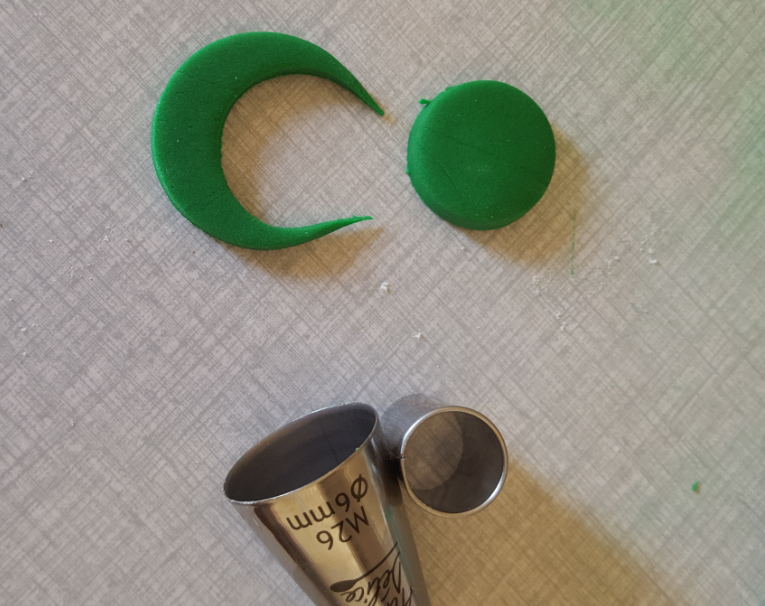
Now we need the back side. Cut a small circle and well… better show you!

image

From that you can make the back side of the pacifier.

image

Stick them together using some water and leave it harden.
And here it is. For around 30 minutes we have a cute baby decoration.

image

image

Now the hight heel shoe. There you need much more time. If you are going to decorate a cake with it I advise you to make it the day before putting it on the cake. It needs much more time ti hardens.
Here are the templates you need.

image

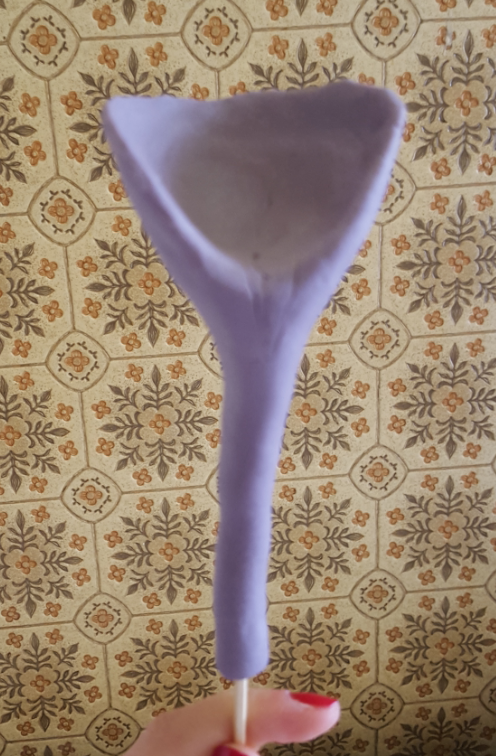
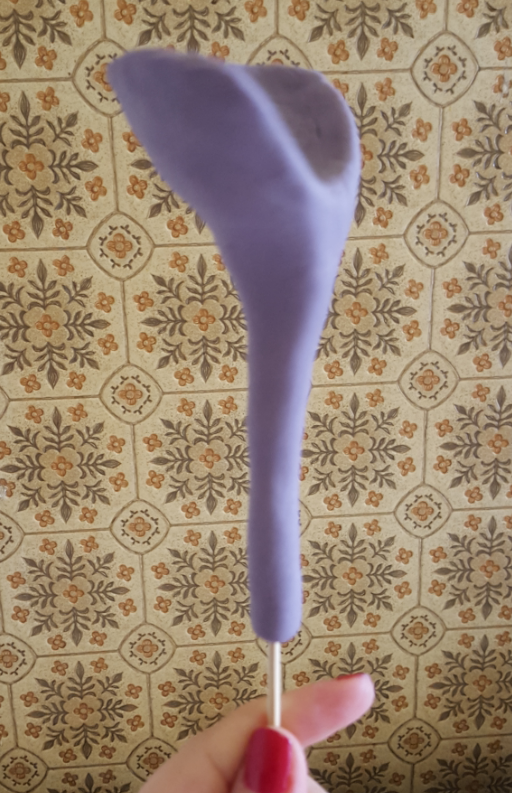
Yes. The heel is not there. You will make it by hand. You decide how high and thin it is going to be. You will put like a giant toothpick in it so don’t worry to make it thin or high. But don’t forget that the higher it is the longer your sole part should be.

image

image

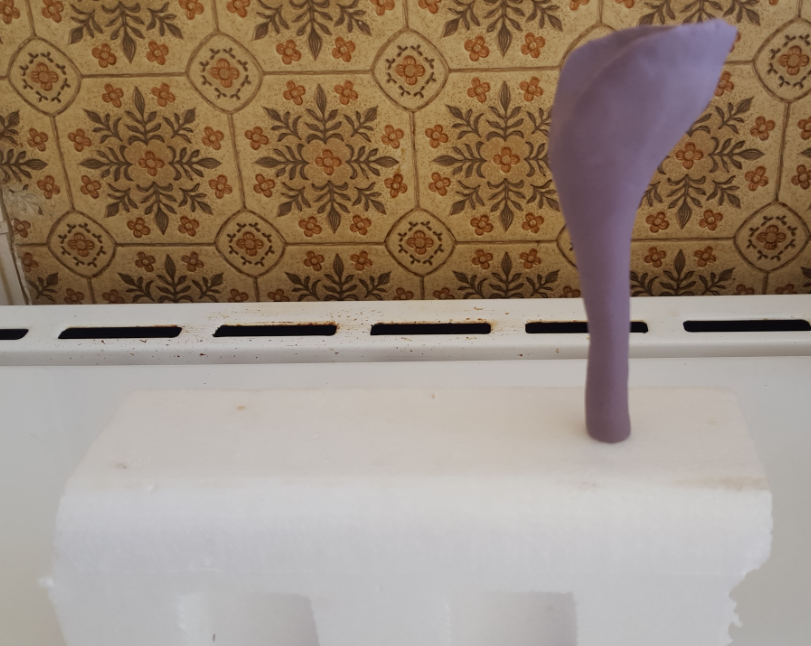
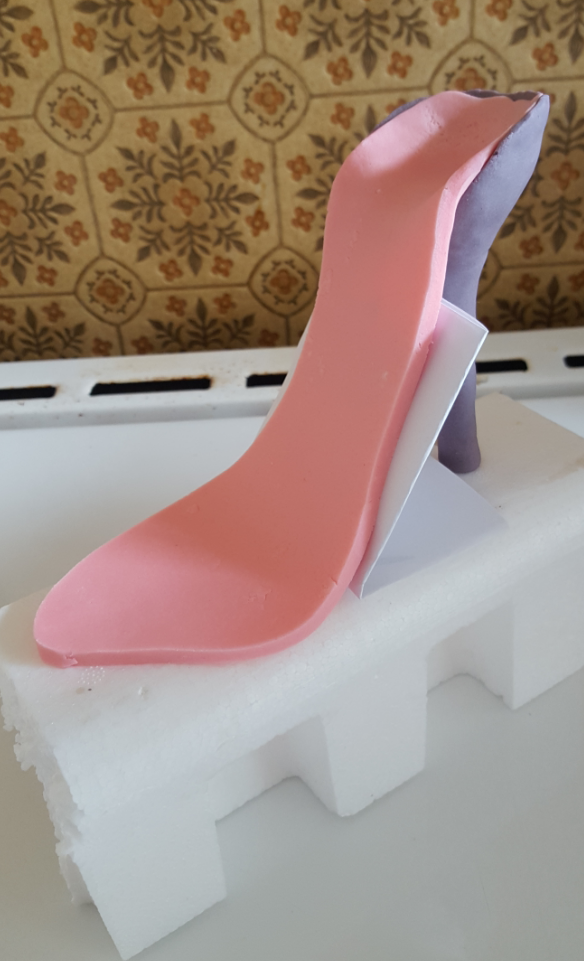
Then put it carefully in a big peace of Styrofoam. And leave it hardens for at least 3-4 hours.

image

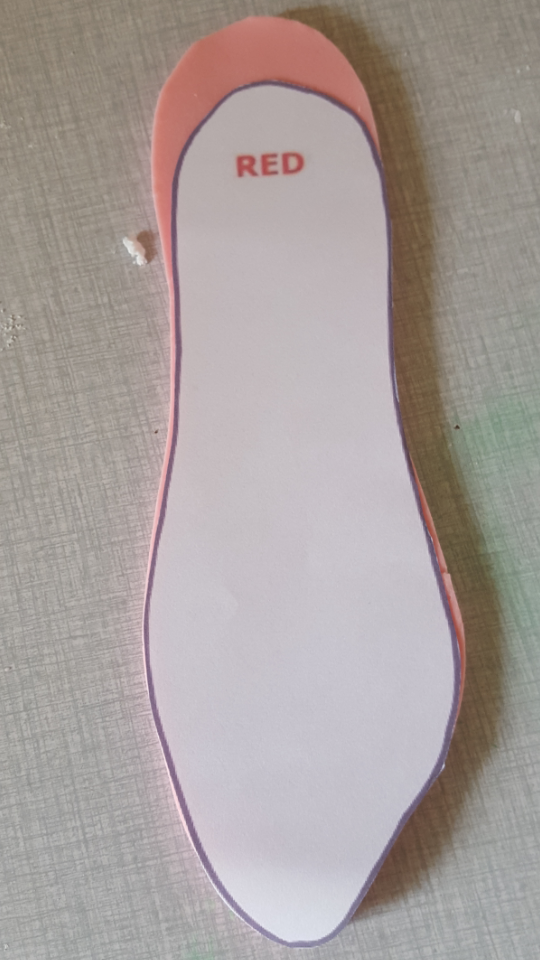
When ready you can roll out a peace of fondant again around 5mm thick and take the shoe sole template. Cut it carefully. A little longer at the back side.

image

Stick it to the heel with some water. Put some peace of paper under it to support it while hardening.

image

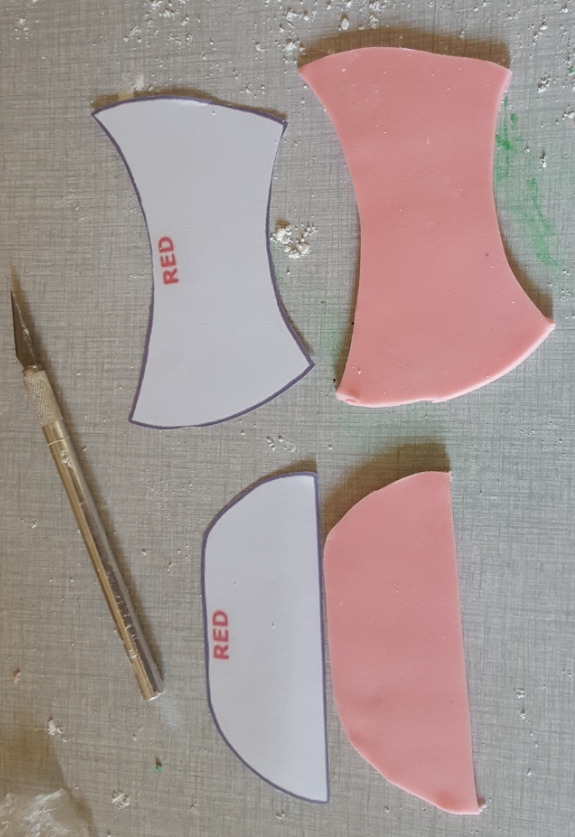
After 3 or 4 hours more you can add the last pieces. Roll out fondant and cut the front and the back.

image

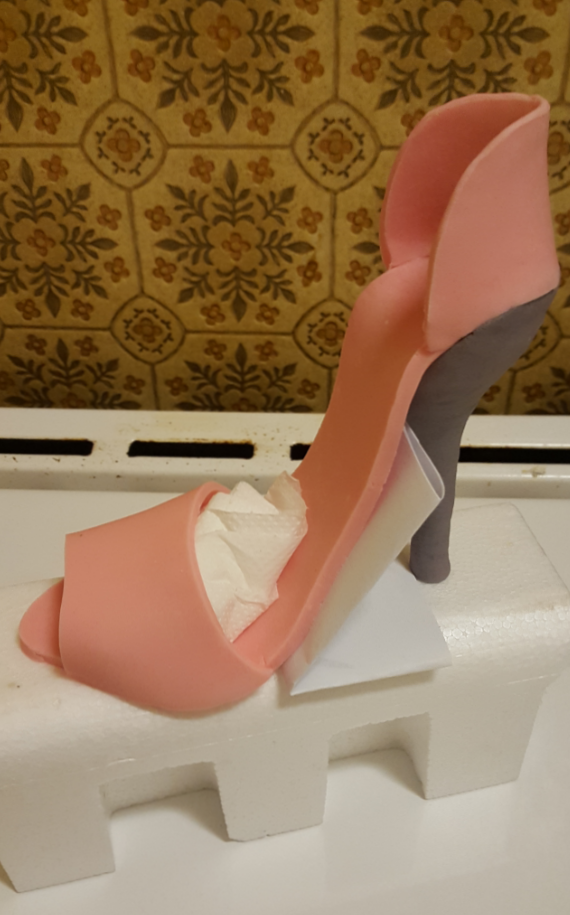
Now stick them carefully to the shoe. Under the front peace put again some paper to support it. Leave harden again.

image

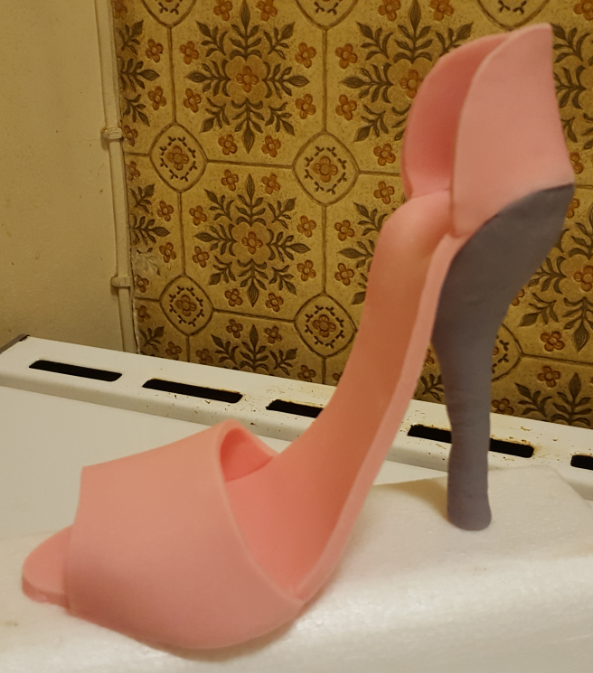
If you start it in the morning by dinner time you should have a pretty fondant shoe.

image

image

I really like it. Of course as I said it would be perfect in some other colour and decorated with royal icing.
I hope you enjoyed it!
If you try one of them I will be happy to see some photos.
See you later.

Bon Appétit!
Christina
My Cake Project

Last weeks I really feel obsessed of cakes. Especially decorating. It’s my nature that makes me not to accept that I can fail in something I want to do. When it’s not working I will repeat it over and over again till it’s done as it should be. And from a while cakes are my passion. Every free minute of my day I spend it watching videos, recipes and reading about cakes. Admiring big chefs’ great cakes. Spending my free days in the kitchen baking and decorating.
I love desserts. But had problems with my weight and now I’m being careful with sugar, training 3 times a week. So everything I bake is for my fiance and my friends. And they all love anything I do.
The big news is that a friend of mine asked me to do her daughter’s birthday cake. OMG! You will probably think it’s not a big deal but I am really sooo excited about it.
As it is for 9 years old girl, I was thinking about a doll cake. My friend just loved the idea.
I have about a month before the birthday.  I know it’s early but I want it to be perfect and I’ve never done a doll cake before. So I want to be prepared for every detail.
I was thinking about a chocolate ganache cake. I will do the dress with blue and white fondant and decorate with royal icing.
I want my cake to look like this beauty!

image

I will be really happy if you share with me your doll cake experience. Or anything specific I should know about the preparation.
Wish me good luck! 😊

Bon Appétit!
Christina